Club Night – 20th December 2017

As the last meeting before Christmas, this was more of a social event than anything else, although there were informal demos by Gerald and Mick.

Gerald turned a lovely oak apple that just begged to be handled, such was it’s appearance and shape. Perhaps a new line in stress relievers is on the way?

Mick turned a quick box for Colin and Roger and then started another project but ran out of time due to more pressing business…

…namely, eating the various goodies brought in for this, the pre-Christmas, meeting. There was too much food for our abstemious bunch, with plenty left over – better than not having enough. Very many thanks go to Joan and the others who brought in the food, set it up on the tables and then served the tea and coffee to wash it all down.

The raffle was held, as usual, for cash prizes, but was augmented by a good variety of Christmas prizes – whisky, cakes etc. First prize was won – as is becoming the norm – by John!

After this, tables and chairs were cleared away, lathes put back into storage, and the hall swept before we wished each other a Merry Christmas and went on our way.

My apologies, there are no pictures due to a technical glitch – I forgot to take them as I was too busy eating!

Club Night – 6th December 2017

This was the first meeting of the month so we had both a competition and a demonstration, details below.

Competition

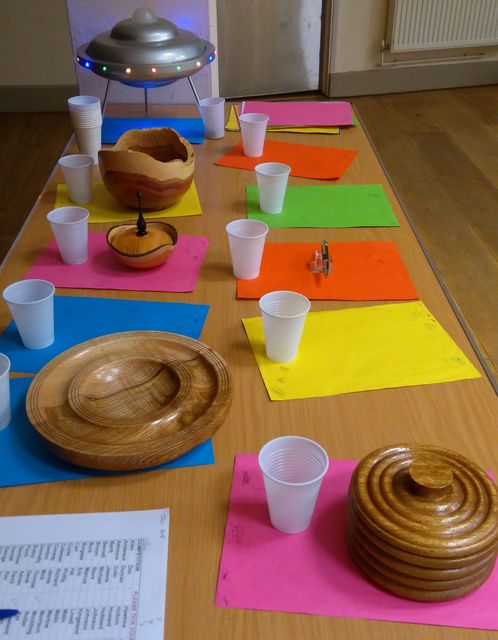
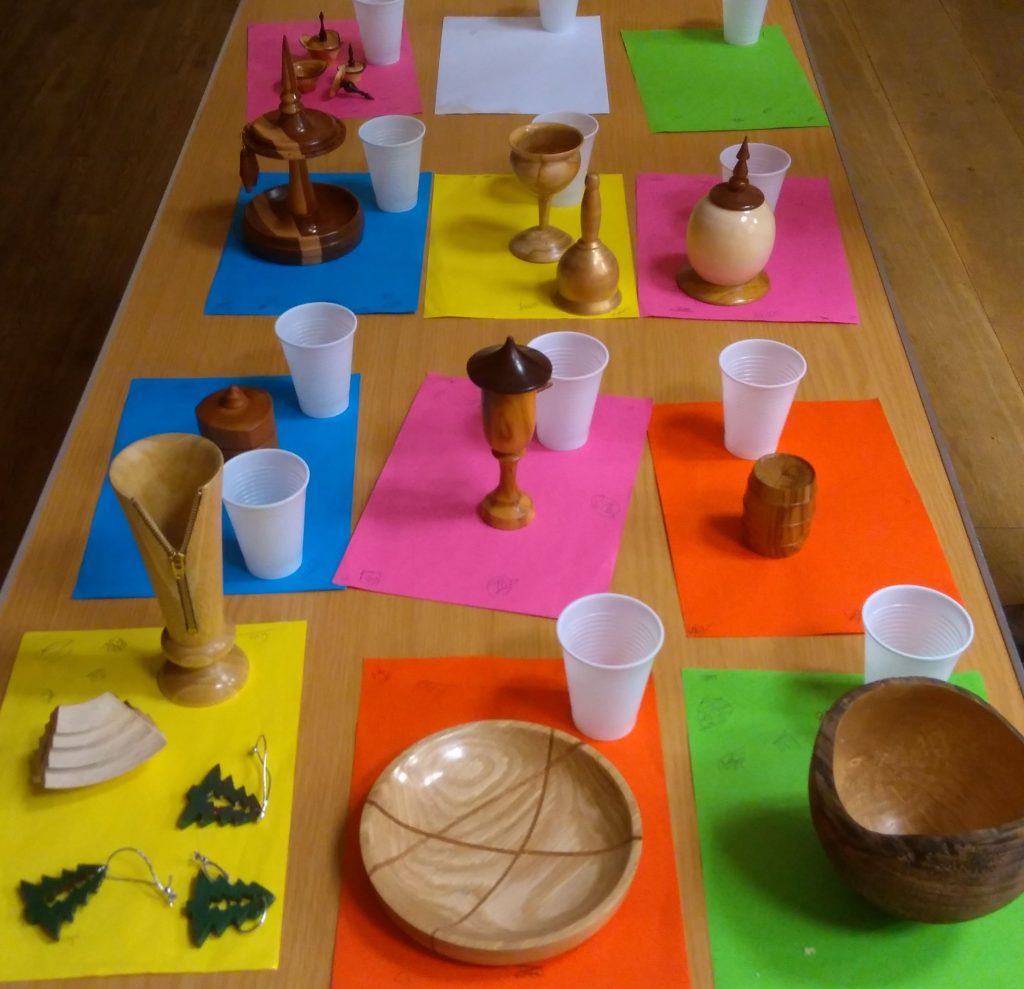
Competition Table
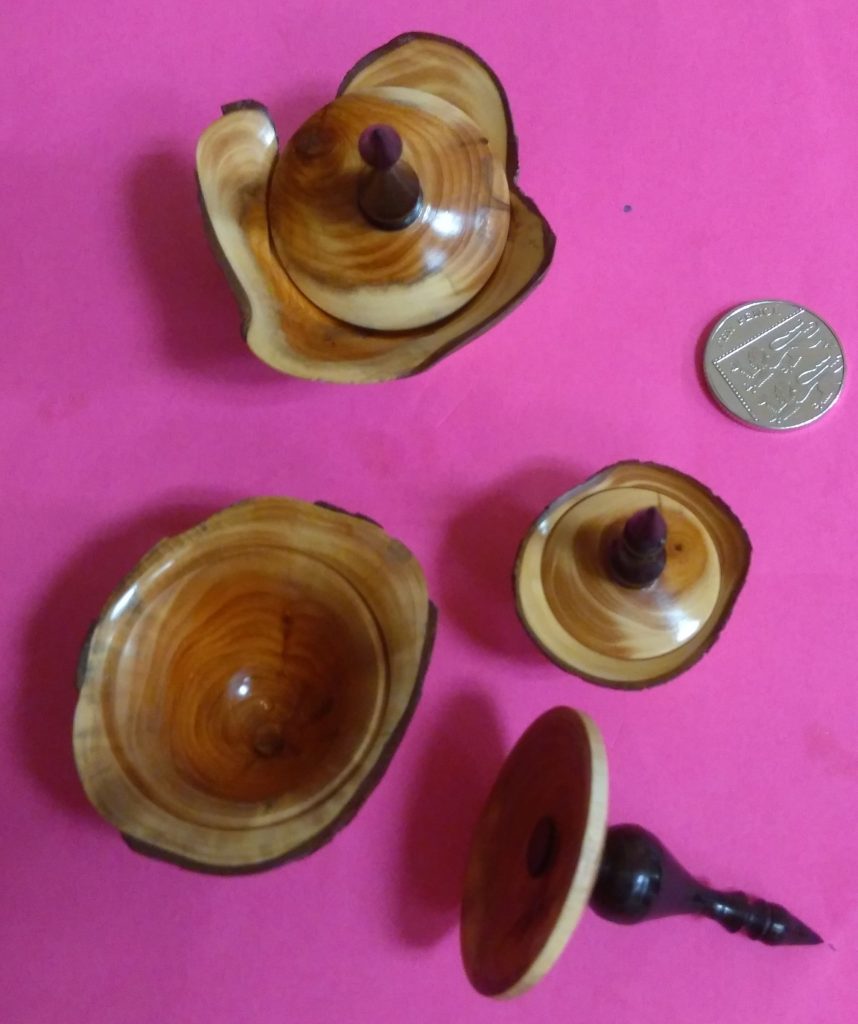
Yew Lidded Pots

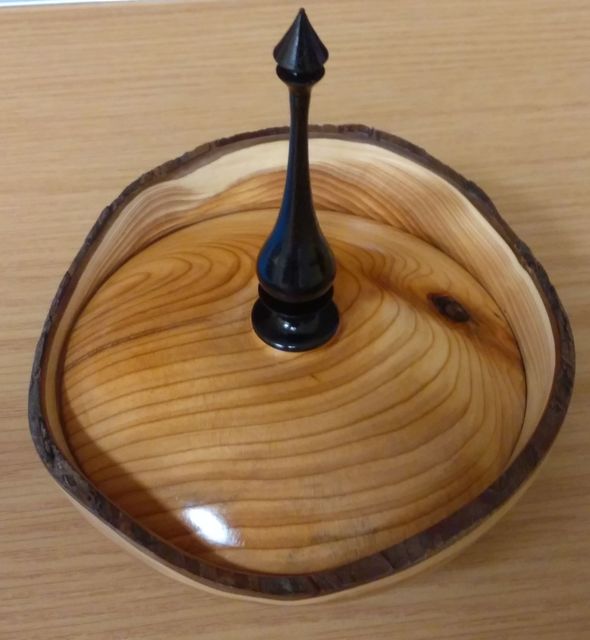
1st Three delightful lidded yew pots by Mick. Well deserved.

Hollow Turned Christmas Trees

2nd A zipper vase and some ring turned hollow Christmas trees by Geoff Warr helped him to 2nd place, the latter items based upon Richard Wright’s demo at the last meeting.  See the picture of the competition table, above, for the zipper vase.

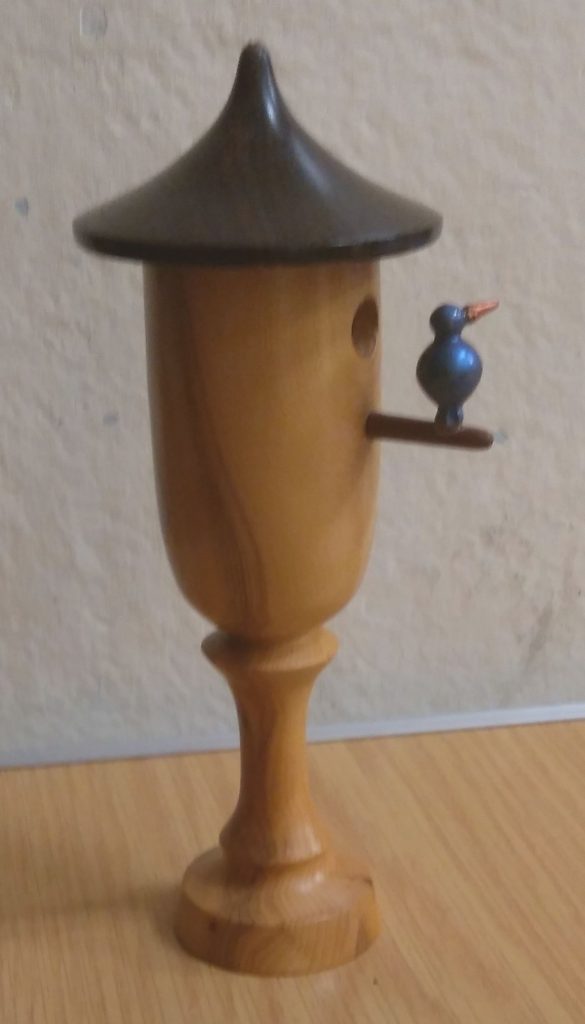
Bird Box, Tony

3rd A nice little bird box by Tony – his first entry into the charts I believe. Congratulations!

Demonstration by Gregory Moreton

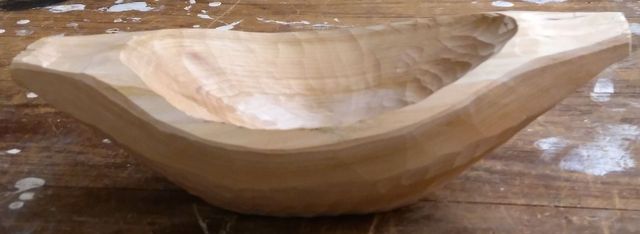
A NE bowl made out of robinia pseudoacacia burr (false acacia) was demonstrated by Greg for the first part of the evening. He commenced by removing as much bark as possible to prevent it flying off whilst turning.

The blank was mounted between centres, oriented to provide a fairly even top rim and therefore a reasonably even top rim thickness – something to look out for when turning NE bowls.

A  bowl gouge was used to shape the outside and a chucking tenon was cut with a spindle gouge (less tearout than a skew chisel). In the restricted space available, Greg took care to keep the gouge steady.

Once satisfied with the shape, he power sanded it through the grits, finishing with 320 grit before reverse mounting it onto the chuck and hollowing out.

Throughout the demo, there were plenty of little asides and comments as to why Greg did things in a particular manner – useful tips, e.g. when hollowing, if the form is deeper than it is wide, a 45° bevel won’t go round the bottom; use a 55-65° bevel, with a relief bevel to avoid too much rubbing.

Leaving a step in the centre of the bowl makes the final cut easier to engage cleanly when starting with the 65° gouge. Sharpen before the final cut, to get the best possible finish off the tools.

Even wall thickness is important as the edge is heavily indented meaning that the rim is visible well down the sides of the bowl and it will look odd if noticeably thicker or thinner than other parts of the edge.

Notwithstanding the above, as this bowl will be made without a foot, it was  left thicker at the base to add weight and stop it rolling over.

Following this, Greg power sanded most of the inside of the bowl with the lathe stationary (lots of sharp edges!) and then finished off the bottom by power sanding with the lathe rotating.

The last scraps of bark were removed from the natural edge with a wire brush and then finally cleaned up with a nylon brush in a drill.

The bowl was reversed again, this time onto a foam jam chuck, held in place by a live centre with a washer placed on the point to avoid splitting the spigot – a home-made ring centre in effect. The tenon was removed initially with a bowl gouge, changing to a spindle gouge for the final cuts. The final cut left a scored line to enable breaking off the remainder cleanly.

Although not done for the demo, he usually finishes off with around three coats of finishing oil, allowing 24 hours between coats, rubbing back lightly with Webrax between the coats.

After the raffle draw and a welcome tea break, Greg demonstrated making one of his signature yew forms.

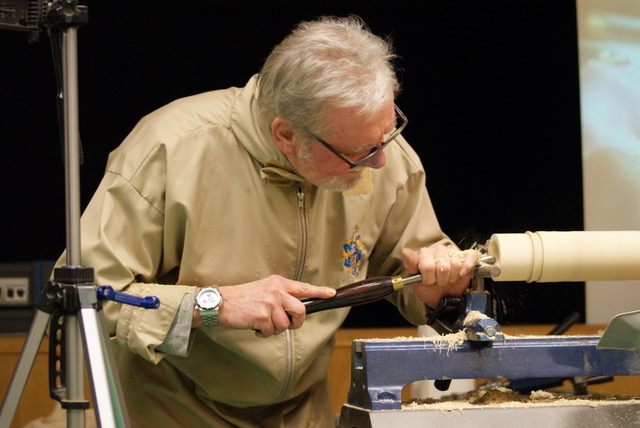
Yew Tube. A piece of yew branch cut diagonally across the ends was mounted eccentrically between a 19mm augur in the headstock and a live ring centre in the tailstock. The eccentricity is to make the most of the yew figuring.

With the lathe turning slowly, the tailstock was used to press the wood onto the augur thereby boring a hole throughout it’s full length, stopping just short of contact between the augur tip and the live centre.

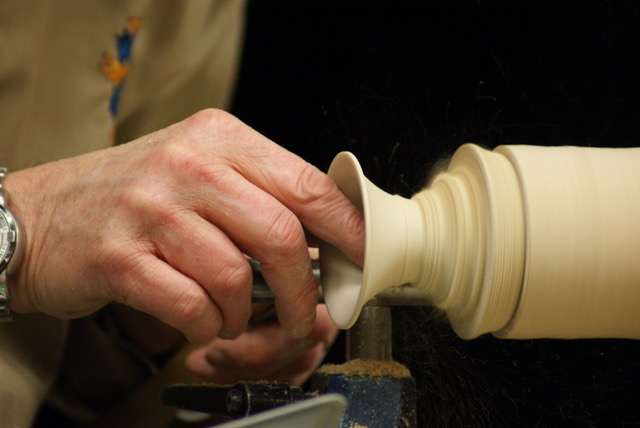
Next, a ready-made wooden arbour was mounted in the chuck and the tube mounted upon it with the tailstock brought up as support while the outside of the tube was shaped and brought down to about 1.5mm wall thickness in the centre.

The ends were faced off and the tailstock end hollowed out, leaving a tenon.

He removed the tailstock and parted through to the arbor at the headstock end before reversing the workpiece onto the chuck and tidying up the end with a spindle gouge so that both ends matched.

The spigot was removed by cutting towards the centre drilling.

Duct tape for additional security

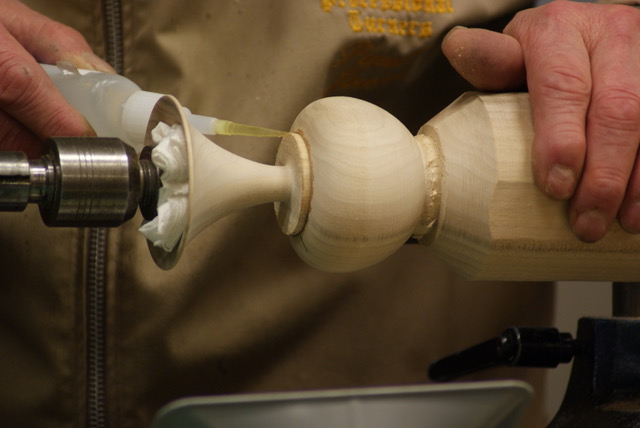
Greg reversed the tube once more, onto a jam chuck. He brought up the tailstock and then used duct tape around the chuck and workpiece for additional security.

Finally, he tidied up the end and used the tailstock for support whilst cutting through to the drilled hole to release the completed item.

The final stage would be to sand and finish the Yew Tube but we had run out of time and so Greg finished the demonstration at that point.

Completed YewTube next to demo item

Club Night – 15th November 2017

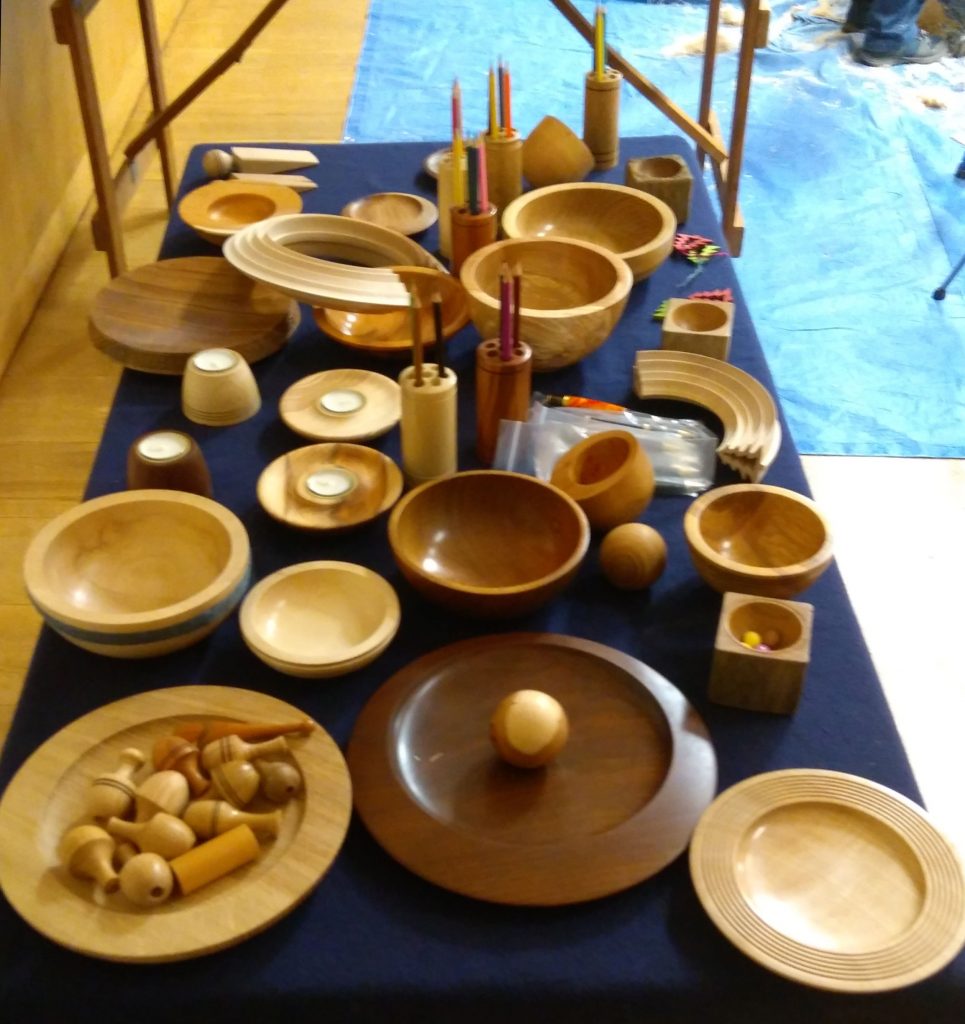
Although there was no competition at this, the second meeting of the month, there was a table full of goodies turned by Richard Wright, our demonstrator today. He made these for a charity sale and I’ve added a picture below because there was a good variety of items, always helpful when looking for ideas or inspiration. There are more pictures of these in the 2017 Gallery.

Richard’s output

Demonstration by Richard Wright, club member

Richard demonstrated how to make ring turned Christmas trees. Ring turning involves profiling a disc of wood to form a ring with the shape of the desired item, commonly animals or trees. Once completed, the ring is sliced radially to produce multiple copies of the shape. Keeping the slices thin minimises the wedge shape that would otherwise be formed if taking large slices. Ring turned items are usually solid but Richard’s trees are hollow, being made up of two sections glued together.

Ring turned Christmas trees. There was some discussion over the merits of turning the ring with the top of the tree on the inside of the ring or on the outside. Richard’s view is that the former is better as the tree naturally tapers towards the top when it is cut from the ring after turning is completed – as would be expected with a real Christmas tree.

The first step was to make a thin template out of thin ply for use in getting both the inner and outer ring profiles correct. The template was stained black to aid visual comparison in use.

The blank was mounted on the chuck and the face trued to make a disc. Richard used a steel rule to test it for flatness and said that, if struggling to get it flat, it can be sanded flat using abrasive wrapped around a piece of flat wood.

He cut a radial slot in the disc in order to allow insertion of the template later on so that it can be offered up against the developing ring profile.

Before commencing shaping of the disc, he placed the template in the slot and marked the external branches on the disc, then lightly scored the disc circumferentially in way of the marks with a parting tool.

With these preparations complete, he started by shaping the outside of the tree on the rim of the disc – the bottom of the tree – and then continued shaping using a variety of tools including a custom ground scraper.

Turning the outside of the trees

For the tool collectors among you, Robert Sorby have a few tools for ornamental work which were originally designed for making Christmas decorations. Good stocking fillers perhaps?

After a light sanding the disc was reverse chucked and dished on the other side in readiness for making the inside of the hollow tree form.

With the aid of the template as before, Richard marked out the inside branches and shaped them, taking care not to go through with regular checks against the template.

Once complete the ring was given a very quick and light sanding and parted off.

At this point the demo was considered complete as the next stage would be to cut the ring diametrically in half and then to glue the halves together.

A completed piece of Christmas Tree ring, ready for cutting into individual trees

Once the glue is set, it can be cut into the Christmas tree sections and decorated as required.

Tea light holder. After the ring was completed, there was still a little time left so Richard made a tea light holder of which, unfortunately I don’t have any pictures.

It was a very simple affair made out of an old square tableleg, rounded off on the top and bored out to accept a tealight holder (it is unsafe to put tealights directly onto wood). Despite being simple and quick, it was visually very effective, with bags of character due to the distressed nature of the wood.

That was it for the evening, Richard was thanked for his very interesting demonstration, and everything was cleared away until the next time.


Club Night – 4th October 2017

Hands-On

This was a hands-on session with a number of people beavering away at various projects, but no pictures I’m afraid as I was busy being shown how to get a good finish on a large lump of awful, nameless, Welsh pine. Thanks Mick!

Competition

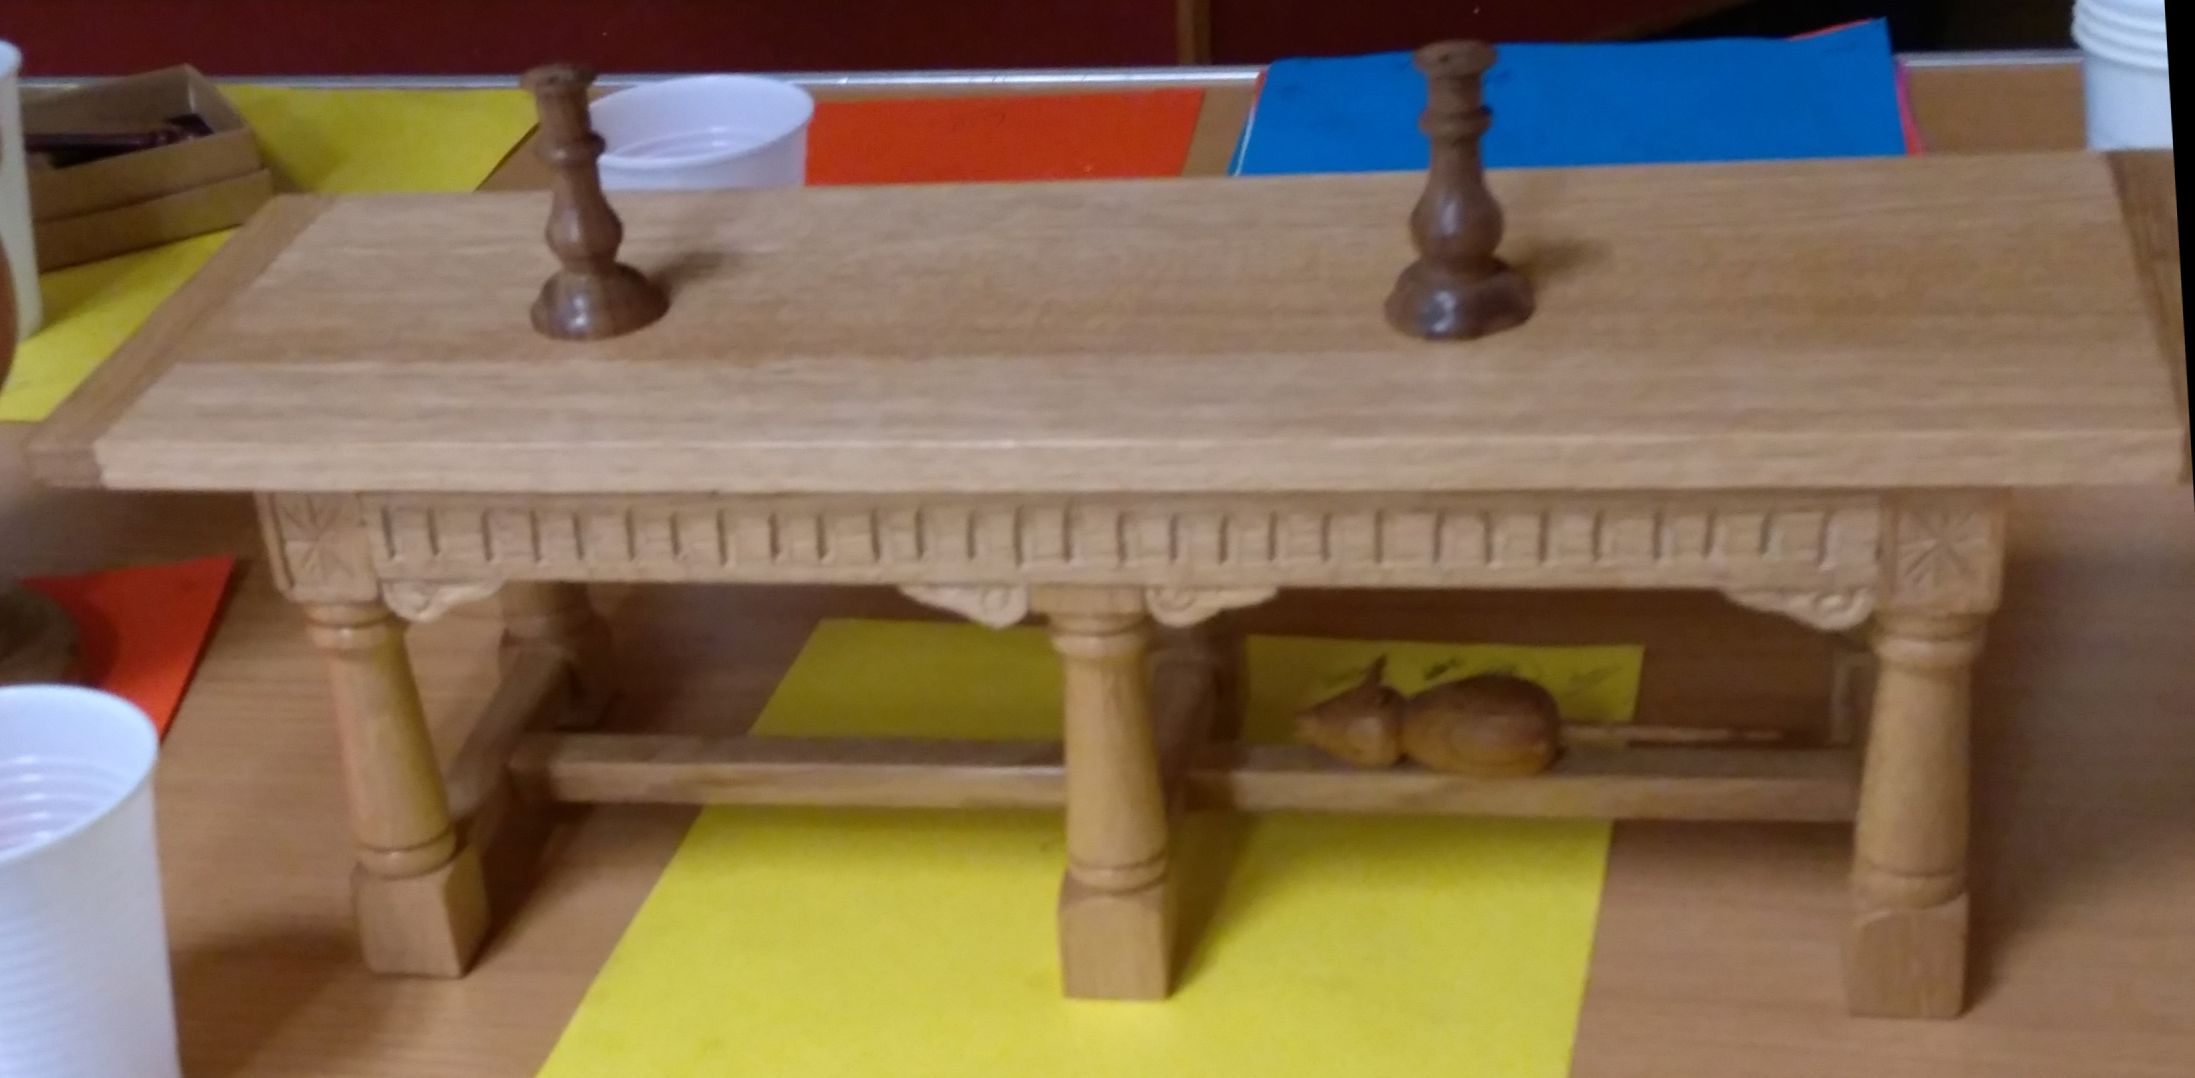
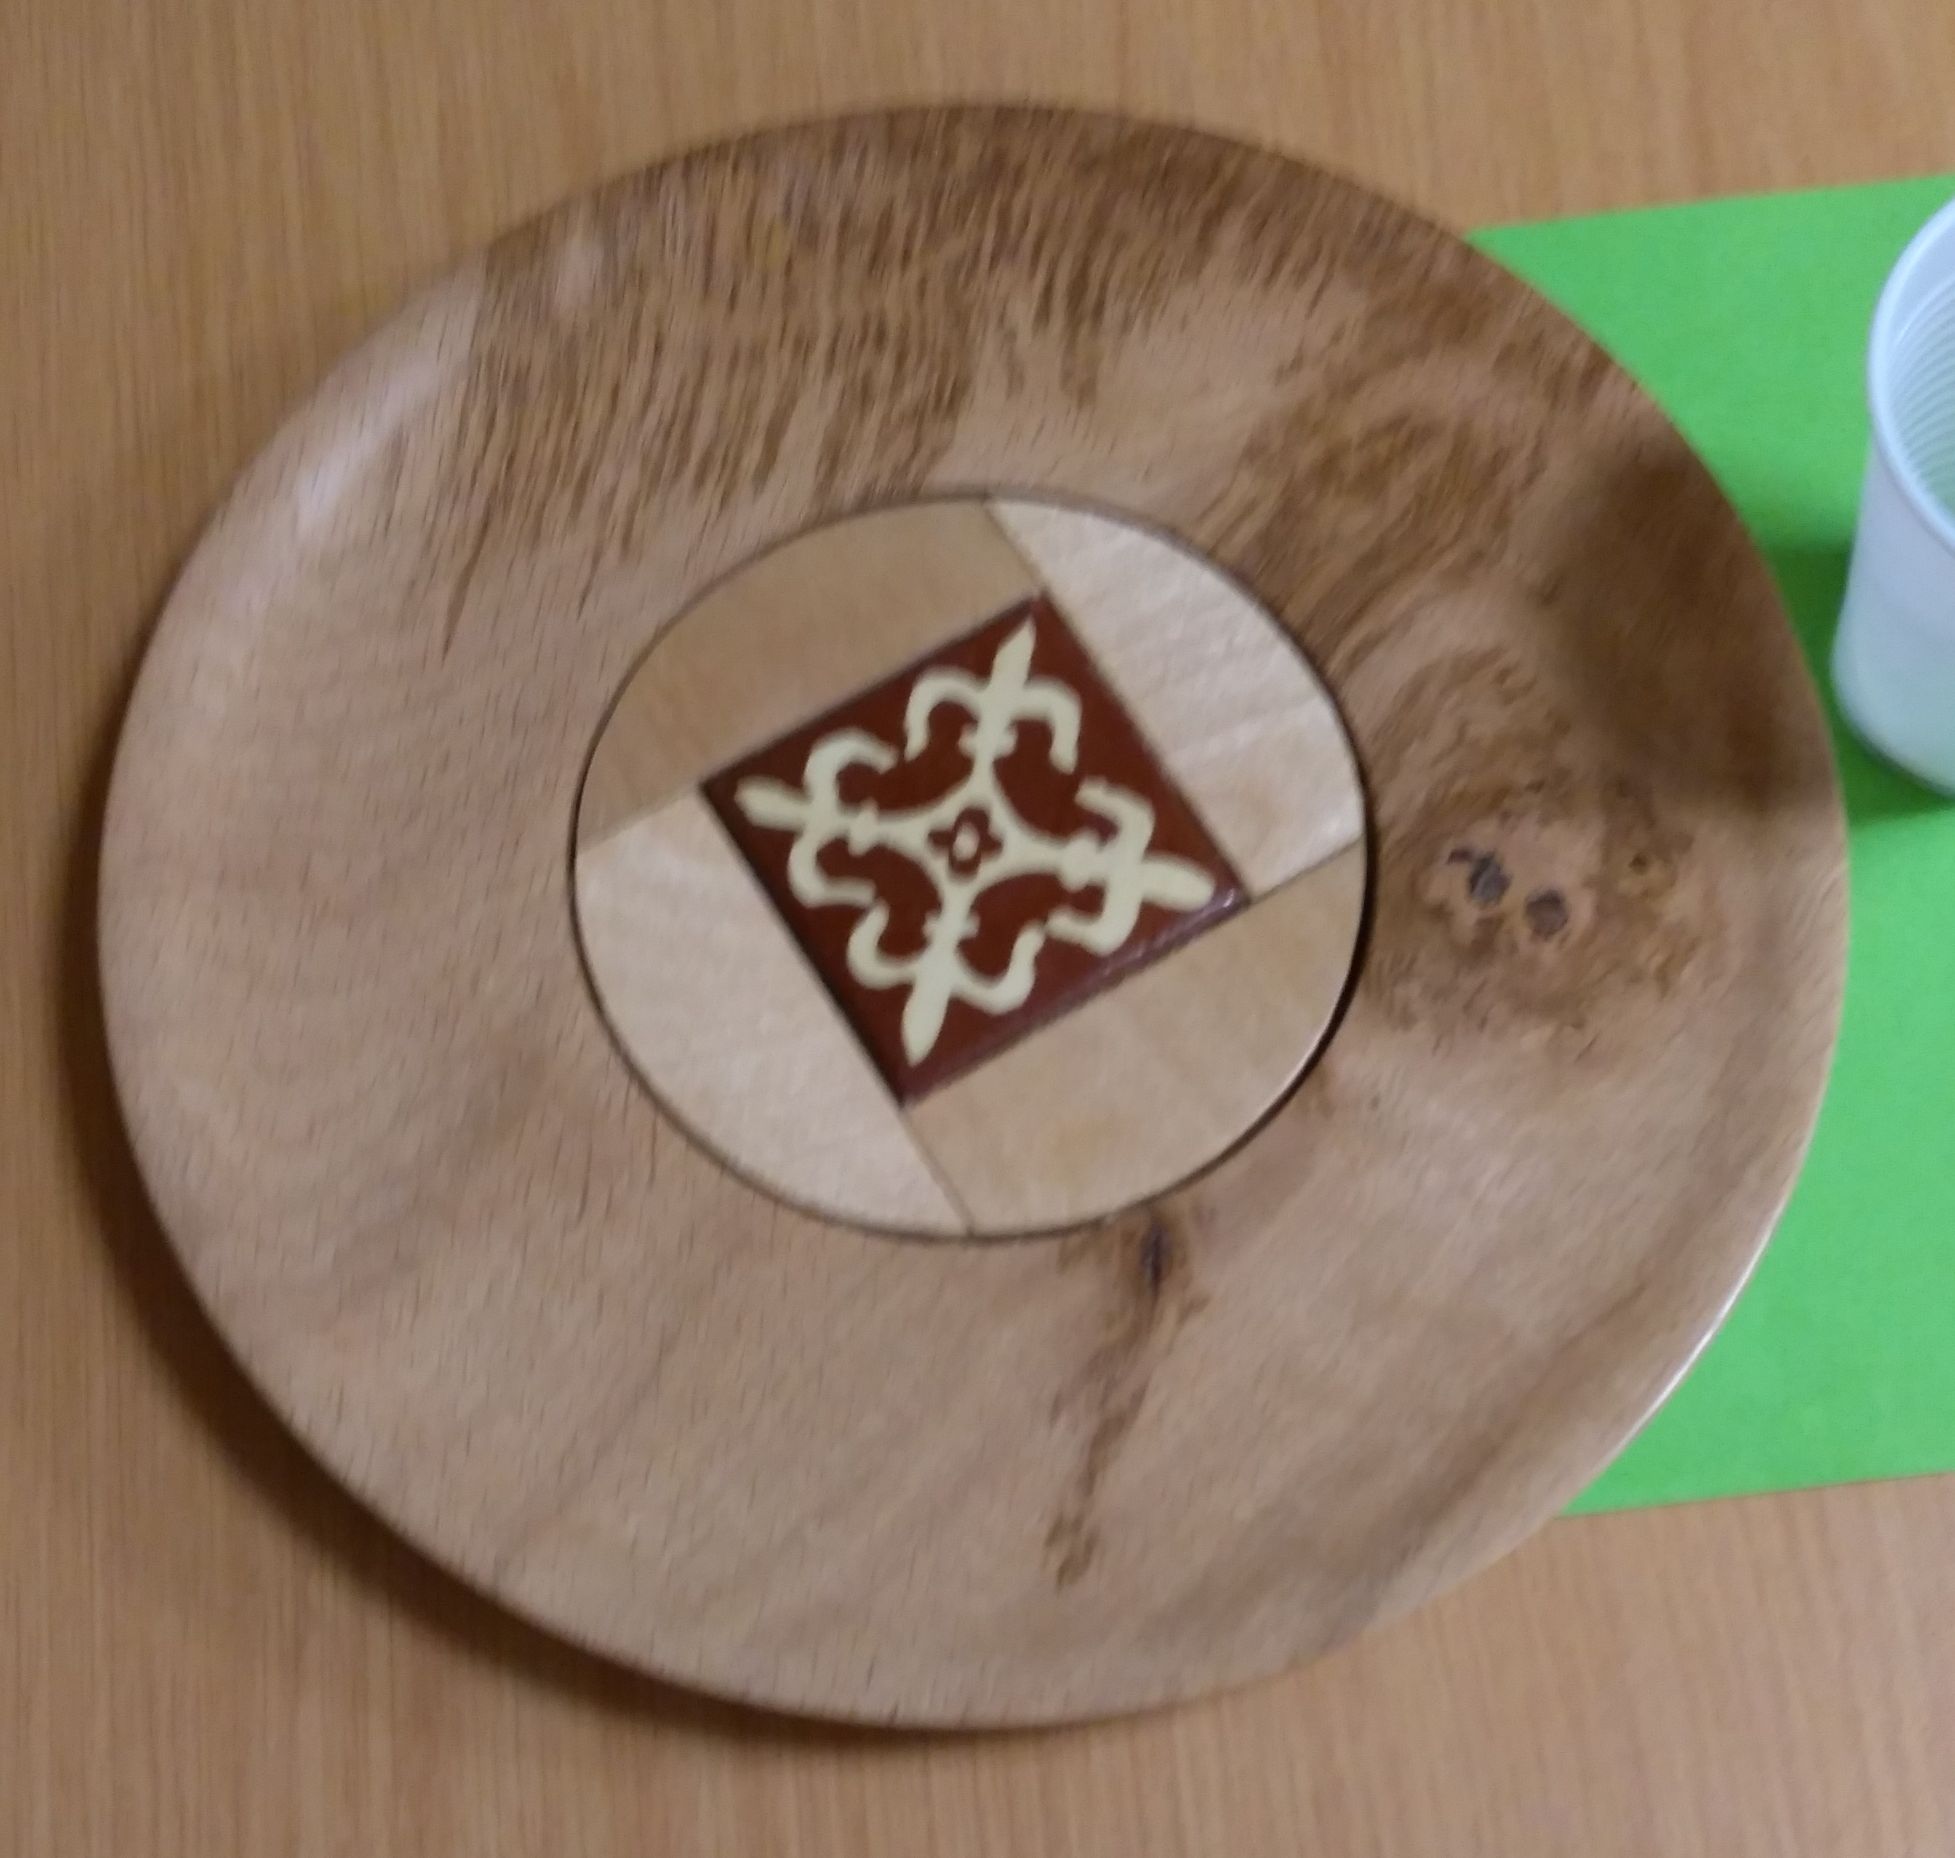
This month’s competition had an unusual diversity of styles with, amongst other things, a lovely little table complete with mouse and candlesticks, a beautiful lignum vitae vase and a very nice inlaid platter.

Mouse Table


Lignum Vitae Vase


Inlay Platter


Tony Wilson – 7th October 2015

Tony covered a lot of ground during his all day demo so I’m afraid I can only scratch the surface of all of the information he passed on. He managed to fit in five demos for us, a bowl, a scoop, a tray, a mushroom stool and two versions of a money box.

He started with a bowl and wanted to show us how to make the best of a cheaper piece of wood. He had a blank which, despite having lovely grain, had a bit missing and signs of ash bark beetle which limited its potential. He planned to make an ogee bowl with a broad but shallow top narrowing quite quickly to avoid the area of missing wood. But instead of committing himself to that he started carefully, exploring the wood to see what he could do to extract its full potential.

He began, as he did often throughout the day, with a quarter inch bowl gouge. His main reason was that by starting with a smaller tool he was limiting his chance of a bad catch. He was particularly cautious because he was chucking the piece onto a forstner drill hole which was parallel sided and the absence of a dovetail meant he had a less than ideal grip on the piece until he had created a spigot and reversed it into the chuck.

Stan Bryan – 16th September 2015

Stan stepped in at short notice when the demonstrator had to cancel at the last minute due to a family illness meaning Tom had to do some rather hurried phoning around.

Stan chose to demonstrate turning Banksia Nuts and had a selection of items he’d made a couple of which he demonstrated making.

Banksia Nuts are an Australian fruit rather like a woody pine cone. The velvety blanket protects the nut from fire and once the fire is over the seeds are released into ground which has just been fertilized with ash. They are named after Joseph Banks who discovered them on Captain Cook’s first great voyage.

The two items Stan planned to demonstrate were a mushroom – a little micro habitat for the garden or a bird feeder with some peanuts bunged in and a little branch-wood bowl

He had also made Tea light holders of various sizes and coasters.

See the bottom photo, bowl on the left, coasters, a banksia nut in the middle then tea light holder and finally the mushroom.

The nuts do cost. Expect to pay £5 or more each unless you’re regularly commuting to the outback and have room in your suitcase.

To make the small branchwood bowl Stan starts by tidying up the ends of the nut with a bandsaw then takes off a scallop to make a curved area and a flat along the back side.

He uses a steb centre in both both ends putting the flat side to the tail centre end and the curved side towards the headstock.

He suggests using chunky tools because the nuts are quite abrasive and there is quite a jolt when you hit a hole so he suggests taking it nice and slowly. The centre of nut is very hard so when there are gaps there’s a lot of contrast and the gouge jumps about a bit.

The nuts are dusty so it’s important to take adequate measures to protect against dust and there is the chance of flying nuts so a full-face mask would be advisable.

Stan starts by turning the outside and creates a chucking tenon.

He suggests you find the centre of the nut and make that the part you leave as it’s the strongest part of the nut and takes some cutting.

The outside shape can be either a gentle curve or a slight ogee.

Once the outside is done reverse the nut onto chuck bringing the tail stock up and work in carefully from outside leaving a mass of wood in the middle to keep it stable.

Follow the line of the outside, keeping the tail stock up as long as possible.

Once the centre’s off keep all the pressure going in to the chuck.

Stan said he often doesn’t use any finish as finishing them tends to darken them which reduces the contrast. He finished one side and left the other so we could see the contrast.

He did also turn a mushroom but I’m afraid I didn’t make any notes of that part of the demo.

It was interesting to see how banksia nuts turn but I have to confess it’s not something I’ll be rushing to try 🙂

Stan Bryan - 16th September 2015