Before the meeting got fully under way Doug Johnson made an announcement to the members that, for personal reasons, he has decided to resign from the club after 19 years of membership. Our Chairman, Mick Denton, thanked Doug for his years of service and input to the club and offered him an open invitation to visit any future meetings that he wishes as a guest. We all showed our appreciation with a warm round of applause.
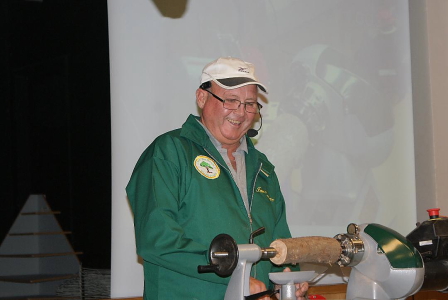
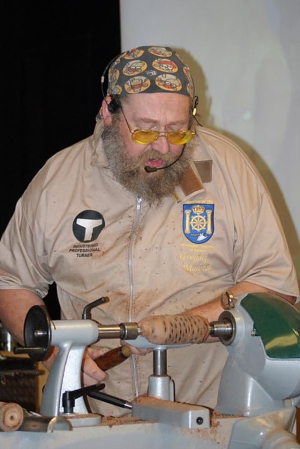
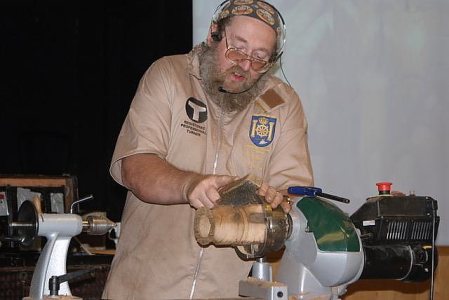
Tonight was the turn of Gerry Marlow to demonstrate his skills and provide inspiration for something a little different. Gerry introduced himself and outlined a very ambitious programme for the evening which covered a very wide range of projects.
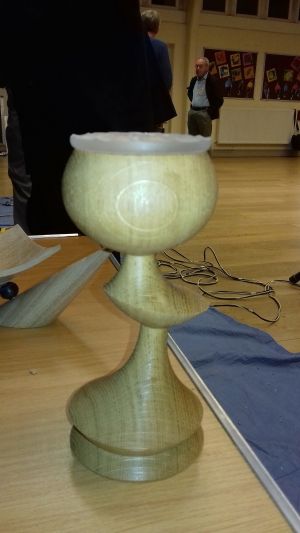
Firstly he was to produce an off centre turned goblet with a Perspex ornamental turned lid. The lid was created on one of Gerry’s home designed and built Ornamental turning rigs. Although this sounds a bit Heath Robinson ish the actual machine was far from it. It allowed set ups to cut patterns with automatic indexing and feeds. Really it was an awesome unit although Gerry did say that he had made another rig that could also oscillate along the centre line. Mind blowing! Gerry’s comment was that he enjoyed the design and making of the machines more that the turning itself. Anyway, the Perspex blank was mounted using double sided carpet tape and he set the machine going and let it run whilst he set up the blank for the goblet. The tape held remarkably well.
The goblet blank was turned to a cylinder between centres and a tenon created for the chuck. However, as this was for an off centre project it was a tenon with a difference. Slightly deeper than you would usually create and then formed into a bead which when put in the chuck acted as a ball and socket to allow the off centre but still safely hold the blank. The blank was first set dead centre and a cup turned hollowed and sanded as usual with the opening sized to accept the lid. The blank was then moved to an off centre position and the chuck re-tightened holding firm on the beaded tenon. The next part of the goblet stem was then turned and sanded and the goblet reset to centre to complete the rest of the stem.
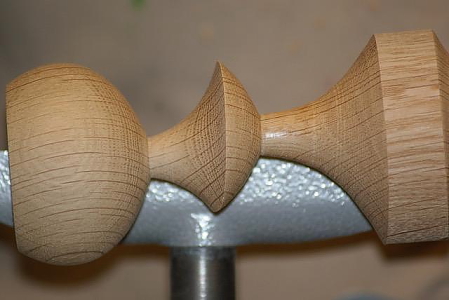 When parted off and the bottom cleaned up and sanded the goblet was united with it’s lid.
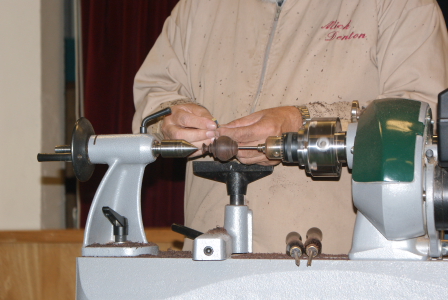
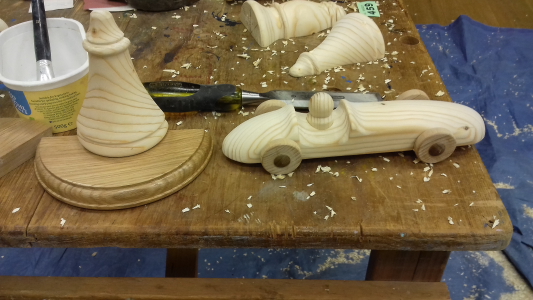
The second project was a combined square section earring bowl and ring stand. A square section blank was set between chuck jaws and a revolving centre and an spigot created in what will be the top of the bowl. This was reverse chucked and the outside of the bowl turned to a cone shape leaving the four corners in place.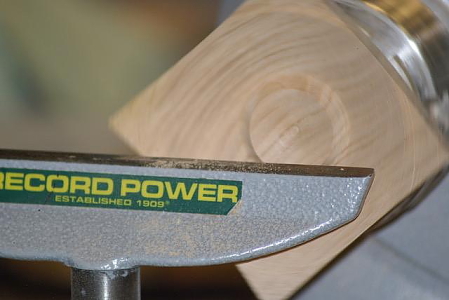 A small tenon was turned into the cone to fit the chuck jaws. The outside was sanded and then reverse chucked. The bowl was hollowed out again leaving the 4 corners and was sanded. A square section blank was then set between centres and turned to a cylinder which was then set in a chuck and turned to a long cone shape. The tip was detailed slightly for decoration and was sanded. The cone needed to be parted off but at an angle as close to the bottom of the bowl as possible. This was done with a tenon saw and the lathe stationary although Gerry did say that he usually does this on a bandsaw.
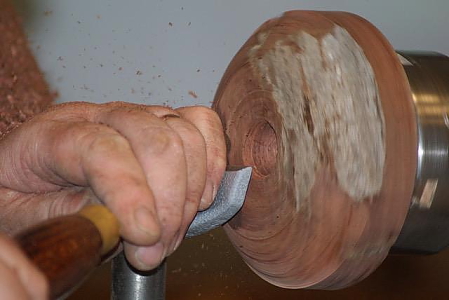
 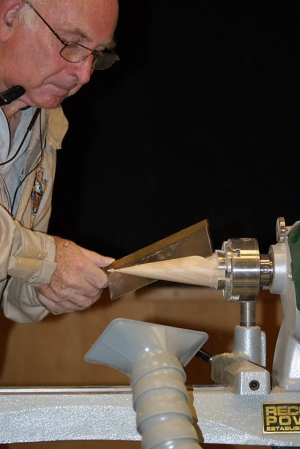 The base was sanded on a sanding block.
The next thing was to turn a connecting piece from a contrasting piece of wood.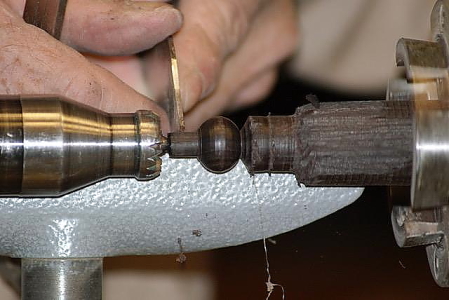 The critical point of this is to ensure the 2 tenons were the same diameter as the drill used for the holes that were created in the bowl and stand.

Once completed and sanded the bowl, stand and connector were assembled.
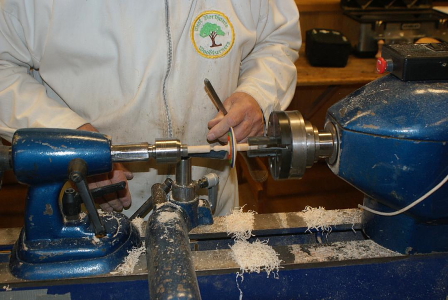
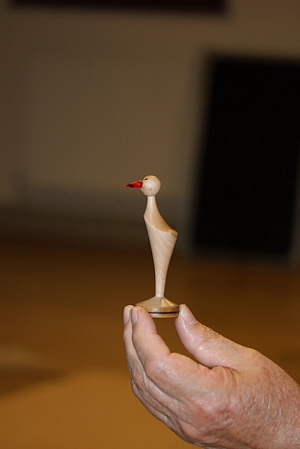
The third project was to make a very fine turned long thing (I did not catch what Gerry called it, sorry about that). A long piece of holly had been prepared to a square section on a planer/thicknesser and then the corners cut off using a jig on a bandsaw. This was fed almost fully into the headstock and fine finial like shapes turned in a short section. When that was complete the stock was moved out a short section and the next part turned and sanded. This was done until the whole piece was complete. Gerry used the tail stock to steady the piece by setting the empty quill over the end of the workpiece. It was recommended that the bore of the quill is cleaned before you do this as dirt etc could contaminate your work.
Gerry also showed some of his other creations which included items set in resin, if you want to try this do a test first as things like flower petals can go transparent.
This was a feature packed demonstration and we all learned something and took some inspiration from it.
The September competition was very well subscribed with lots of varied and impressive pieces on show.
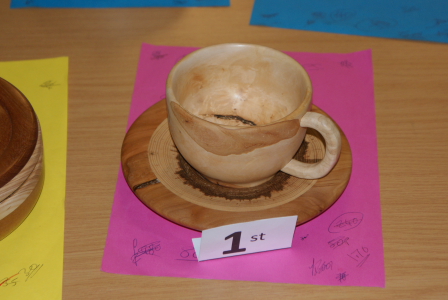
First place went to Bob Green with his large segmented lidded form.
Second was Gerald Hubbard with a Banksia nut lighthouse, presumably inspired by the demonstration done by Gregory Moreton on the 1st August
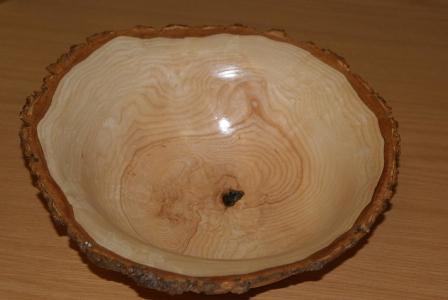
Third place went to Marcus Buck with a burr bowl
 The stem was then turned in short sections down to size as it would not be practical to turn it all in one go.
 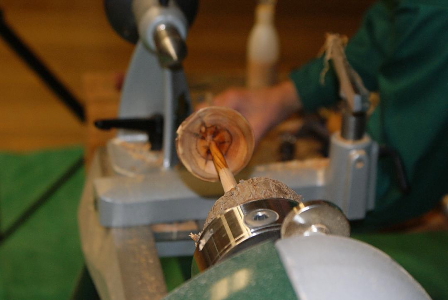 In this instance there were heart shakes on this log so Ian thought that to go really thin could be impractical and potentially dangerous as the piece could break up during turning. He opted for a long but less thin stem.
 Everything was sanded and finished with a type of friction polish.
 Although this was primarily faceplate turning it did show that useful and saleable items can be made relatively easily using such inserts.







 When marking out the location for the face plate ring Richard used a pair of dividers, however, he emphasised the safety aspect of having the left hand prong only marking the blank.

 However, when reverse chucked the number 1 and number 3 colossus jaws were the only ones used. The number 1 slide was set in the chuck and then wound in 2 or 3 turns before the number 3 slide was inserted. This created the offset. The only thing to bear in mind here is that only 2 jaws are being used to hold the work so any cuts should be light and care taken.


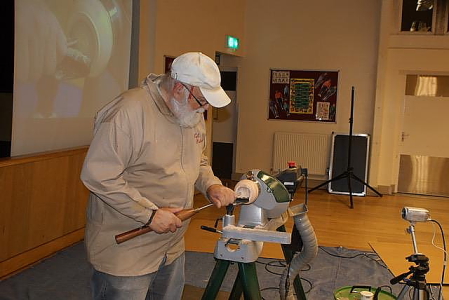 It pays to listen to your work as you turn it to pick up on any potential problems before they become dangerous.


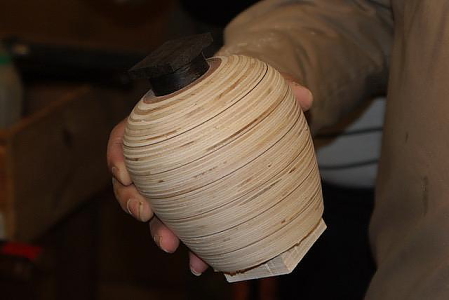 The turning proved to be entertaining with some banter adding to the evening.
 It allowed set ups to cut patterns with automatic indexing and feeds. Really it was an awesome unit although Gerry did say that he had made another rig that could also oscillate along the centre line. Mind blowing! Gerry’s comment was that he enjoyed the design and making of the machines more that the turning itself. Anyway, the Perspex blank was mounted using double sided carpet tape and he set the machine going and let it run whilst he set up the blank for the goblet. The tape held remarkably well.
 When parted off and the bottom cleaned up and sanded the goblet was united with it’s lid.
 A small tenon was turned into the cone to fit the chuck jaws. The outside was sanded and then reverse chucked. The bowl was hollowed out again leaving the 4 corners and was sanded. A square section blank was then set between centres and turned to a cylinder which was then set in a chuck and turned to a long cone shape. The tip was detailed slightly for decoration and was sanded. The cone needed to be parted off but at an angle as close to the bottom of the bowl as possible. This was done with a tenon saw and the lathe stationary although Gerry did say that he usually does this on a bandsaw.
  The base was sanded on a sanding block.
 The critical point of this is to ensure the 2 tenons were the same diameter as the drill used for the holes that were created in the bowl and stand.


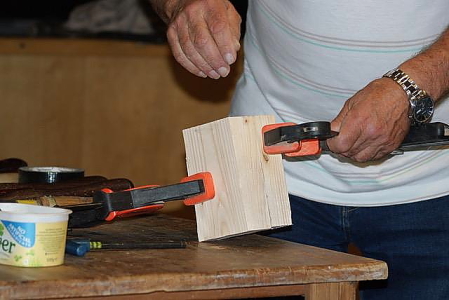
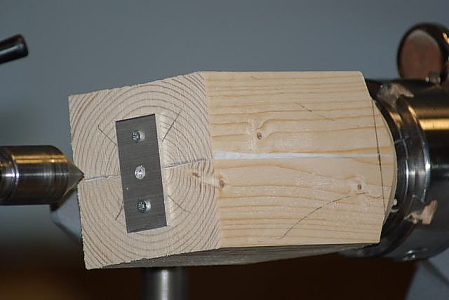 A ring centre is usually used because a pointed centre could break the glue joint before you complete the turning, however, Geoff added a simple bracket to counter this. The shape of the project was then turned out and then sanded and finished as required.
 In this instance the turned item created was support for a small shelf / plinth. The glue joint was separated using a sharp wood chisel and a hammer. The joint face can be sanded to remove the glue and paper residue and finished as required. The shelf top would be turned as a face plate project putting on whatever decoration etc you wish. This can then be cut in half so effectively you get a pair of shelves from the one set of turnings.
 The principles were exactly the same just the turning design needed to be finalised.
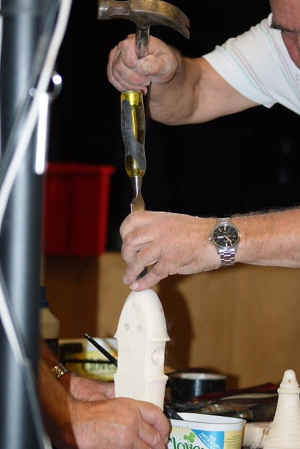 This particular blank proved difficult to split but apparently that is a problem that can frequently occur.

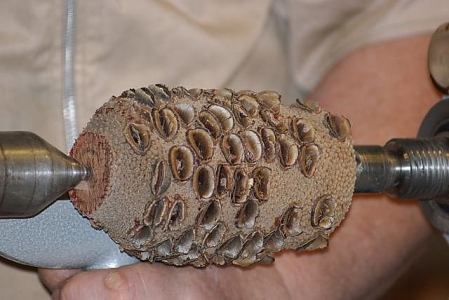
 One thing to bear in mind is that with Bansia Nuts the “grain” does not run as a normal log it is across the nut. Effectively it is faceplate orientation and should be turned and processed as you would a bowl blank. The next task was to drill through the centre of the nut using an auger.
  Tip here was not to drill more than one inch at a time and withdraw the bit to clear the swarf. Only drill half way through then reverse and repeat for the other end. A 1 inch hole can then be counter bored at one end to accept a mating tenon. The nut can then be remounted between centres using the hole and the outside trued up. The base can then be shaped to what you want with the top edge shaped so that the joint with the next nut can be disguised.
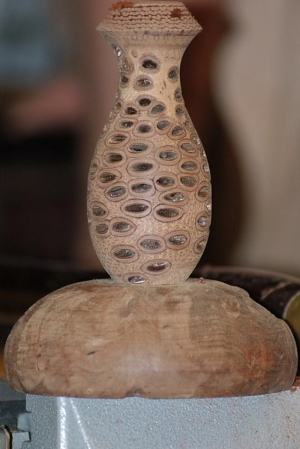 One thing you will need to do before finishing is to remove debris, seeds and sometimes critters from the holes. The little critter should be killed by the sterilising of the nut but if you get them from a non reputable source they could still be alive. As these nuts come from Australia they could be nasty. However, the risks are low. The fibres in the nut mean that sanding should be done first in forward motion and then in reverse to give the best finish.
 A hole is drilled through the side of the base into the centre hole so that a flex can be inserted. All of the parts should be finished. The whole thing can then be glued and assembled. Gregory showed us a table lamp that he had completed previously.
 It really did look interesting and different from the usual wooden lamps.
 The chucking marks are cut off as a slice on the band saw. The piece was waxed but the textured areas were brushed using a polishing brush in the Jacob’s chuck.


 The outside was then power sanded but to keep dust to a minimum Mick used a homemade sanding paste made comprising an oil/beeswax at 80/20 mix with a little lavender oil to make it smell nice. When the sanding is finished you can clean of the residue with a clean paper towel and it does not affect the finish that you want to apply. The abrasive does clog up but a quick brush with a stiffish brush soon clears it.
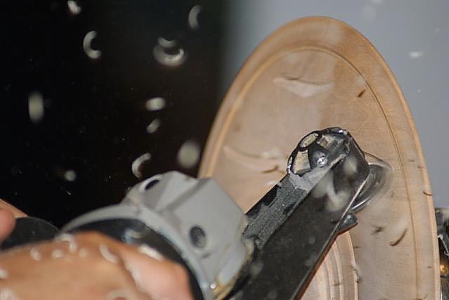 He then used a wire brush on a drill to texture the surface further working in line with the grain.
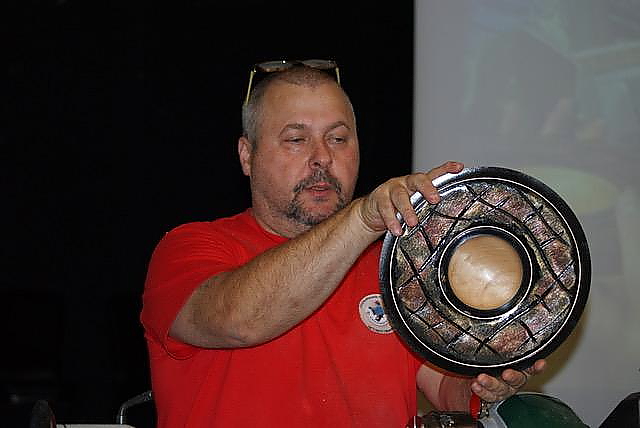
  Usually the face would then be scorched to remove fibres but in this instance it was brushed with a stiff brush then the face was spray painted with matt black acrylic lacquer. Make sure that all coats are fully dry before applying the next. Mick used a hair dryer mounted from the tool post to speed drying. A clear gloss lacquer was applied after each coat. This means that if the next coat is not what you want you can wipe it off without messing up the previous coat. An application of iridescent paint was lightly made with a sponge brush to the textured area to give a strong base.
  The next coat should not be an iridescent as it does not combine with the first coat, the next coat was a metallic red-gold applied with the same sponge brush very lightly and not covering the whole area. The last layer was a silver metallic again applied very lightly.

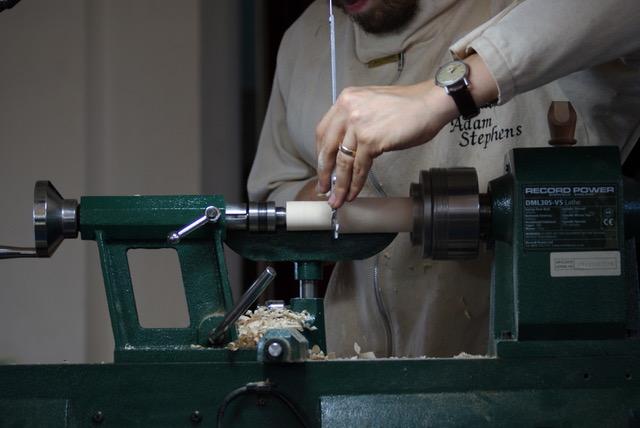

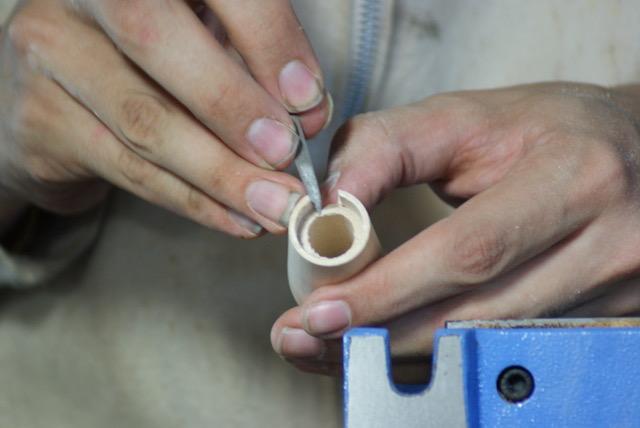


 This project incorporated off centre turning which was interesting. The square section blank was mounted off centre to start with so that when turned it left a flat spot which will be where the hedgehog lies. (Although on this occasion Clem forgot this part of the process so turned out a cylinder). Once the blank is turned out, the end at the headstock is rounded off to create the rear of the hedgehog. Once sanded and finished the blank was set off centre at the tailstock end approximately halfway from centre to the outside. This is then turned to an angle to create what will be the face.
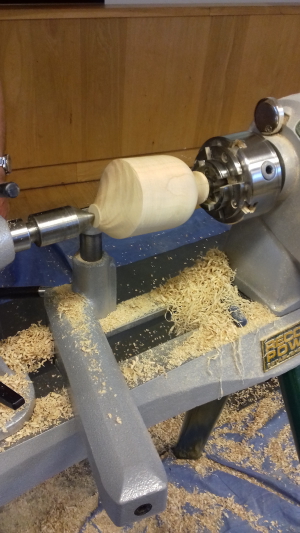

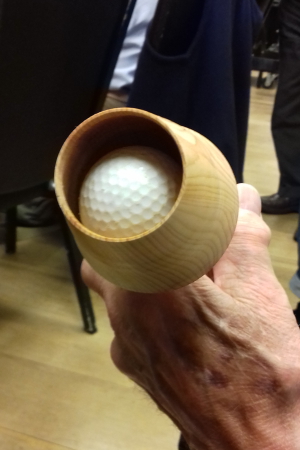 Unfortunately he ran out of time so could not finish the item but it did show how it was made. These have proved popular with golf clubs as trophies for “holes in one”.