Club Night – 16th May 2018

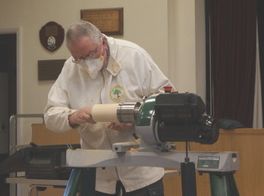
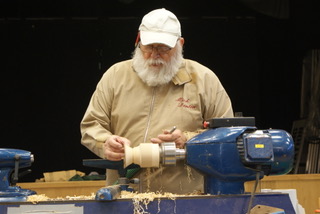
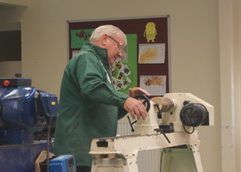
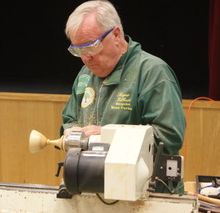
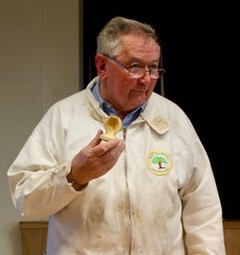
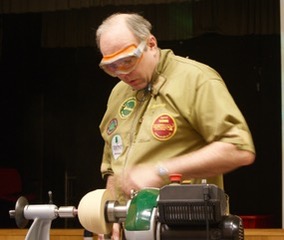
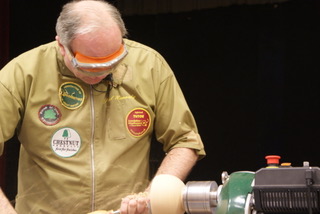
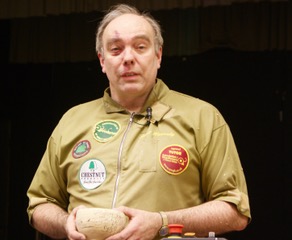
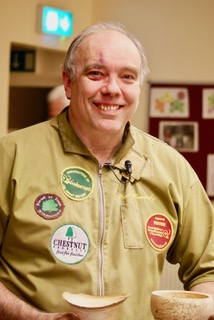
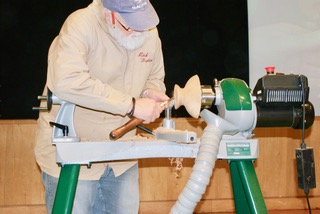
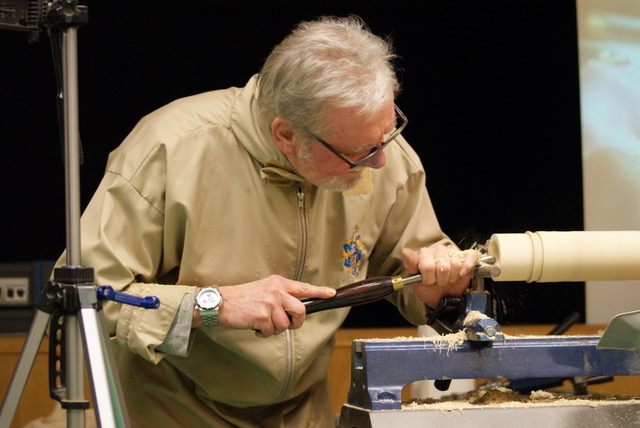
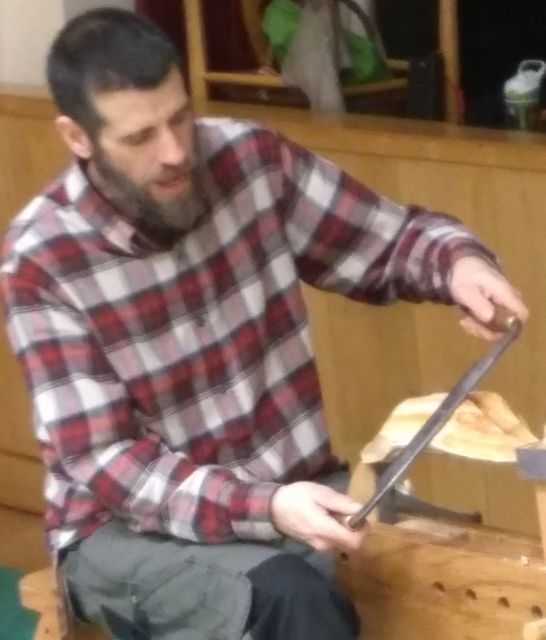
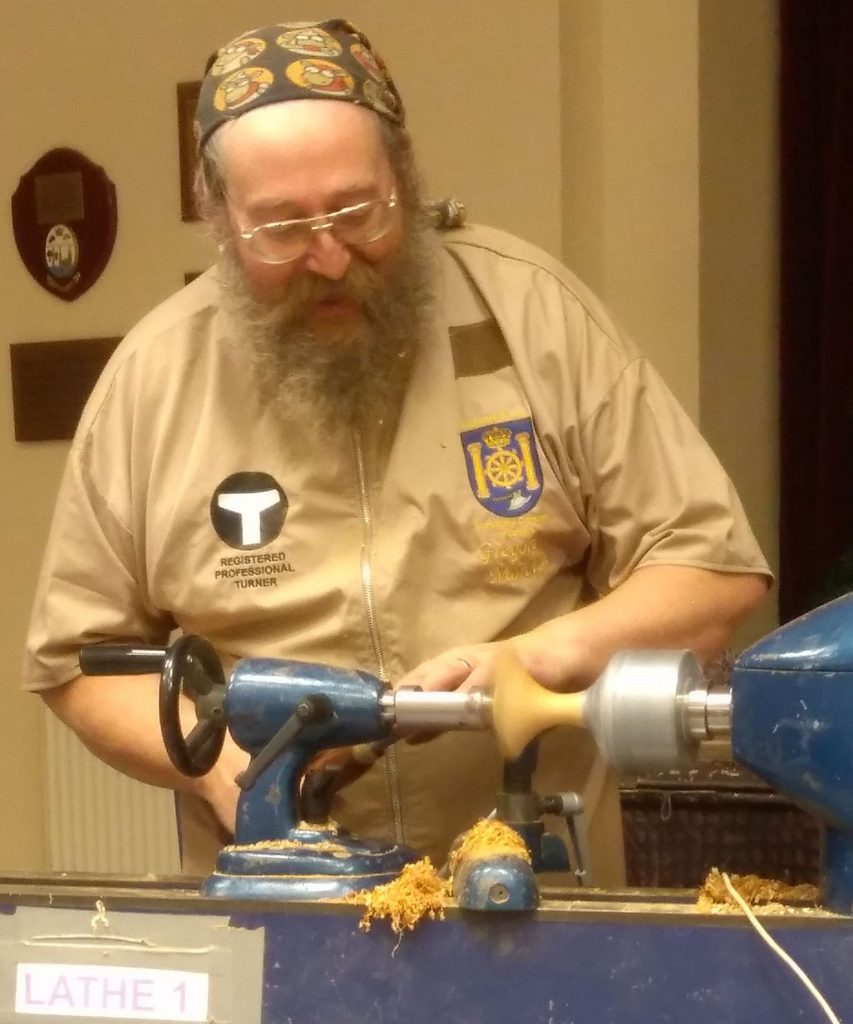
There was a good turnout for today’s meeting, with the demonstration being given by Colin Smith, who is the AWGB Regional Representative South East. Colin’s demonstration this evening shows an alternative way to create a hollow form vessel, based on a technique published by Richard Raffan in his book “Turning Projects”.

Demo by Colin Smith.

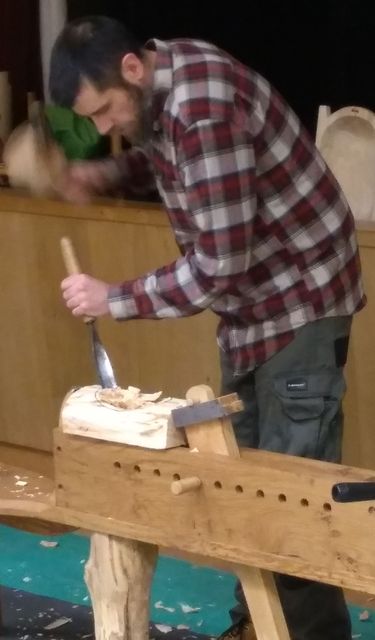
Ash Hollow Form Made In Two Sections – Colin explained the essence of the demonstration for the evening. When undertaking a hollow form project the hollowing part of it take up an inordinate amount of time. This can be reduced drastically by making the item in 2 sections and then gluing these together once hollowed. This mean that you can use spindle or bowl gouges instead of special hollowing tools. There is no time taken in clearing swarf from within the hollow form so unproductive time is minimised. The following is an overview of the process, not an instructional step by step guide.

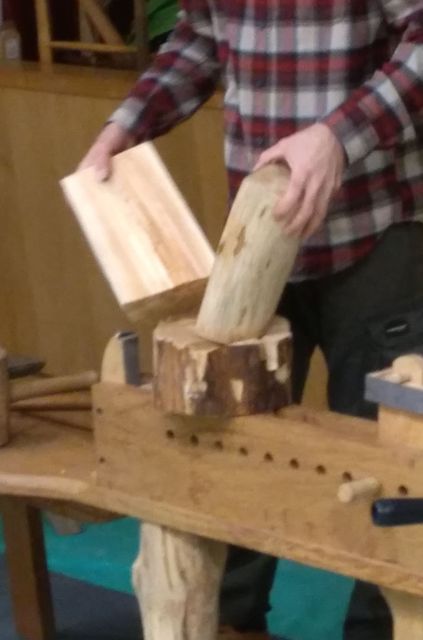
Colin first prepared the log by cutting it in half on the band saw. This was to make sure that the grain can be matched really closely at the glue up stage.

Each of the 2 sections were mounted in turn between centres and turned to round, rough shaped and a tenon created for the chuck.

The mating ends were measured to determine the optimum diameter that the glue tenon and mortice could achieve.

The bottom section was mounted in the chuck and the mating face trued and squared. This needs to be accurately flat so that the glue joint does not show. The predetermined diameter for the tenon was marked on the face and a 1mm deep tenon created. The blank can now be hollowed to the desired thickness using a spindle or bowl gouge as you would with any end grain hollowing.

This piece can now be removed from the chuck and the other section mounted. The process on this section was the same as for the bottom except that instead of a tenon a mortice is created to match the tenon on the bottom. The last bit of the hollowing would run out into what would be the spout of the piece.

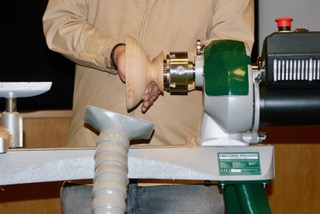
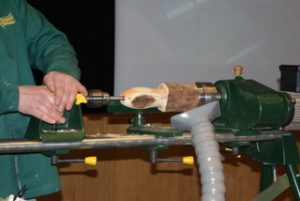
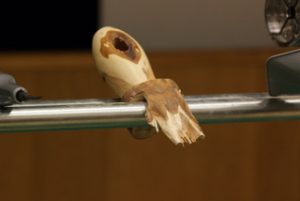
In this instance Colin did not complete the hollowing or gluing processes so allowing time to show the finishing. In true “Blue Peter” fashion Colin produced one he had made earlier up to the point of being fully glued and dried.
Colin showing one that he made earlier

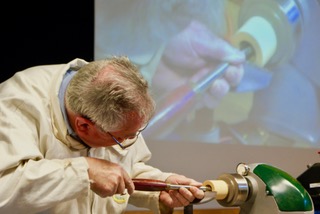
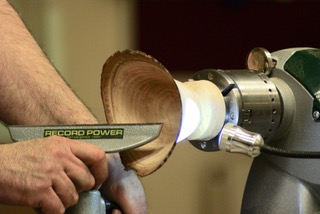
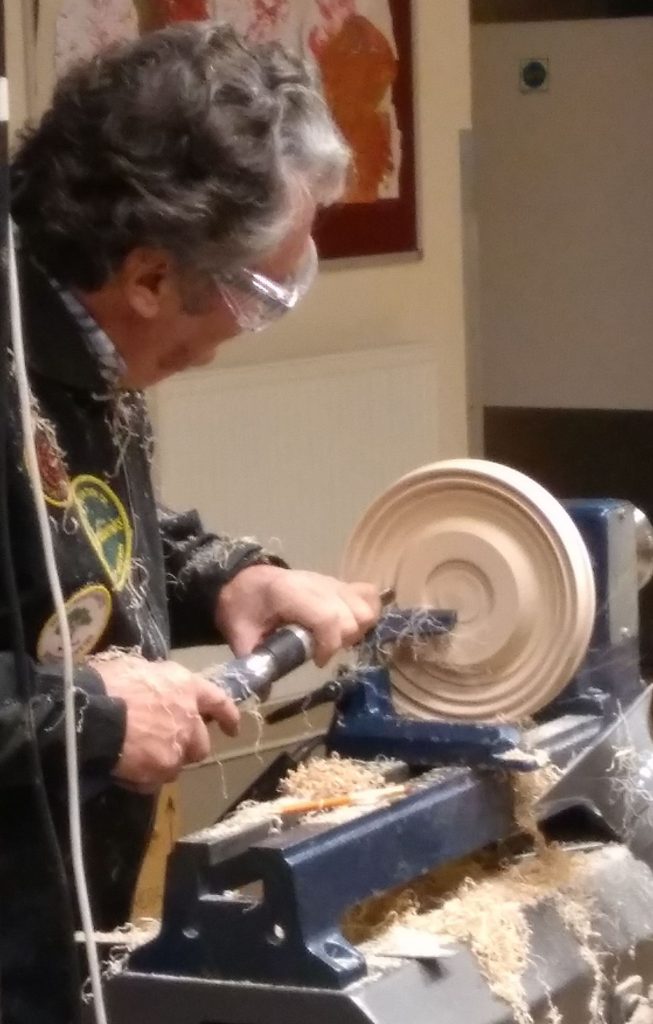
This piece he mounted in the chuck with the tail stock brought up to ensure centralising of the piece. The outside of the form was cleaned up and the final shape of the vase was created.
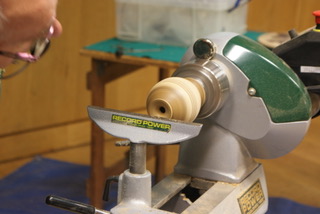
Working on the final shape

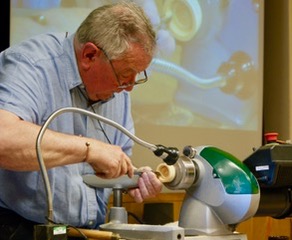
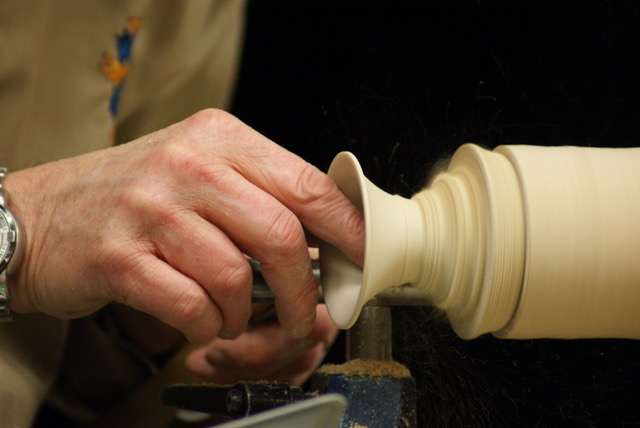
To disguise the glue joint further Colin produced 3 small beads using his “home made” beading tool. This was made from a ¼ inch spindle gouge that had become too short. It was ground off straight across at 45 degrees(ish) and because the shank was round could be rocked gently in use to create a nice bead. The first bead was made with the valley dead on the glue line, this must be accurate to make the best of the camouflage effect. Any further beads are made using the adjacent valleys to define the position.
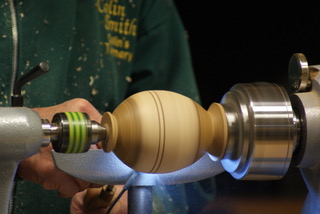
Creating the beads to disguise the glue joint

To enhance the beads further Colin used a knurling tool to create a texture on the beads, being careful not to damage the adjacent beads. Any slight tear out can then be cleaned up and the piece sanded and finished. Colin usually finishes his work with a carnuba/beeswax mixture, however, because of time constraints the sanding and waxing were not shown.

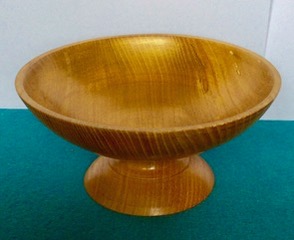
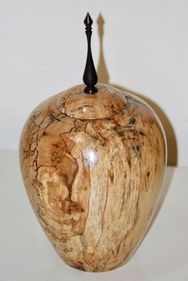
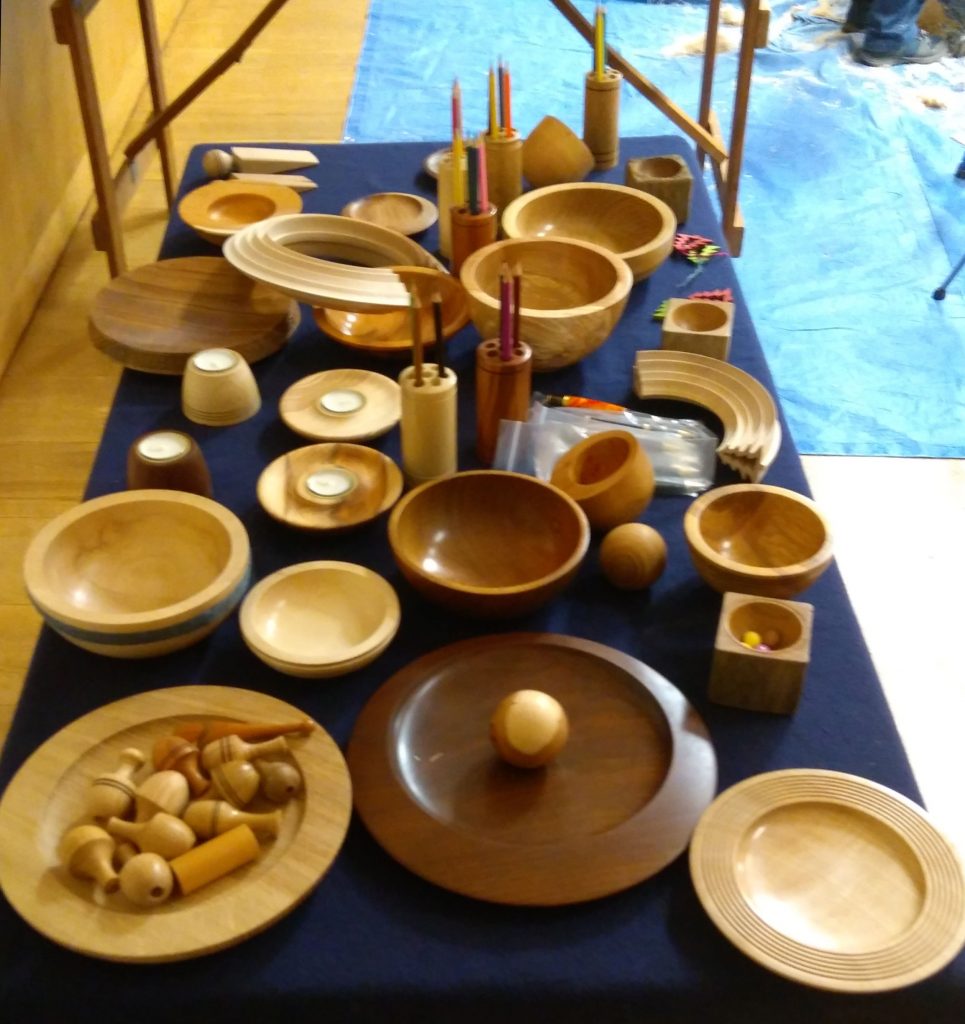
There were various other completed pieces that Colin brought along to show the standard that could be achieved.

This was a thoroughly entertaining and informative demonstration which should give us all ideas and insights into what we can achieve in our future projects.

One very serious point that Colin made during the demo was to do with shop safety. Recently he was working on a piece of sycamore which, when the bark was being turned away, produced lots of black soot like dust. Because he was using a filtered face shield that did not matter too much. He completed his work and went into the house, still all ok. However, when he went back to the workshop to clean up he disturbed the dust which he breathed in. This put him in hospital with serious breathing difficulties, so the moral of the story be very careful with your ppe and ensure that you keep yourself safe  even when cleaning up.

Club Night – 2nd May 2018

There were lathes all over the place today, some heading to vehicles for eventual transport to Daventry Woodworks and three of them being set up for the Three Turners May Showdown.

While the demo lathes were being set up, this meeting’s competition pieces were laid out, chairs set up – and, of course, the tea urn switched on to complete preparations for the evening’s activities.

At the end of the evening, the Daventry-bound lathes and a goodly number of pieces for the club stand at Woodworks were loaded into their transports and we all went our respective ways.

Competition

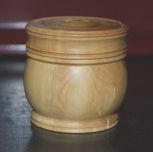
1st Gerald’s small box has excellent detailing and just “works” at all levels. Very nice!

Boxwood box with threaded lid, Gerald

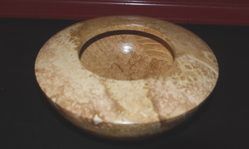
2nd A deceptively simple shape on this undercut burr oak bowl by Mick

Burr oak bowl, Mick

3rd As well as the flowers and the vase, Clive has managed to insert some segmented work into this nice display set.

Vase and flowers, Clive

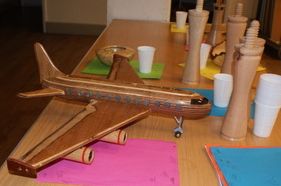
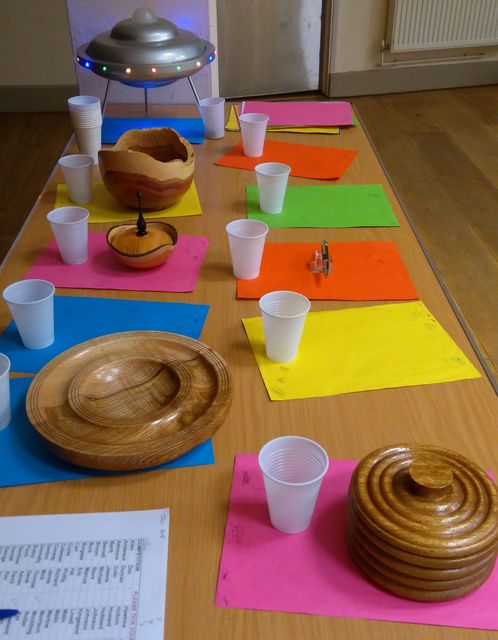
….and a picture of the table with some other items

RyanAir or BA??

Demonstration by The Three Turners – Mick, Gerald and Roger

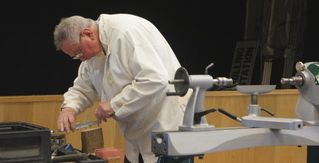
With Mick on the Poolewood, Gerald on the Coronet Herald and Roger on the Axminster, all very different lathes, the task was for each to produce a goblet from the supplied – and particularly nice – yew branchwood. All three turners have different styles and it was interesting to see them each go about it in their own ways. There was, of course, no element of competition whatsoever!

Gerald marking out
Gerald hollowing the goblet

Concentration levels were high both behind and in front of the lathes and the time flew by until it was teabreak and raffle time. Mick, unfortunately, went through the bottom of his goblet and had to start again, but he recovered well and his second attempt was commendably brave with a thin stem and a pleasing shape to the cup.

Mick shaping his first goblet

After refreshment the trio continued, with Roger the first to finish, but all three completed very nice goblets within the time available and were given a good round of applause for their efforts.

Roger mounting the blank
.. and nearly finished

As mentioned above, the level of concentration from the turners and the degree of attention from the audience was notable throughout the demo; it really was an excellent demo. Many thanks to Mick, Gerald and Roger for their efforts.

Club Night – 18th April 2018

For today’s meeting, Gerald was demonstrating the techniques and tools he uses to make his lovely little boxes with screw tops. He also had a selection of other boxes on show to illustrate a few of the many variations on the box-making theme.

Demo by Gerald Hubbard

Boxwood Box – After a short introduction, Gerald mounted the boxwood blank onto the scroll chuck and parted off one third of it for the lid. Upon inspection, the parted faces looked good, with no voids as are quite often found in boxwood.

Showing sectioned box

He hollowed out the box using a long-grind spindle gouge, forming a slight undercut to the opening and finishing off with a scraper to clean up the inside.

Hollowing out the body of the box

Next, he shaped the outside with a spindle gouge and formed a spigot for the lid using a beading and parting tool. Finally, a thin parting tool was used to form a rebate at the bottom of the spigot, for thread relief.

This spigot then had a thread of about 14 tpi formed upon its outside surface with the lathe running quite slowly. This is the bit that is considered difficult by many people but Gerald made it look easy, with deft use of the thread chaser supported on a Robert Sorby 893H tool support or similar type. The tool support is itself supported on the tool rest and allows free tool movement, invaluable when thread chasing. Gerald explained that, for thread cutting, the tool rest needs to be very smooth and the underside of the tool support needs to have a mirror finish to ensure smooth movement.

As best I can explain, the process was as follows. The thread chaser was first placed at an angle to the lathe axis against the top edge of the spigot to start the thread and then repeat cuts were progressively brought in closer to parallel to the lathe axis until actually parallel. As the thread chaser engaged with the newly formed thread it was engaged the thread and was pulled along to the bottom of the spigot, whereupon Gerald lifted it off before it struck the top of the box wall. This was repeated a few times until he was happy with the thread.

This left the top edge of the thread quite sharp and prone to binding up or breaking in use, so Gerald took the edge off it and then rubbed a bit of wax onto the thread to aid smooth operation.

He sanded the inside of the box and refined the outside shape using a skew chisel and a spindle gouge before sanding through to 320 grit, finishing off by applying a paste wax direct to the wood and buffing with a paper towel. The final finish was not gloss, but a very attractive matt sheen.

After a very welcome tea break, Gerald parted off the body of the box from the blank, and the (previously parted) lid was mounted in the chuck jaws.

Hollowing out the lid with a spindle gouge, there was more noise than expected; found to be due to a loose cover screw, quickly rectified. The lid was also checked for a secure fit in the chuck – just in case!

With nothing about to come flying off, Gerald continued with hollowing the lid, frequently offering up the box body to check the lid diameter, and to get a light witness mark to aid in the final shavings – which were taken with a scraper.

With the lid internal diameter now correct, he started cutting the thread at about 400 rpm. Although an internal thread, the procedure was the same as before, starting with the thread chaser at an angle to the edge of the lid, moving to parallel as the thread became established. This continued, with regular tests of the lid to check the diameter, until it would start to screw on, but then tightened up.
Cutting the thread on the lid

He explained that it is easy to carry on thread chasing until the fit is too loose so, at this point, he took the sharp edge off the top of the lid thread and tried the fit again. Perfect!

With the lid still in the chuck, the body was screwed onto it and the base cleaned up, taking light cuts with a spindle gouge, and detail lines added with a tri-point tool.

The base was sanded and waxed as for the other parts of the box.

In order to finish off the top of the lid, it needed to be parted off, reversed, and somehow held in the chuck. To do this, a piece of scrap was mounted in the chuck, turned to size, and an external thread put on it to suit the lid – same procedure as before. The lid was screwed onto this piece of scrap and shaped and decorated, the latter being in the form of beads generated with a tri-point tool. The technique here was to plunge the tool in, roll it, and drop the handle.

The lid was sanded and waxed as before, and the box was now finished.

A few tips:

  • If there is torn grain, sand it with fresh wax on the wood.
  • The body and lid edges can be adjusted so that the grain matches when the lid is screwed on.
  • Don’t start the thread on the first thread of the tool; start one or two threads back.
  • A thread may be easier to start if waxed the night before, giving the wax time to soak in.

For such a small box, this was a fascinating demo, and made to look very easy. Thread making definitely looks like a challenge worth taking on some time, although Gerald did say that most people need lots of practice to master it. Something else on the to-do list!


Club Night – 21st March 2018

There was a good turnout for today’s meeting, with the demonstration by Paul Hannaby. As soon as everything had been set up, Paul began his demonstration, making two bowls. After the first bowl and a quick break for tea he resumed the demo, continuing until it was time to clear everything away.

Demo by Paul Hannaby (www.hannaby.com/) (www.creative-woodturning.com/)

Spalted Beech Bowl – After a short introduction, Paul mounted a spalted beech blank onto a screw chuck and trued up the face before forming a tenon using a spindle gouge with fingernail grind.

Beech Bowl, shaping the outside

He shaped the outside with a bowl gouge, refining the shape where necessary with a fine shear cut using the wing of the fingernail grind. A slicing bevel-supported cut gives a better surface finish but he finds that is not quite so controllable in shaping the curve. He also demonstrated the use of a scraper in place of the wing of the gouge.

Paul explained that a parabola makes a nice bowl shape, and this can be illustrated by holding a piece of chain at both ends, allowing the chain to fall into a parabola shape. By varying the distance between the ends of the chain, the height and curve of the parabola can be changed until a pleasing shape presents itself as the best option.

Once happy with the shape, it was chuck mounted on the tenon and the tailstock removed to allow room for sweeping the bowl gouge smoothly throughout the full arc whilst hollowing. This allows the gouge to remain supported by the bevel all the way to the centre of the bowl, making sure no pimple is left at the centre.

Beech bowl, hollowing

He started hollowing a few cm from the middle, working towards the centre. Taking care to start the cut positively in order to avoid the tool skipping, the tool handle was held well away and down, so that there was bevel support as it entered the cut, raising the handle as he pulled it towards him to finish at the centre.

Paul explained that it is important to stand in a suitable position to swing the gouge smoothly all the way through the curve – and to be aware that the range of movement increases as the hollowing progresses.

Once the basic shape was achieved it was refined: mainly by taking more out of the centre to deepen the bowl and maintain a regular wall thickness.

As the bowl became deeper, the 3/8” bowl gouge began chattering on the bottom – a sign that the bevel angle of just under 50 degrees was not suitable for the width/depth ratio of the bowl. He switched to a similar gouge, but with a bevel angle of just under 60 degrees allowing better bevel support. There was less chatter but the start position entailed reaching over the lathe still further.

At this point, Paul would normally have sanded inside the bowl but, as tea break was called, didn’t do so. Also to save time on this occasion he didn’t, as he would normally do, reverse the chuck onto a padded mandrel approximately matching the internal curve of the bowl, hold it in place with the tailstock, finish the foot, and sand the outside.

Beech bowl, completed

For a simple bowl like this, he would treat it with a foodsafe mineral oil, to be re-applied periodically by the bowl’s owner.

Natural Edged Maple Bowl – The blank for this bowl (thought to be maple) showed a number of small cracks, hopefully to be removed in the process. As usual with NE bowls, care is advisable in mounting the blank so that the bowl will be of regular thickness and even “wing” heights.

This was achieved by mounting it between centres (bark end towards headstock), and adjusting it off-centre on the tailstock end to orient the NE as desired in all planes. The blank was out of balance, necessitating low initial revs, but the main concern is to achieve even wings on the finished product.

Before starting turning, the 4-point spur drive was manually milled through the bark into solid wood, to give better contact. Paul did this by turning the wood by hand whilst applying pressure by winding the tailstock in but it could have been done by drilling with a Forstner bit.

Face protection is always advisable when woodturning, but doubly so when there is bark involved, as it is likely to fly off, and it may contain stones or other foreign bodies.

Paul trued up the end face, using light cuts initially to remove the high points, and then used dividers to mark a chucking tenon. The tenon was cut out using a bowl gouge, taking care to ensure that it was less high than the chuck jaw depth.

Initial shaping of the outside was at a slow speed, and cutting outwards towards the rim – but stopping short of the bark edge to reduce the risk of it coming off. Paul explained that winter-cut wood is also better in this respect; the bark is less likely to come off than with actively growing wood.

The outside edge was shaped by cutting inwards from the rim (against the grain), taking care to find the invisible, spinning edge before moving the tool forward.

Shaping continued with alternating the directions of cut as above until the shape was satisfactory.

The bowl was mounted on the chuck, taking care to centre it accurately as the final wall thickness will only be 2 to 3mm. If unable to to do this, Paul would first take a cut on the outside to true it up before hollowing.

As hollowing with the bowl gouge progressed, Paul noticed that the ings were thinner than the rest of the body so he corrected this on the next cut, removing wood only where required. Once below 5mm thickness, he continued in stages from the free end, not returning to the thin sections once completed as they were no longer stable. The thickness was gauged by shining a light through the bowl wall.

NE Maple Bowl, nearly done

Unlike the beech bowl made earlier, the shape of this bowl was suitable to complete using the bowl gouge with 50 degree bevel.

Having gone as far as time allowed this evening, Paul will later sand the bowl by hand, mounting it on a padded mandrel for doing the outside. He will finish it with oil and does not expect it to crack any further although an original crack was still visible. Being thin, such bowls will warp rather than crack if wet.

Paul gave a lot of tips and explanations while he was working, all of which made for a thoroughly engrossing demonstration, and the evening passed all too quickly before it was time to pack everything away. And… despite having crammed in so much into a short period, Paul also managed to find time to have a chat with some of us about AWGB membership in his capacity as AWGB Chairman – many thanks for your time Paul, much appreciated!

A good evening’s work

Club Night – 7th March 2018

What a busy meeting this was! We opened up the hall an hour earlier than usual so that Roger (rwblisselectrical@outlook.com) could get set up in the corner and crack on with PAT testing our electrical equipment, lathes, grinder, A/V gear etc. He was able to complete it all without missing too much of Mick’s demonstration and I’m very pleased to say that we are now now fully up to date.

While Roger did his bit, a few of us set up the tables and chairs, the lathe for Mick’s demo, and the cameras and screen, so that all was pretty well ready to go by the time everyone else turned up at 7 o’clock. This just left the tea urn to be switched on (crucial to a club evening), and the competition pieces laid out for judging before Mick started his demo.

At the end of the evening, so much gear had been taken out of the store for testing that it was a bigger job than usual to sweep up and put everything away, but it was all completed and the hall vacated in the allotted time to finish off a very productive meeting.

Competition

The pictures below show some of this meeting’s entries and also the proud makers. Well done gents!

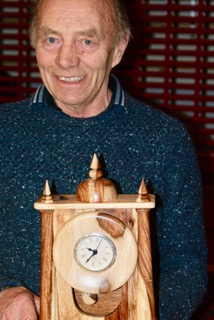
Bob with Clock

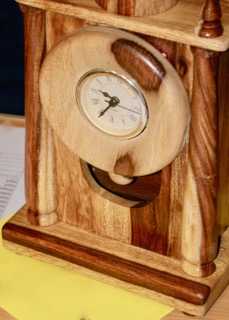
Clock, Bob
1st  This clock by Bob had loads of small details and plenty of interest in the woods used.

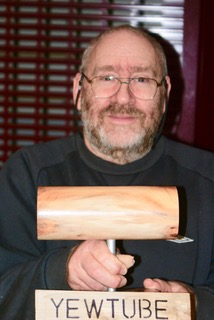
Adrian withYewTube

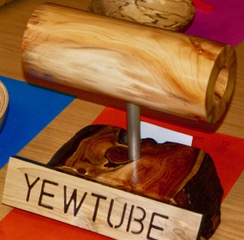
YewTube, Adrian
2nd  A slightly tongue-in-cheek version of Gregory Moreton’s Yew Tube by Adrian

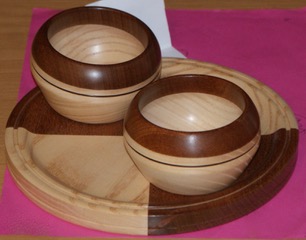
Clive with platter and bowls

Platter and bowls, Clive
3rd  A very nice set by Clive, with good choice of woods and no gaps between the segments.
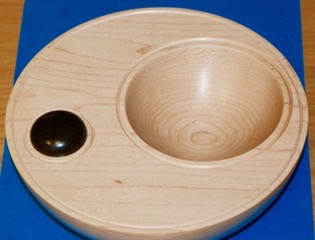
Offset bowl
Protruding Bowl


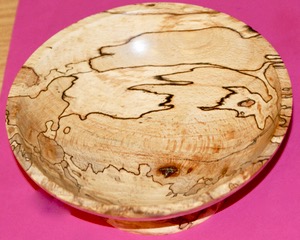
Here I’ve added pictures of three very different bowls from the competition.


The reason?


Spalted bowl


Because I like them all!


Demonstration by Mick Denton, club Chairman

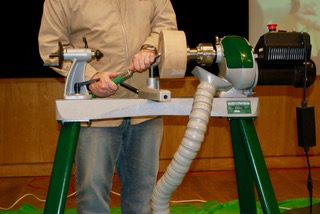
Mick demonstrated the making of a tazza, a wide, shallow dish on a stem. This was the first time our new Coronet Herald lathe had been used in anger so the demo was of particular interest on this occasion.

For the tazza he used a well seasoned piece of elm – with a rather alarming crack in the circumference. The end with the crack was chosen to be the base in the hope that it would be removed as the diameter was reduced, which fortunately did turn out to be the case.

The blank was initially mounted on a small screw chuck and the lathe run at slow speed while the face was trued up and an internal tenon formed. It was then reversed onto the chuck and an internal tenon formed on the other side.

Starting the tenon

With the workholding now sorted out, Mick trued up the circumference and started shaping the underside using a bowl gouge. He increased the revs gradually as the blank came into balance and as the cracked portion was reduced in size and eventually picked off; final speed was about 1300 rpm, used for most operations after this point, including sanding.

He completed the shaping, recessed the base and added detailing with a tri-point tool.

Detailing the foot

The underside was finished off with sanding with 240 and 500 grit abrasives, then coated with a 50/50 mix of cellulose sanding sealer and thinners before wiping it all down with a paper towel.

The tazza was now reverse chucked ready for hollowing out the bowl.

Hollowing was started using a bowl gouge working from the rim towards the centre, but a substantial piece of wood was left in the centre at this stage to aid stability whilst turning the edges of the bowl.

Once the edges were down to the final thickness of about 5mm Mick used the bowl gouge to remove the centre portion, working from the centre outwards.

To finish off and refine the shape, he used scrapers very carefully in view of the bowl sides flexing and vibrating.

Finally, the inside of the bowl was sanded as for the outside, 50/50 sanding sealer applied with a brush and wiped with a paper towel before being allowed to dry. With the lathe stopped it was then rubbed down with 800 grit abrasive.

Sanding inside the bowl

To get a nice, light bowl of even wall thickness, the outside was given a light cut with a 3/8” bowl gouge before being once again sanded.

Mick shaped the stem for a pleasing transition between base and bowl, and gave it some detail with a modified bedan tool before sanding it down and applying 50/50 sanding sealer.

To decorate the tazza Mick next rubbed gilt cream onto the inside of the bowl. Only a little gilt cream was used, rubbed in thoroughly with a paper towel. To remove the surplus it was buffed with a paper towel at 140 rpm, then buffed at 500 rpm, and finally at 750 rpm to give it a shine.

With the inside complete, Mick gave the outside a rubdown with 800 grit abrasive (lathe stationary) before applying sanding sealer, rubbing it down and then applying Wood Wax22.

A final polish with a paper towel and the tazza was complete.

Completed tazza, side view

Completed tazza, gilded bowl

Mick often uses Black Bison wax on elm as it works particularly really well with the wood colour and grain. He also said that he usually puts a clear spray lacquer over the gilt cream,  £4.99 from an automotive shop.
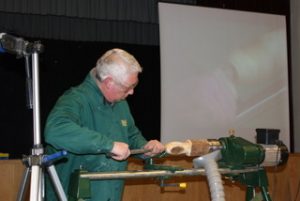
…and he was very happy with the new lathe – smooth, quiet and did everything asked of it.
Club Night – 7th February 2018

There was a good turnout for the meeting today, despite the cold weather, and a good selection of pieces for the competition. The pictures below show just the “winners” but special mention must go to Bob for his “Paul Jones replica goblet” – very nice. The equipment and chairs were set up, the video equipment fine tuned and everyone settled down for the demo by Marcus.

After the demo, it was a quick scramble to put everything away, sweep up, and conclude another enjoyable evening.

Competition

The joint third place, by the way, doesn’t indicate indecision on the part of judges; the places are awarded purely on how much money the club members put into the Air Ambulance collection pots associated with each piece.

Hollow form with lid and finial, Mick

1st Another hollow form by Mick, with his trademark black finial.Hollow Form with lid and finial Mick D

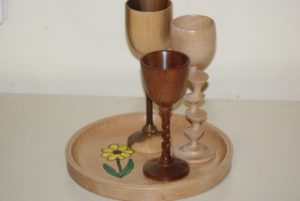
Goblets and platter with coloured pyro, Clive

2nd Goblets on a platter by Clive, with a nice extra touch in the form of some pyrography and colouring.

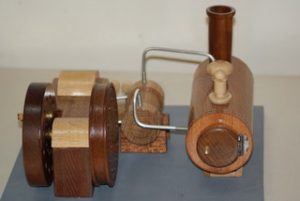
Mammod stationary steam engine, Adrian

3rd Who else but Adrian? Mammod stationary steam engine, nicely executed, but doesn’t run as well as the real one that he used to own!

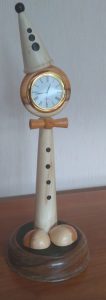
Clown clock, Duncan

3rd This clown clock by Duncan was a satisfying way of using up some scraps of sycamore, bog oak and yew.

Demonstration by Marcus Buck, club member

Marcus said he had been wondering for some time what to demonstrate but then decided to make a yew vase with what turned out to be an unusual base. Certainly not something that I, and most of his audience, had seen before.

He started off with a piece of well seasoned yew branch about 375mm long and 75mm diameter, initially set up on the chuck with gripper jaws, and a live centre in the tailstock.

The main body of the vase was shaped using a spindle roughing gouge and a spindle gouge, leaving some bark and hollows in the vase to add interest.

Drilling out the centre

The next operation was to drill into the interior of the vase with a Forstner bit, taking care to keep the lathe speed down, and feed rate slow, to avoid overheating the wood, as yew is particularly liable to checks forming when overheated.

Hollowing in progress

Once the hole was drilled to approx final depth, Marcus hollowed out the vase using a tipped tool – I think it was a Hope 6mm Pro carbide tool.

As the hollowing progressed, a crack appeared along the length of the vase, which was prevented from spreading further by filling with thin superglue. He waited until the glue had set before resuming hollowing – highly advisable if airborne superglue is not wanted!

As planned, the tool broke through the hollow areas as the wall thickness decreased, adding further interest.

Once down to about 5mm wall thickness, he finished off the outside with a small spindle gouge and sanding through the grits, with the lathe on a fairly slow speed to avoid overheating and checking.

Finishing was with sanding sealer, rubbed down with a paper towel before applying microcrystalline wax. After a few minutes the wax was buffed with a paper towel, making several slow passes over the vase whilst applying moderate pressure.

After the tea break and raffle, Marcus turned his attention to the base, giving it a roughly oval shape before taking the vase off the lathe.

Most of the base was cut away with a saw, to leave just a fairly thin piece projecting downwards from the bottom of the vase.

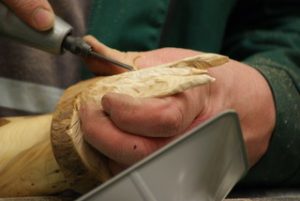
Carving the extended base

He marked out the remaining part and used a Proxxon carving tool and Dremel to shape it into a more natural form. A suitable finish will be applied later, in Marcus’s workshop.

The vase can now be sat on a small block of wood or legs, or over the side of a flat surface to give the impression of it floating above the surface or flowing over the edge. There are many other presentation options, depending upon one’s imagination!

Completed vase

The hole in the side of the vase and the extended base really made it quite different from the usual, and generated a good deal of interest as well as a hearty round of applause from the audience.

Club Night – 17th January 2018

The meeting today was almost entirely given over to the demonstration by Paul Jones. The equipment and chairs were set up, an introduction made by Mick, and Paul launched into his demo. There was a quick break for tea and then Paul resumed the demo, continuing until it was time to clear everything away.

Demo by Paul Jones (www.pauljoneswoodturning.co.uk/)

Paul planned to show us how to make a hollow form on a very long and slender stem.

The hollow form consists of a “trumpet” and a “bowl” turned separately from tulipwood and then glued together.

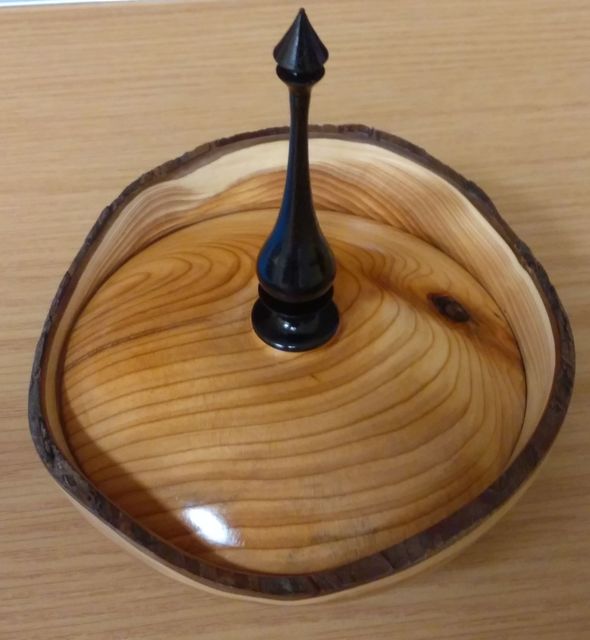
The stem and the base are also separate parts but unfortunately there was no time to make them – the picture shows one that Paul had previously made. In this instance the stem was to be made from sapele.

It was an enjoyable demo and Paul made it look easy, well within the capabilities of ordinary turners, although the long and thin stem is rather daunting and it would have been nice to see the techniques employed. He explained clearly what he was doing at all times and passed on a few comments regarding his preferences for doing things in a particular way, some of which I have included below

Preparation

He said that he likes to run the lathe no faster than necessary, to be gentler on the wood.

Started with a square blank of tulipwood between centres.

Rounded with a roughing gouge, leaving a bit of square on the edge to aid location in chuck jaws.

Put a 40mm long straight sided tenon on one end with a beading/parting tool, to suit the O’Donnell jaws, which hold the long unsupported length of wood very securely.

Mounted the wood in the jaws and brought the tailstock up for initial support.

Trumpet

The first difficulty showed up immediately when Paul tried to mount a 10mm dia drill in the tailstock – the small Vicmarc lathe is too short to accommodate the length of the wood plus drill and chuck. No problem, he hollowed out the trumpet for a short distance with a spindle gouge, until there was room to insert the drill bit and then to drill to about 70mm, defining the depth of the trumpet.

Reduced the outside to approx the final diameter and marked the base of the trumpet. (Skew and spindle gouge).

Used a spindle gouge and Simon Hope 10mm hollowing tool to hollow out the inside.

Hollowing The Trumpet

Paul prefers to define the shape by cutting on the bevel from outside to inside as he finds this gives him better control of the shape and finish, although it is slower than cutting on the edge from inside to outside.

Tucking the tool handle under the arm and moving the body gives better control than purely hand/arm control when using the long Hope tool.

Sanded the inside.

Spindle gouges used to shape the outside of the trumpet.

Testing Trumpet Wall Thickness

He used fine cuts and sharp tools as it got thinner, steadying it with his fingers. Paul uses calipers to gauge the even thickness of the wall thickness as he finds fingers can deceive. Final wall thickness was around 1.5mm, and 1.5/2.0mm at the joint to the bowl.

Reduced to around 16mm diameter at the base, blended into the curve and sanded.

The slightly tapered joining tenon of around 38mm dia was formed and then parted off from the blank.

Bowl

Marked out a 38mm dia circle on the end of the blank and drilled with a 35mm dia Forstner bit to about 35mm depth.

Hollowed out the inside with the Hope hollowing tool. The bowl is not functional so doesn’t strictly need to be hollowed, but it is done to reduce weight on the thin stem and improve the balance of the completed object. There’s no need to go too thin and it is advantageous to leave a fairly heavy rim, to accept the tapered joining tenon.

Marked the intended bottom of the bowl on the outside and shaped the outside of the bowl.

Refining The Inside Of The Bowl

Refined the inside of the bowl to match the external profile.

Ensured there was an accurate centring mark in the bottom of the bowl and drilled a 7mm hole through the bottom – this will accept the tenon on the top of the stem.

Assemble Trumpet & Bowl

Refined the 35mm bowl rim to suit the trumpet tapered joining tenon. Paul likes to use a round skew for this as it avoids fouling the rim and makes it easier to creep up on the correct size and taper.

When it appeared correct, he tested it by using a padded cup centre in the tailstock to push the trumpet in – not too hard! Once the tenon was a nice fit, and slightly proud of the bowl rim, he removed the trumpet.

Gluing Trumpet to Bowl

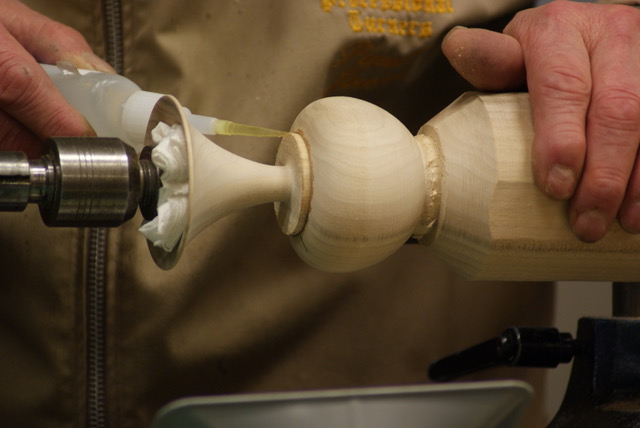
He then applied CA glue and pushed the trumpet tenon back in, taking care to align the grain of bowl and trumpet. More glue was then run around the join; capillary action will take it right into the joint.

Cleaned up the tenon and bowl with a shear scraping spindle gouge until the surfaces flowed in a smooth curve, the join visible only due to the line of CA glue.

He hid the glue line by scoring it with a tri-point tool, and scored two further lines inside the glue line.

Blacked the lines with a piece of Formica pressed into the grooves, then skimmed very lightly over the surface with a spindle gouge to remove any overburn.

Formed a shouldered spigot about 16mm diameter at the bottom of the bowl – this had the previously drilled 7mm hole through it, ready to receive the stem.

Finally, he sanded all over, and parted off the assembly.

The Completed Item

Stem & Base

At this point, time ran out and Paul was unable to make either the stem or the base, but the picture shows a completed item.

Club Night – 3rd January 2018

This was the first meeting of the month so we had both a competition and a demonstration, details below.

Competition

The winners are shown here, with some other pictures in the 2018 Gallery.

Yew bowl with lid and finial, Mick

1st  Signs of Mick trying to muscle in on Gerald’s territory here, with a lovely little lidded yew bowl with a finial.

Natural edged yew bowl, Roger

2nd  This natural edged yew bowl by Roger is simple but attractive.

Table with Star Trek, Adrian

3rd  Star Trek by Adrian,  guarding the table with the other entries. Complete with multi-coloured lights.

Demonstration by Lee Stoffer of Covert Craft (www.covertcraft.com)

This was a very different sort of demonstration as it was nothing to do with woodturning! Lee is a wood carver, and a previous demonstration by him was very popular, so he was invited back again. Although not woodturning, there are similarities, including a need to “read” the wood and work with it not against it, and to cut downhill where possible.

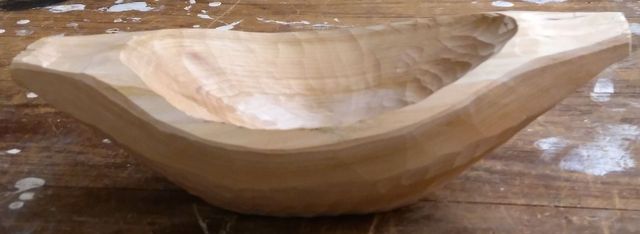
On this occasion he made an oval bowl out of green wood from a willow tree, with the work carried out on a carving horse of his own design.

He first split log through the pith using a froe. The flat side of the log was to become the bottom of the bowl, the curved side the top.

Splitting the log

Using an asymmetrically bevelled axe for easier control, he straightened up the edges, and flattened the bottom of the bowl to provide a reference face, working both along and across the grain. He also squared up the ends.

Mounted on the horse,  the flat faces were cleaned up with a scrub plane, a drawknife and a No.4 smoothing plane.

With the round side up, he marked the centre then put screws in the wood on  the longitudinal axis about 140mm either side of centre (280mm apart). Lee then made up a loop of string about 305mm long when pulled tight, placed it round the screws and pulled the string out with a pencil to describe an ellipse – the inside of the bowl rim.

He started hollowing out with a hollowing adze by making an initial hollow across the minor axis and then worked along the major axis towards this hollow, thus reducing the likelihood of a slip damaging the rim of the bowl. A roughing gouge could have been used – more accurate but slower.

Hollowing with a roughing gouge

Finishing to the line of the rim was carried out with a roughing gouge and mallet. The inside of the bowl is shaped before the outside as there is less likelihood of splitting.

To clean up, a hand pushed gouge with a sharp curved edge was used. A spoon gouge could also have been used – in fact any sharp curved edge would do.

The rim outer edge and the handles were next marked out; the rim is about 20mm thick.

Lee used the axe to trim the ends around the handles, and remove surplus wood at the sides and underside.

At this point, the shape was now roughed out – but still faceted as the flat facets made it easier to control the axe.

Shaping continued with an adze, including finger grooves on the underside of the handles.

Refining the shape with a drawknife

He then rounded off the edges with a drawknife, working downhill to avoid lifting the grain.

The bottom was made flat, with just a slight hollow in the middle – but it is expected that the wood will move as it dries out and some finishing will be required.

The last stage tonight involved more shaping, now with a spokeshave – pushing not pulling. Another technique involves using a gouge to apply a scalloped finish.

Finished – now wait to dry

The bowl will now be allowed to dry then finished off with gouges.

Club Night – 6th December 2017

This was the first meeting of the month so we had both a competition and a demonstration, details below.

Competition

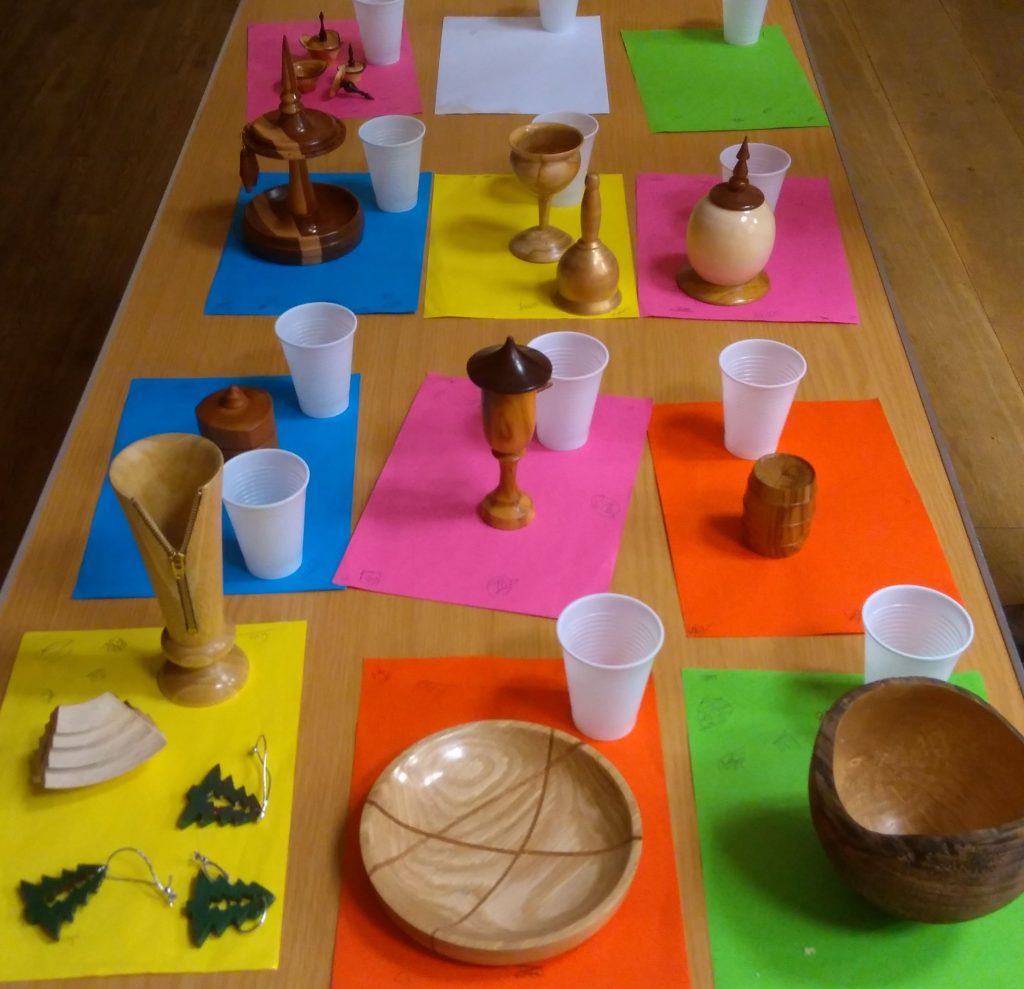
Competition Table
Yew Lidded Pots

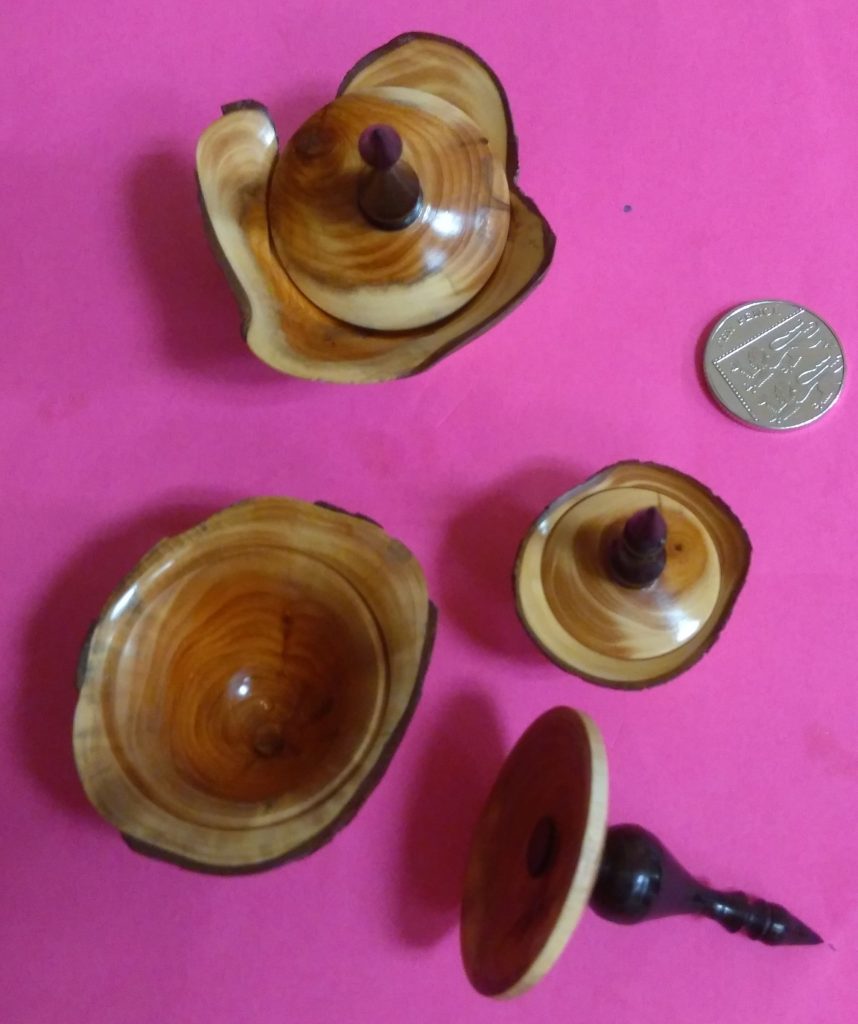
1st Three delightful lidded yew pots by Mick. Well deserved.

Hollow Turned Christmas Trees

2nd A zipper vase and some ring turned hollow Christmas trees by Geoff Warr helped him to 2nd place, the latter items based upon Richard Wright’s demo at the last meeting.  See the picture of the competition table, above, for the zipper vase.

Bird Box, Tony

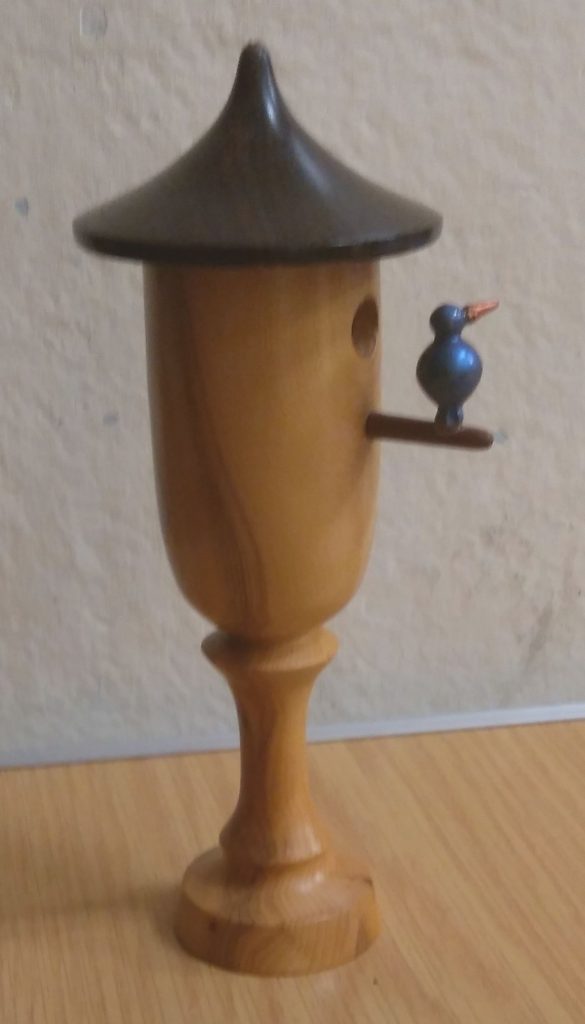
3rd A nice little bird box by Tony – his first entry into the charts I believe. Congratulations!

Demonstration by Gregory Moreton

A NE bowl made out of robinia pseudoacacia burr (false acacia) was demonstrated by Greg for the first part of the evening. He commenced by removing as much bark as possible to prevent it flying off whilst turning.

The blank was mounted between centres, oriented to provide a fairly even top rim and therefore a reasonably even top rim thickness – something to look out for when turning NE bowls.

A  bowl gouge was used to shape the outside and a chucking tenon was cut with a spindle gouge (less tearout than a skew chisel). In the restricted space available, Greg took care to keep the gouge steady.

Once satisfied with the shape, he power sanded it through the grits, finishing with 320 grit before reverse mounting it onto the chuck and hollowing out.

Throughout the demo, there were plenty of little asides and comments as to why Greg did things in a particular manner – useful tips, e.g. when hollowing, if the form is deeper than it is wide, a 45° bevel won’t go round the bottom; use a 55-65° bevel, with a relief bevel to avoid too much rubbing.

Leaving a step in the centre of the bowl makes the final cut easier to engage cleanly when starting with the 65° gouge. Sharpen before the final cut, to get the best possible finish off the tools.

Even wall thickness is important as the edge is heavily indented meaning that the rim is visible well down the sides of the bowl and it will look odd if noticeably thicker or thinner than other parts of the edge.

Notwithstanding the above, as this bowl will be made without a foot, it was  left thicker at the base to add weight and stop it rolling over.

Following this, Greg power sanded most of the inside of the bowl with the lathe stationary (lots of sharp edges!) and then finished off the bottom by power sanding with the lathe rotating.

The last scraps of bark were removed from the natural edge with a wire brush and then finally cleaned up with a nylon brush in a drill.

The bowl was reversed again, this time onto a foam jam chuck, held in place by a live centre with a washer placed on the point to avoid splitting the spigot – a home-made ring centre in effect. The tenon was removed initially with a bowl gouge, changing to a spindle gouge for the final cuts. The final cut left a scored line to enable breaking off the remainder cleanly.

Although not done for the demo, he usually finishes off with around three coats of finishing oil, allowing 24 hours between coats, rubbing back lightly with Webrax between the coats.

After the raffle draw and a welcome tea break, Greg demonstrated making one of his signature yew forms.

Yew Tube. A piece of yew branch cut diagonally across the ends was mounted eccentrically between a 19mm augur in the headstock and a live ring centre in the tailstock. The eccentricity is to make the most of the yew figuring.

With the lathe turning slowly, the tailstock was used to press the wood onto the augur thereby boring a hole throughout it’s full length, stopping just short of contact between the augur tip and the live centre.

Next, a ready-made wooden arbour was mounted in the chuck and the tube mounted upon it with the tailstock brought up as support while the outside of the tube was shaped and brought down to about 1.5mm wall thickness in the centre.

The ends were faced off and the tailstock end hollowed out, leaving a tenon.

He removed the tailstock and parted through to the arbor at the headstock end before reversing the workpiece onto the chuck and tidying up the end with a spindle gouge so that both ends matched.

The spigot was removed by cutting towards the centre drilling.

Duct tape for additional security

Greg reversed the tube once more, onto a jam chuck. He brought up the tailstock and then used duct tape around the chuck and workpiece for additional security.

Finally, he tidied up the end and used the tailstock for support whilst cutting through to the drilled hole to release the completed item.

The final stage would be to sand and finish the Yew Tube but we had run out of time and so Greg finished the demonstration at that point.

Completed YewTube next to demo item

Club Night – 15th November 2017

Although there was no competition at this, the second meeting of the month, there was a table full of goodies turned by Richard Wright, our demonstrator today. He made these for a charity sale and I’ve added a picture below because there was a good variety of items, always helpful when looking for ideas or inspiration. There are more pictures of these in the 2017 Gallery.

Richard’s output

Demonstration by Richard Wright, club member

Richard demonstrated how to make ring turned Christmas trees. Ring turning involves profiling a disc of wood to form a ring with the shape of the desired item, commonly animals or trees. Once completed, the ring is sliced radially to produce multiple copies of the shape. Keeping the slices thin minimises the wedge shape that would otherwise be formed if taking large slices. Ring turned items are usually solid but Richard’s trees are hollow, being made up of two sections glued together.

Ring turned Christmas trees. There was some discussion over the merits of turning the ring with the top of the tree on the inside of the ring or on the outside. Richard’s view is that the former is better as the tree naturally tapers towards the top when it is cut from the ring after turning is completed – as would be expected with a real Christmas tree.

The first step was to make a thin template out of thin ply for use in getting both the inner and outer ring profiles correct. The template was stained black to aid visual comparison in use.

The blank was mounted on the chuck and the face trued to make a disc. Richard used a steel rule to test it for flatness and said that, if struggling to get it flat, it can be sanded flat using abrasive wrapped around a piece of flat wood.

He cut a radial slot in the disc in order to allow insertion of the template later on so that it can be offered up against the developing ring profile.

Before commencing shaping of the disc, he placed the template in the slot and marked the external branches on the disc, then lightly scored the disc circumferentially in way of the marks with a parting tool.

With these preparations complete, he started by shaping the outside of the tree on the rim of the disc – the bottom of the tree – and then continued shaping using a variety of tools including a custom ground scraper.

Turning the outside of the trees

For the tool collectors among you, Robert Sorby have a few tools for ornamental work which were originally designed for making Christmas decorations. Good stocking fillers perhaps?

After a light sanding the disc was reverse chucked and dished on the other side in readiness for making the inside of the hollow tree form.

With the aid of the template as before, Richard marked out the inside branches and shaped them, taking care not to go through with regular checks against the template.

Once complete the ring was given a very quick and light sanding and parted off.

At this point the demo was considered complete as the next stage would be to cut the ring diametrically in half and then to glue the halves together.

A completed piece of Christmas Tree ring, ready for cutting into individual trees

Once the glue is set, it can be cut into the Christmas tree sections and decorated as required.

Tea light holder. After the ring was completed, there was still a little time left so Richard made a tea light holder of which, unfortunately I don’t have any pictures.

It was a very simple affair made out of an old square tableleg, rounded off on the top and bored out to accept a tealight holder (it is unsafe to put tealights directly onto wood). Despite being simple and quick, it was visually very effective, with bags of character due to the distressed nature of the wood.

That was it for the evening, Richard was thanked for his very interesting demonstration, and everything was cleared away until the next time.