This was the first meeting of the month so we had both a competition and a demonstration, details below.
Competition
The winners are shown here, with some other pictures in the 2018 Gallery.
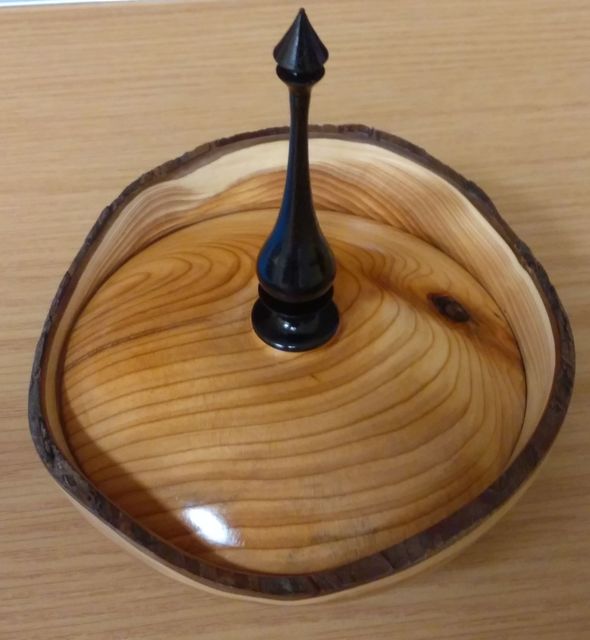
1st Signs of Mick trying to muscle in on Gerald’s territory here, with a lovely little lidded yew bowl with a finial.

2nd This natural edged yew bowl by Roger is simple but attractive.
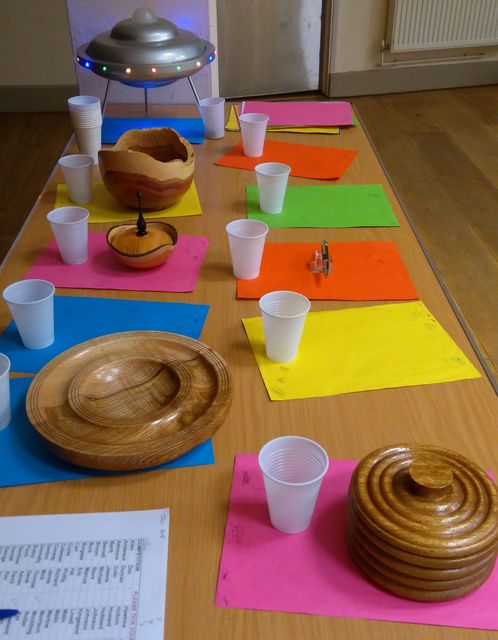
3rd Star Trek by Adrian, guarding the table with the other entries. Complete with multi-coloured lights.
Demonstration by Lee Stoffer of Covert Craft (www.covertcraft.com)
This was a very different sort of demonstration as it was nothing to do with woodturning! Lee is a wood carver, and a previous demonstration by him was very popular, so he was invited back again. Although not woodturning, there are similarities, including a need to “read” the wood and work with it not against it, and to cut downhill where possible.
On this occasion he made an oval bowl out of green wood from a willow tree, with the work carried out on a carving horse of his own design.
He first split log through the pith using a froe. The flat side of the log was to become the bottom of the bowl, the curved side the top.
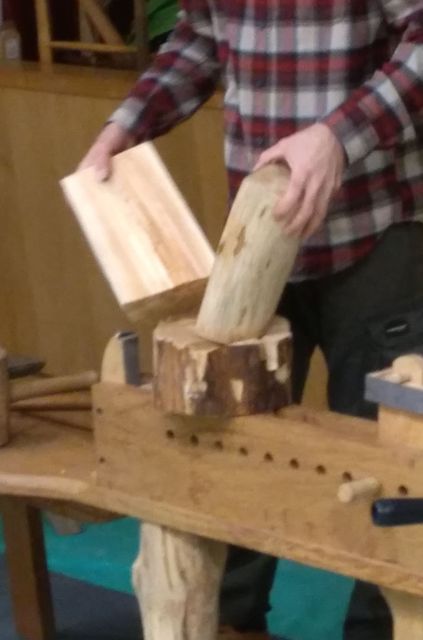
Using an asymmetrically bevelled axe for easier control, he straightened up the edges, and flattened the bottom of the bowl to provide a reference face, working both along and across the grain. He also squared up the ends.
Mounted on the horse, the flat faces were cleaned up with a scrub plane, a drawknife and a No.4 smoothing plane.
With the round side up, he marked the centre then put screws in the wood on the longitudinal axis about 140mm either side of centre (280mm apart). Lee then made up a loop of string about 305mm long when pulled tight, placed it round the screws and pulled the string out with a pencil to describe an ellipse – the inside of the bowl rim.
He started hollowing out with a hollowing adze by making an initial hollow across the minor axis and then worked along the major axis towards this hollow, thus reducing the likelihood of a slip damaging the rim of the bowl. A roughing gouge could have been used – more accurate but slower.
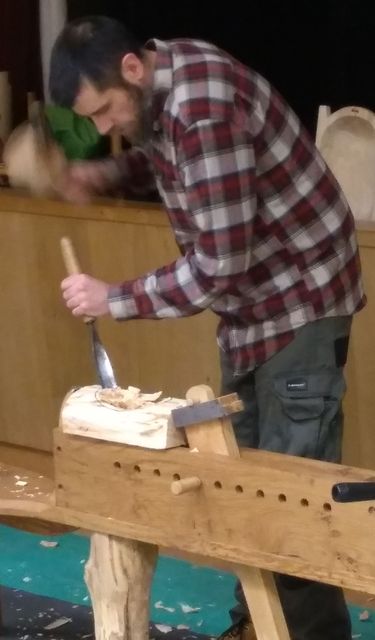
Finishing to the line of the rim was carried out with a roughing gouge and mallet. The inside of the bowl is shaped before the outside as there is less likelihood of splitting.
To clean up, a hand pushed gouge with a sharp curved edge was used. A spoon gouge could also have been used – in fact any sharp curved edge would do.
The rim outer edge and the handles were next marked out; the rim is about 20mm thick.
Lee used the axe to trim the ends around the handles, and remove surplus wood at the sides and underside.
At this point, the shape was now roughed out – but still faceted as the flat facets made it easier to control the axe.
Shaping continued with an adze, including finger grooves on the underside of the handles.
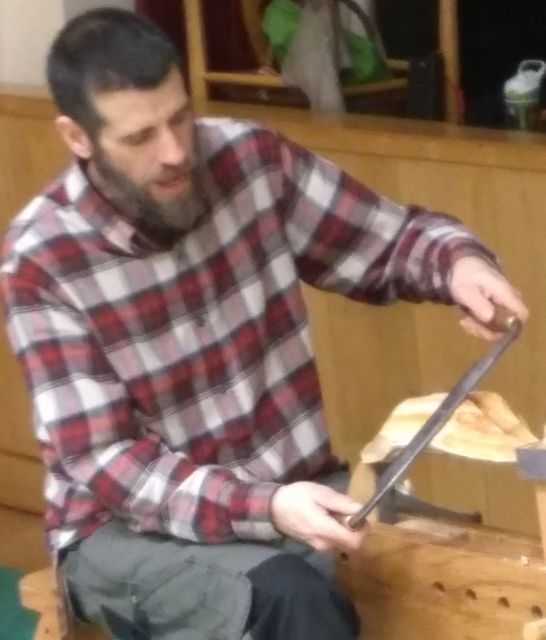
He then rounded off the edges with a drawknife, working downhill to avoid lifting the grain.
The bottom was made flat, with just a slight hollow in the middle – but it is expected that the wood will move as it dries out and some finishing will be required.
The last stage tonight involved more shaping, now with a spokeshave – pushing not pulling. Another technique involves using a gouge to apply a scalloped finish.
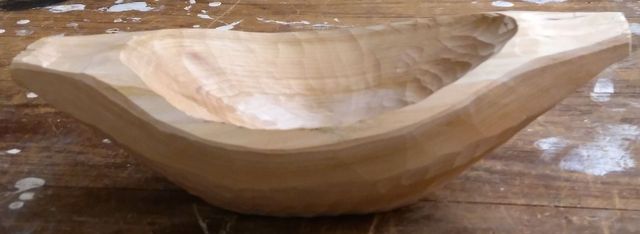
The bowl will now be allowed to dry then finished off with gouges.
