Club Night – 1st November 2023

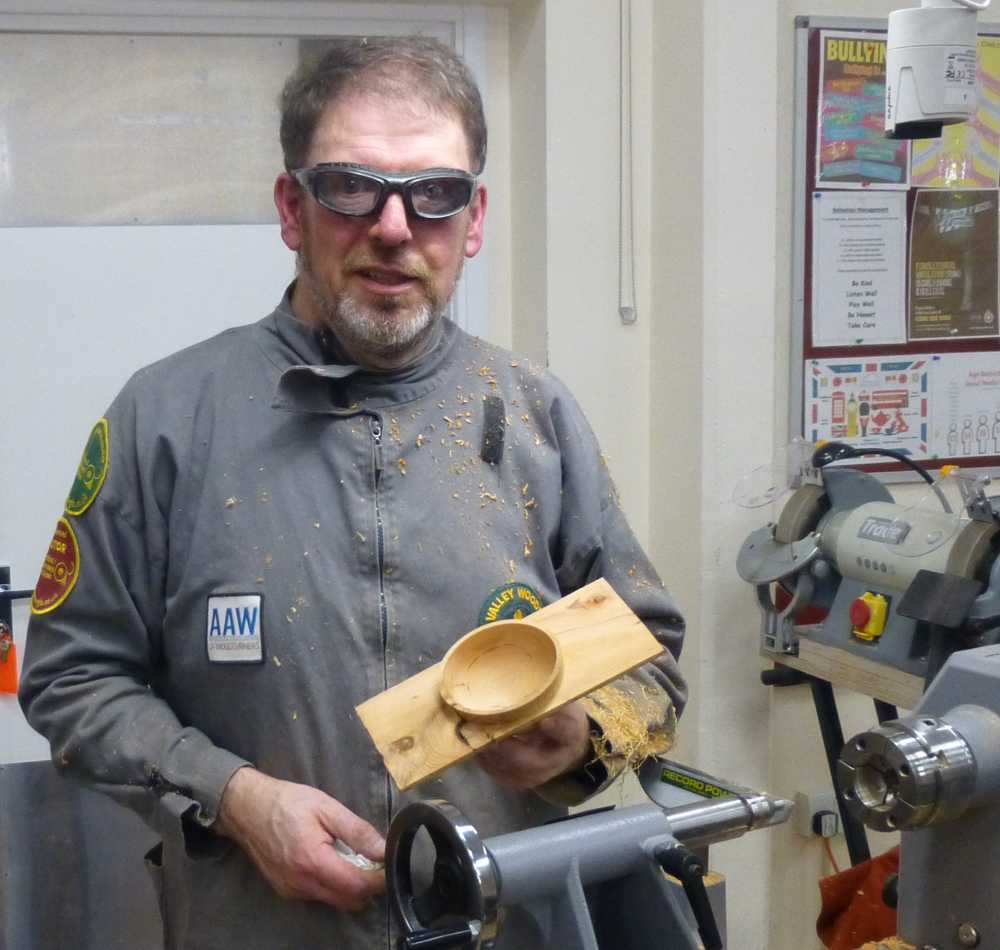
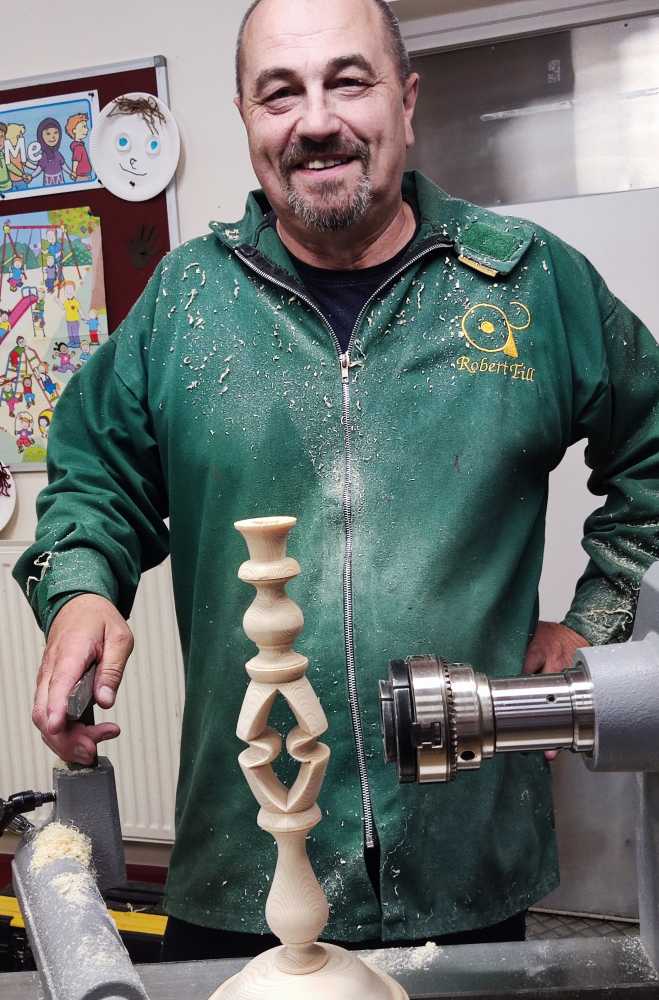
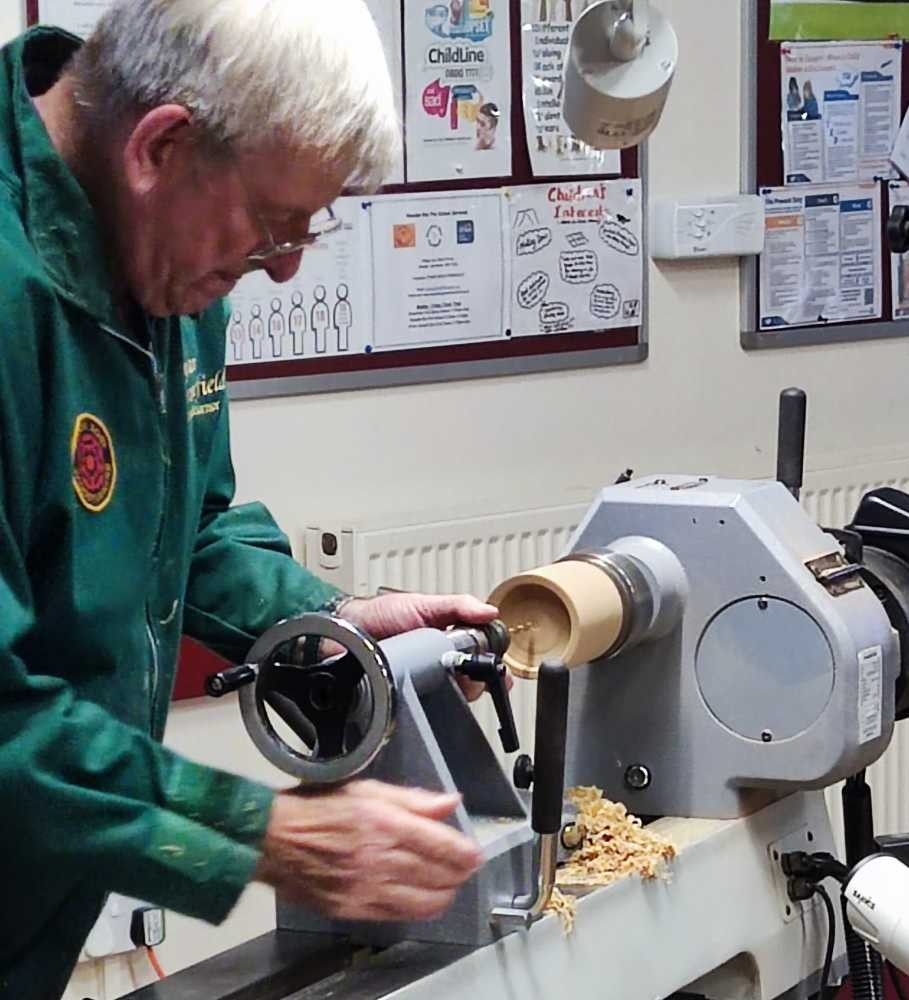
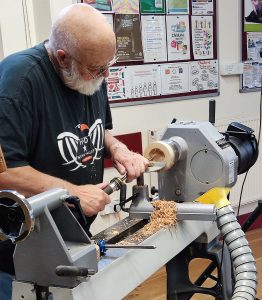
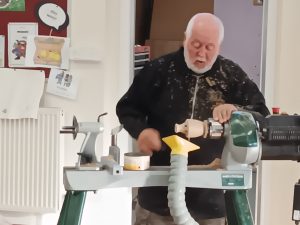
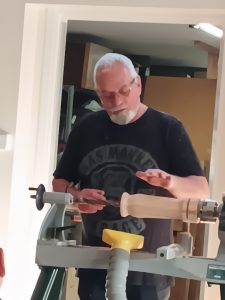
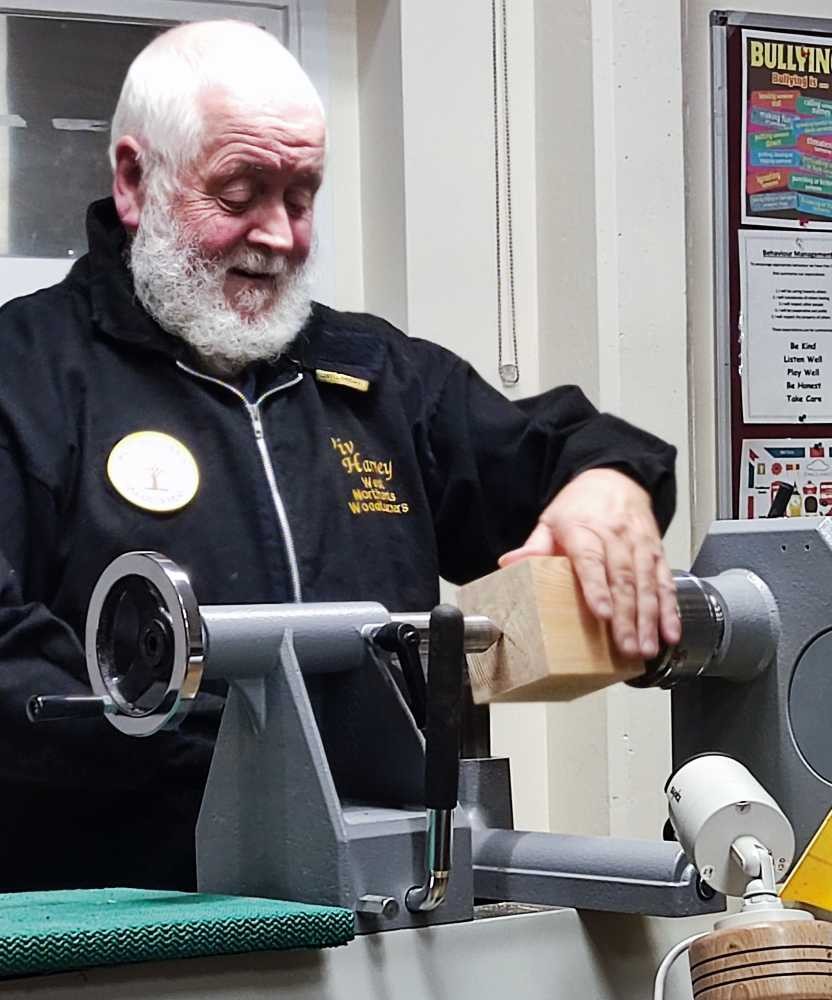
The meeting was opened with a few words of welcome from Chairman Roger Gilbert and our demonstrator tonight, club member Viv Harvey, then took over and explained that he’d be making a number of straightforward items for us, with a Christmas theme.

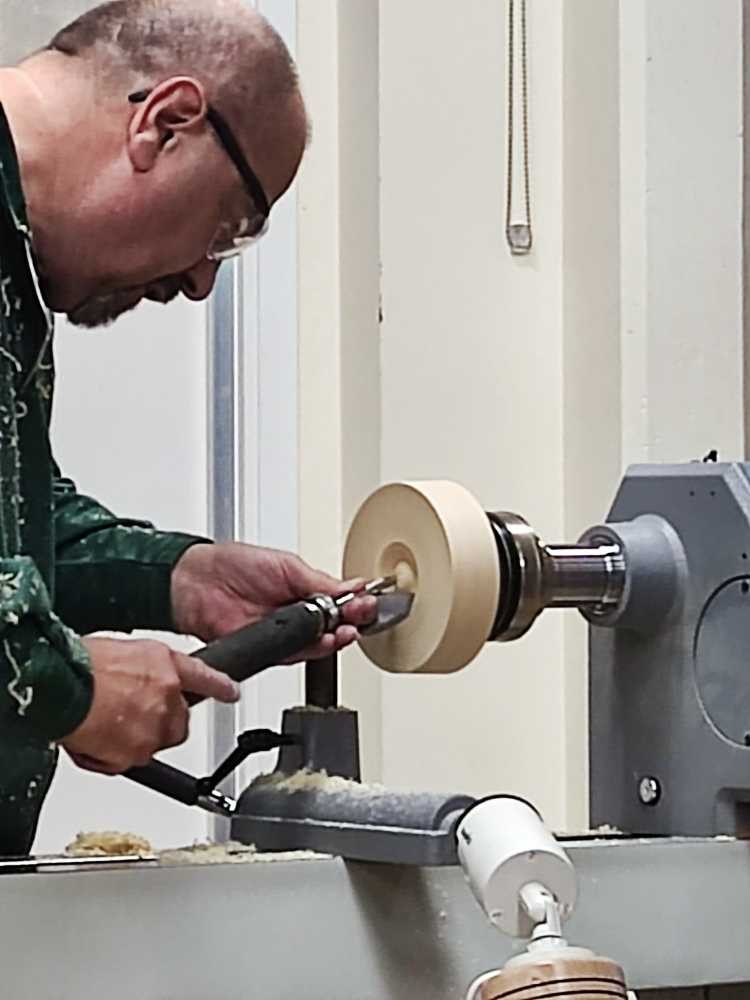
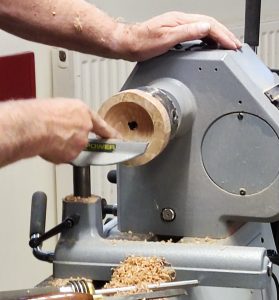
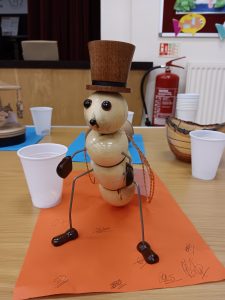
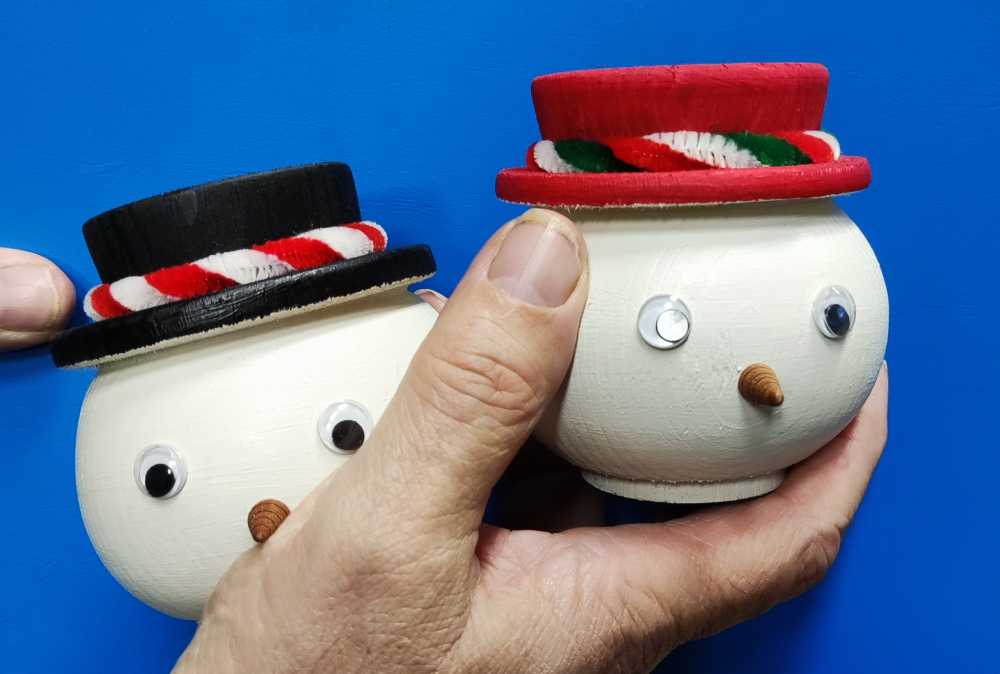
The first item was a snowman LED tea light holder, made from a 94mm cube of redwood.

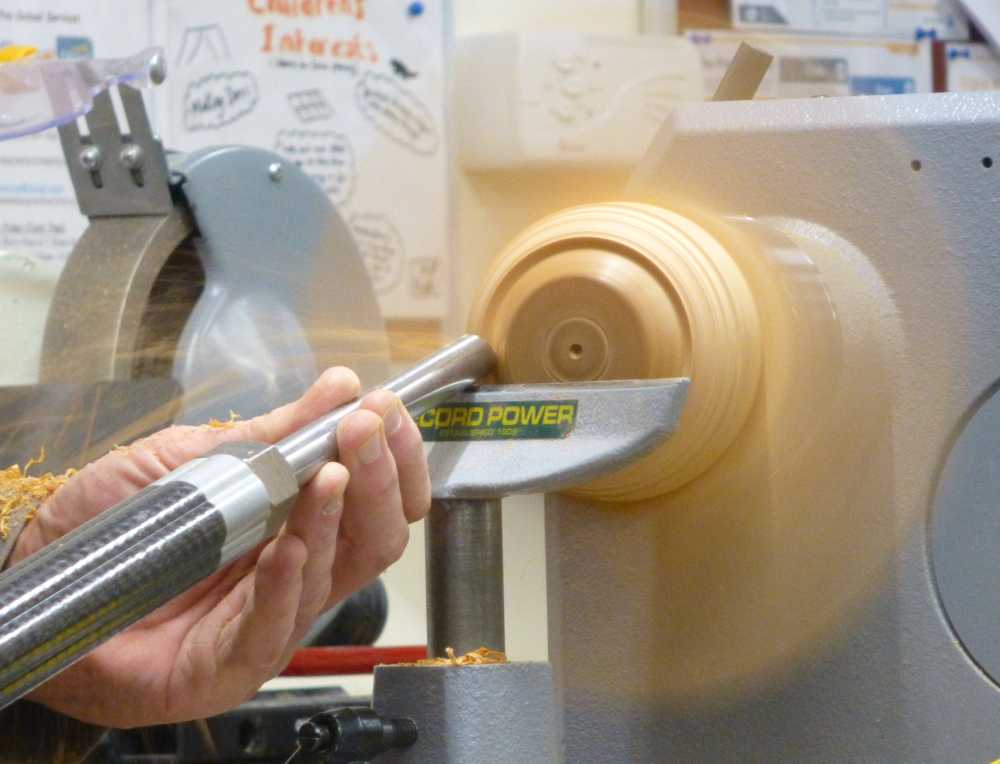
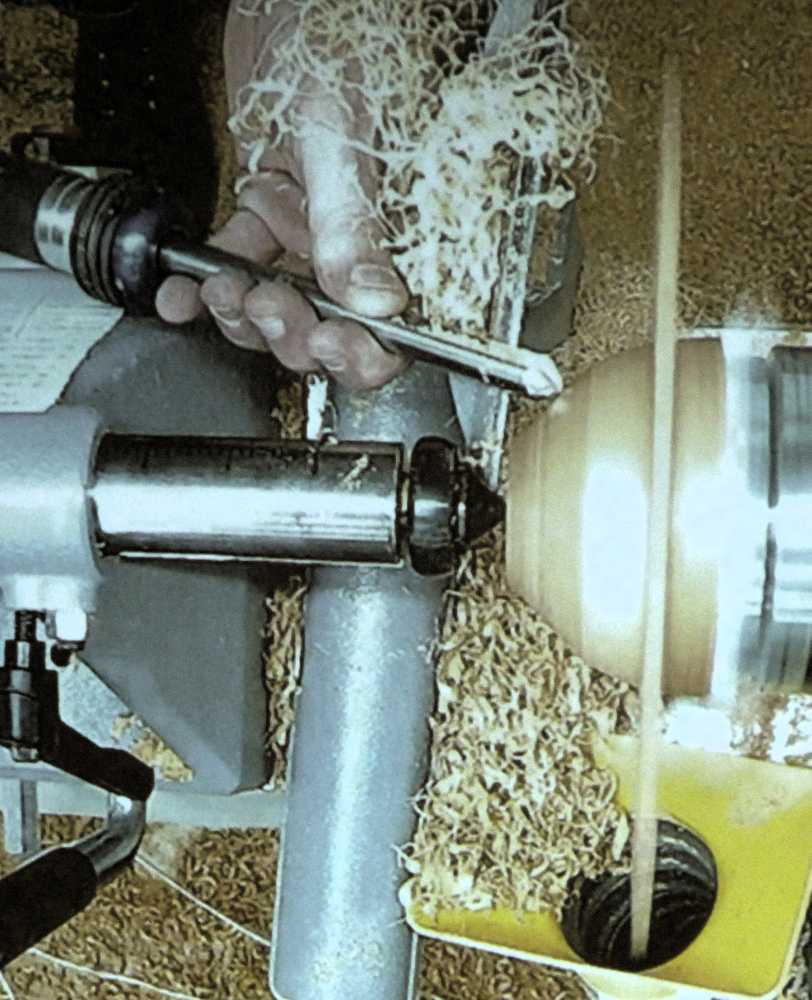
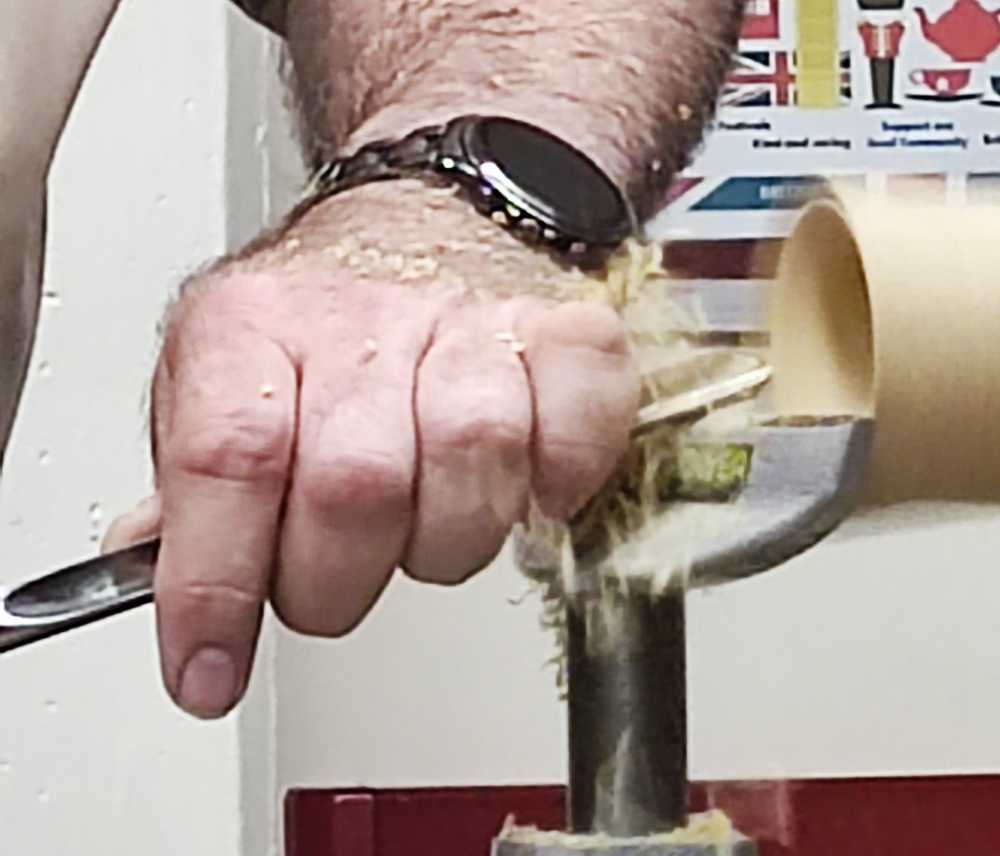
After a brief discussion of different methods of marking the centres, the blank was mounted between centres with a steb centre driving the blank as this is better on the soft wood.

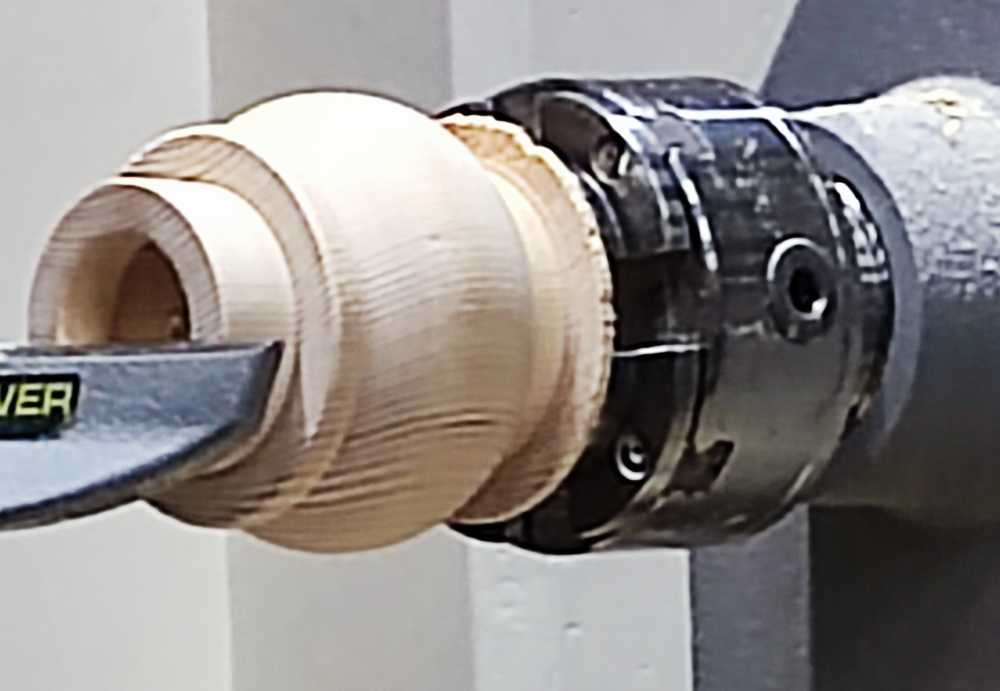
Quickly rounded using a spindle roughing gouge, a tenon was put on one end and the blank reversed onto a chuck. Viv next marked out the blank and then drilled a hole about 15mm deep on the end with a forstner bit to suit the LED tea light.

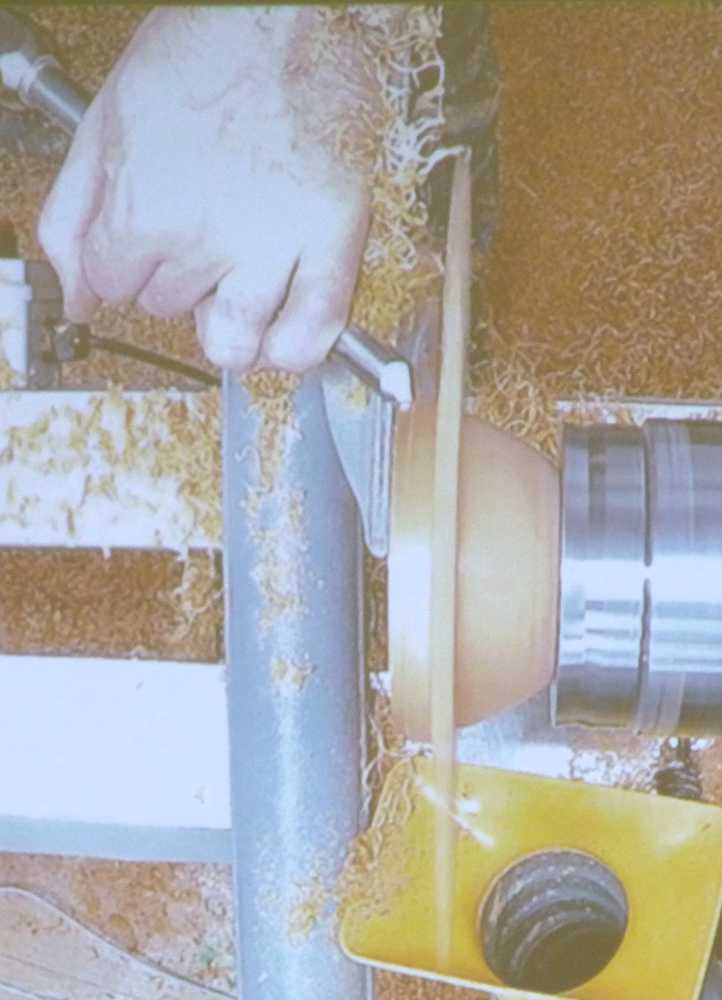
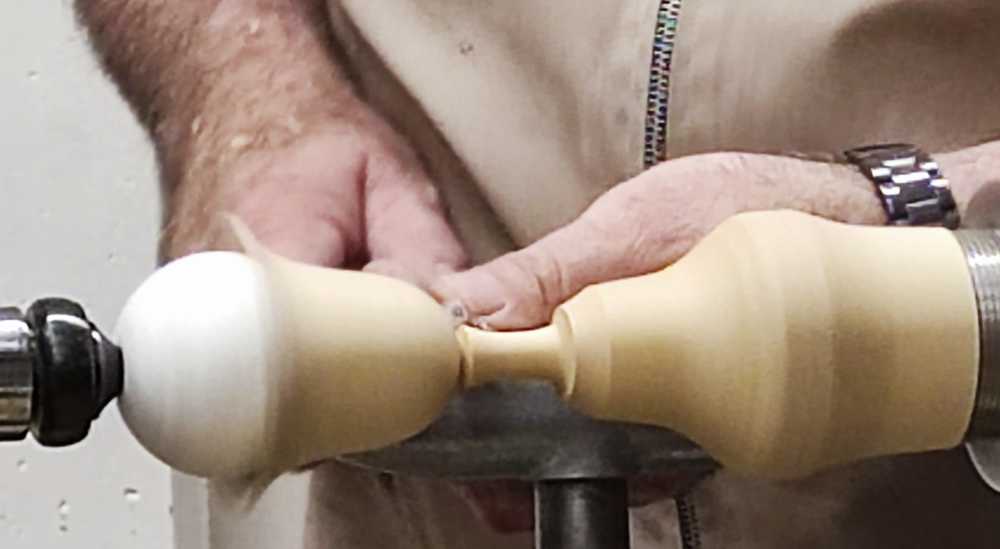
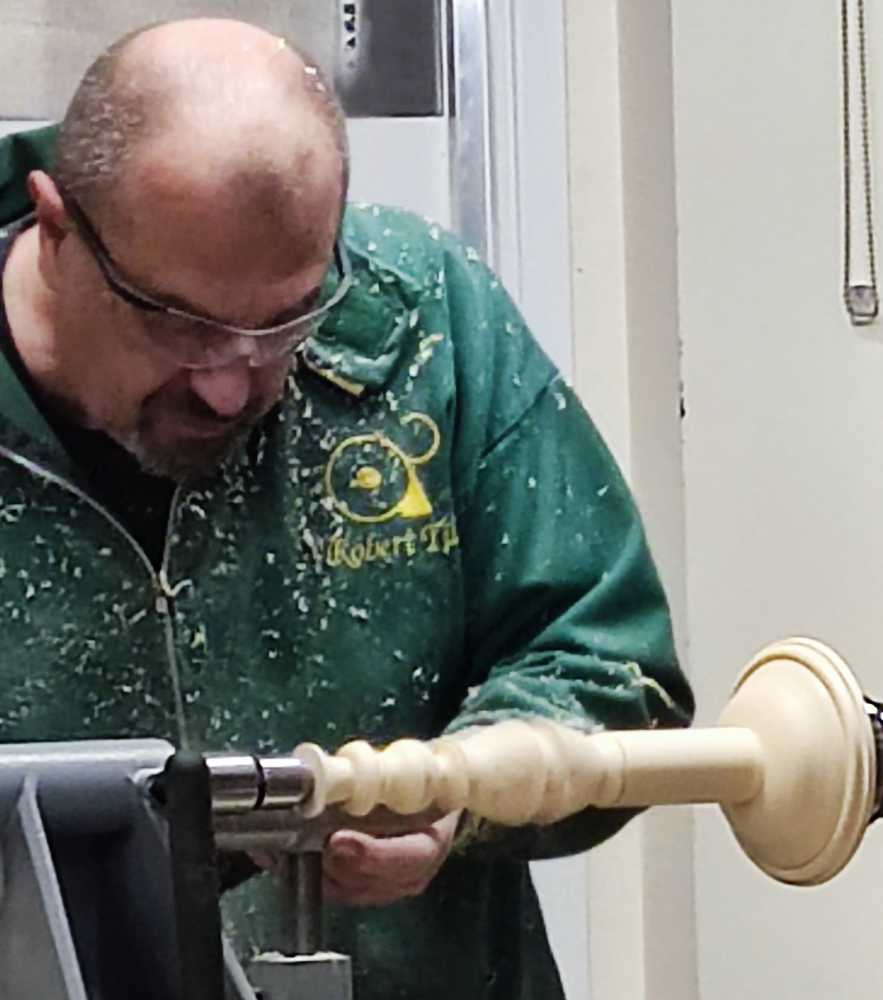
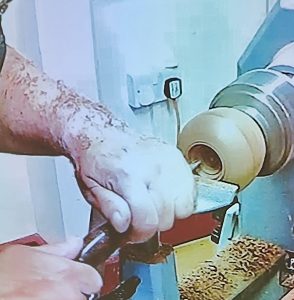
With the prep work completed, he squared off the end and started shaping the hat (tea light holder), next moving onto the brim of the hat which he pointed out looked better if the diameter is a bit less than that of the head. Closer to the chuck now, Viv turned the neck, leaving a thin disc of wood to protect against contact with the chuck. Moving back to the mid-section, he shaped the head with an all-rounder gouge and finished it off with skew chisel used as a scraper.

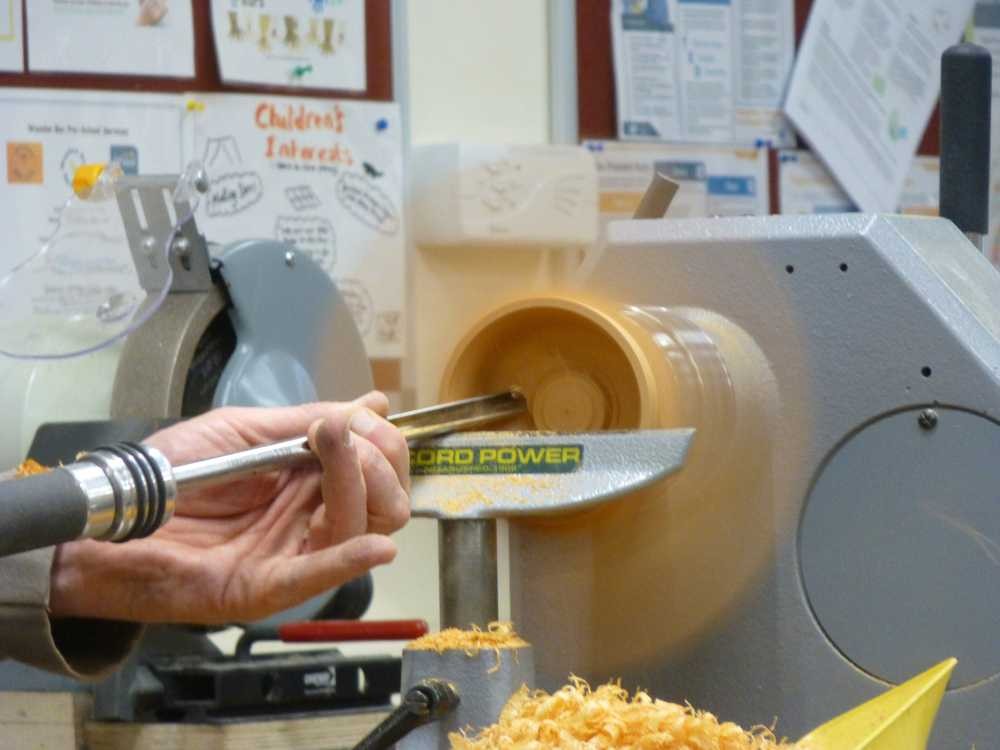
With the shape now well defined he cleaned up a few chips on the hat brim and took off any sharp edges then opened up the tea light recess a little with a spindle gouge because it was a slightly tight fit. This type of apparently identical tea lights do vary a little in size so a specific drill size rarely fits them all.

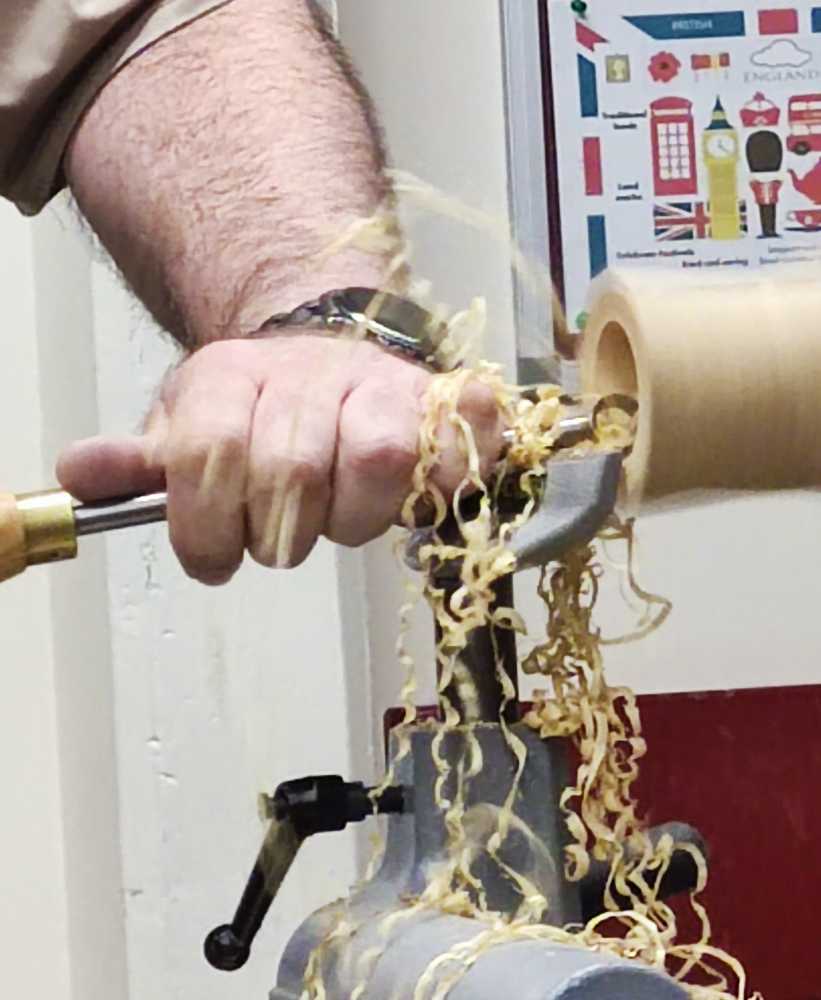
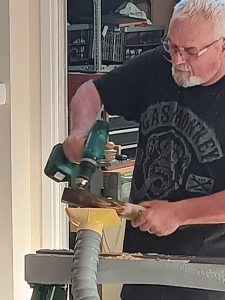
It was quickly sanded all over and parted off, and the base sanded on a disc in the lathe chuck. Viv also demonstrated the use of the parted-off chuck tenon with a suitable disc for making a sanding disc with hook and loop for attaching the abrasive sheets.

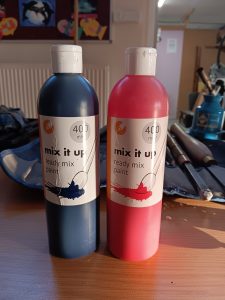
He uses cheap acrylic paint for colouring the hat, with emulsion for the head, and adhesive eyes and hat band from any craft shop. He didn’t have time to demonstrate making the nose but any small piece of wood could be used for this.


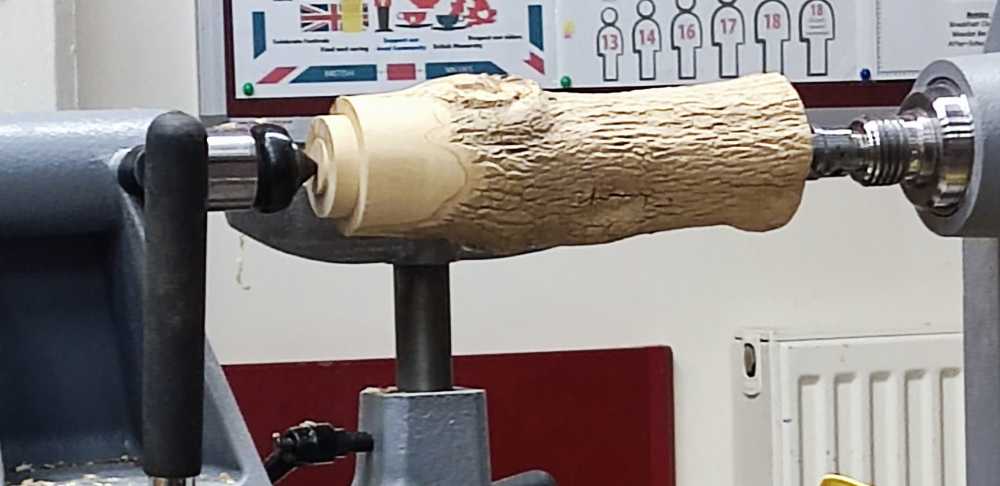
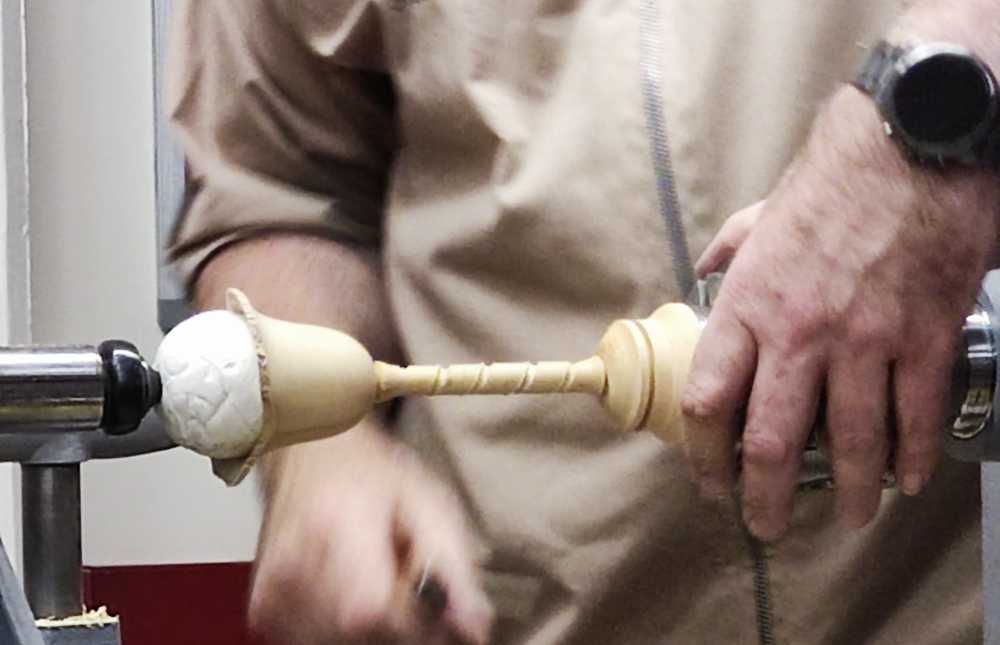
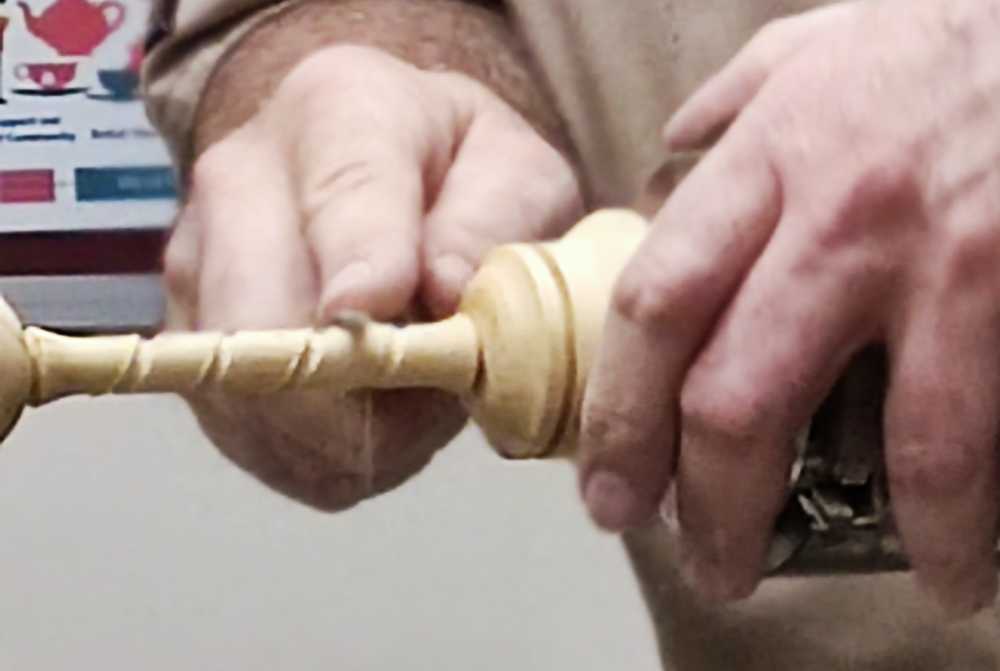
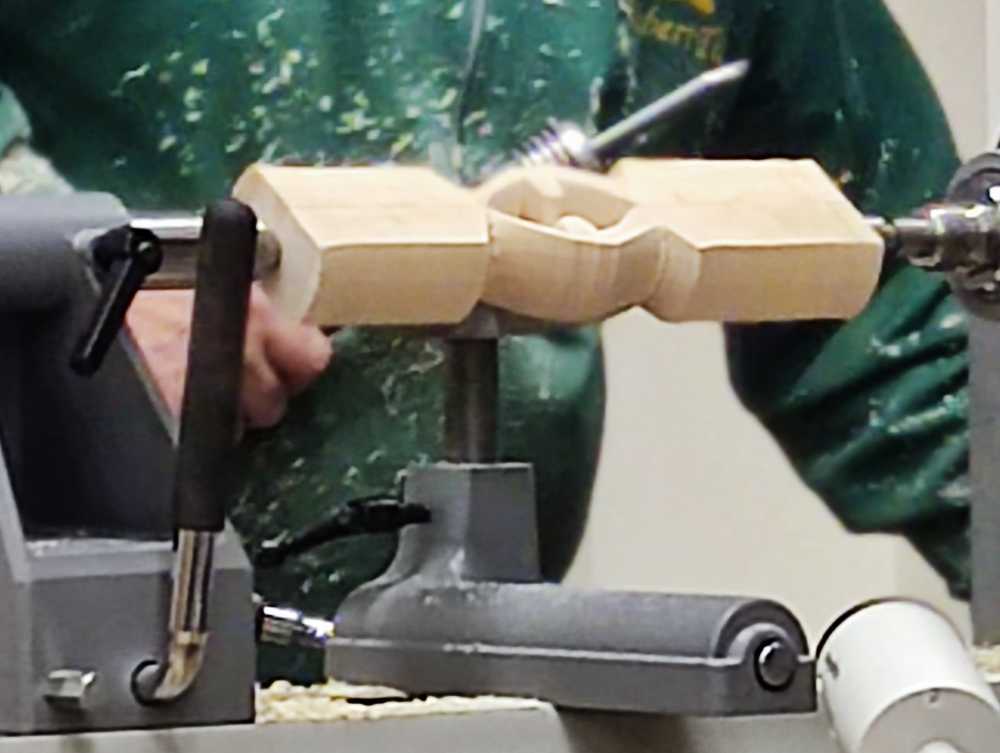
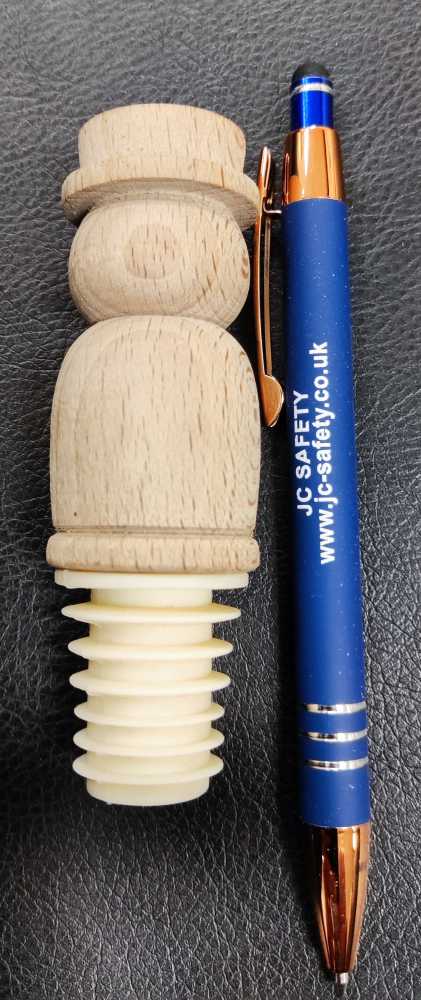
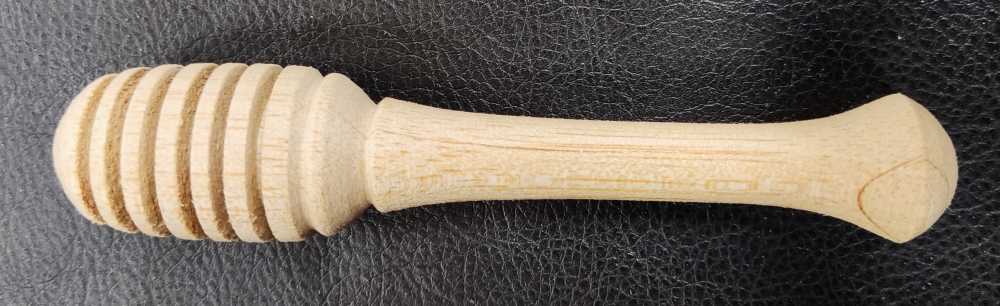
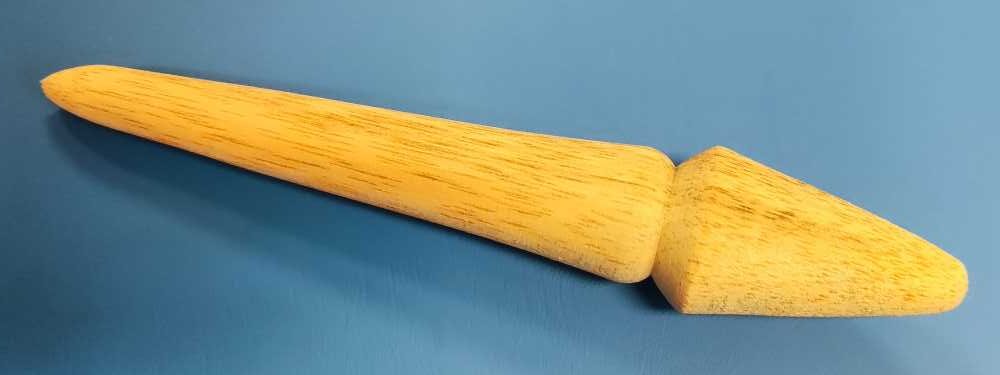
Continuing the Christmas theme, Viv then made a number of items from a broom handle of bamboo(?). Such handles are cheap and usually turn well, so ideal for small items such as these. He cut a number of lengths off the handle, ranging from about 125mm to 250mm long and followed a similar procedure for all of them, i.e. held in a small chuck and steadied with a live centre.

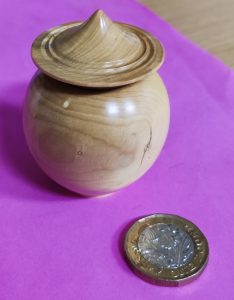
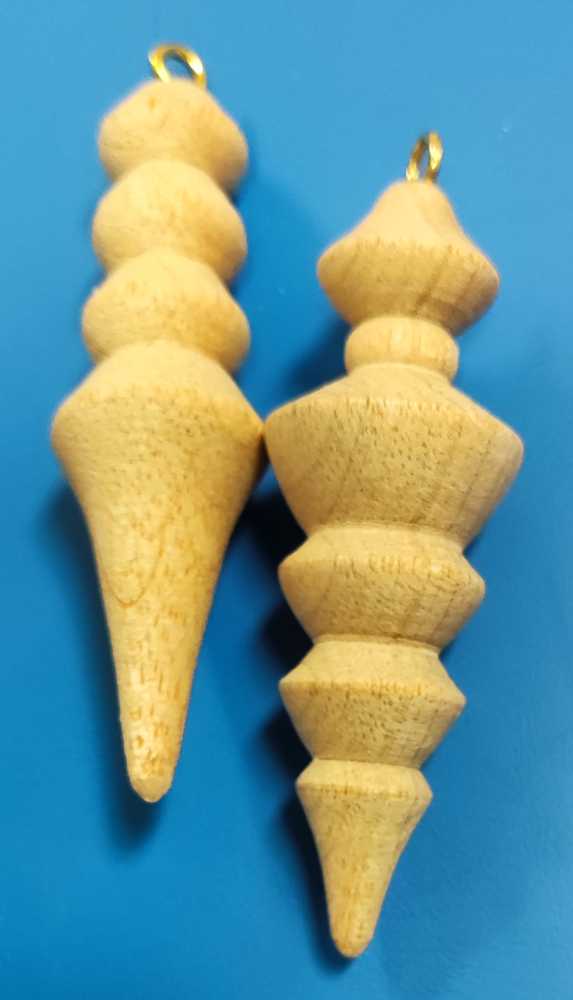
Snowman bottle stopper: Mount on lathe, mark out; only critical length is the part upon which the rubber stopper is mounted – turn this first then move on to the body and hat. Sand and part off. The pen is just to give an idea of size, not for advertising!

Honey dipper: Mount on lathe, mark out; no critical dimensions. Turn the handle first and shape the end. Use a parting tool to put the loading grooves in the pickup end, on this occasion, about 6mm deep). Sand and part off.

Potting dibber: Mount on lathe, mark out; no critical dimensions. The dibber has two different end shapes; one for pricking out, and one for potting. Turn both ends, sand and part off.

Christmas tree decorations: Mount on lathe, mark out if necessary and make whatever is desired. With a Christmas theme this could be a tree, a bell or – as Viv did – just a decoration to hang from the tree. He turned them to taste, then sanded and parted them off before fixing small brass eyes on them.

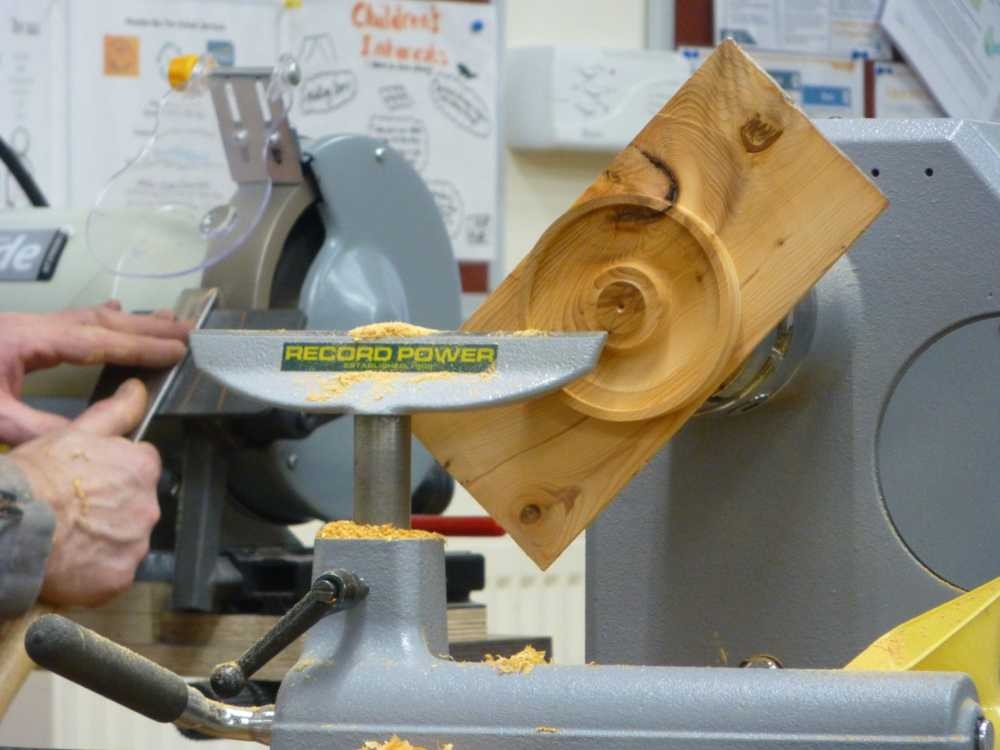
Finally, a completely different (not Christmassy) turning, using up small waste pieces from the earlier projects.

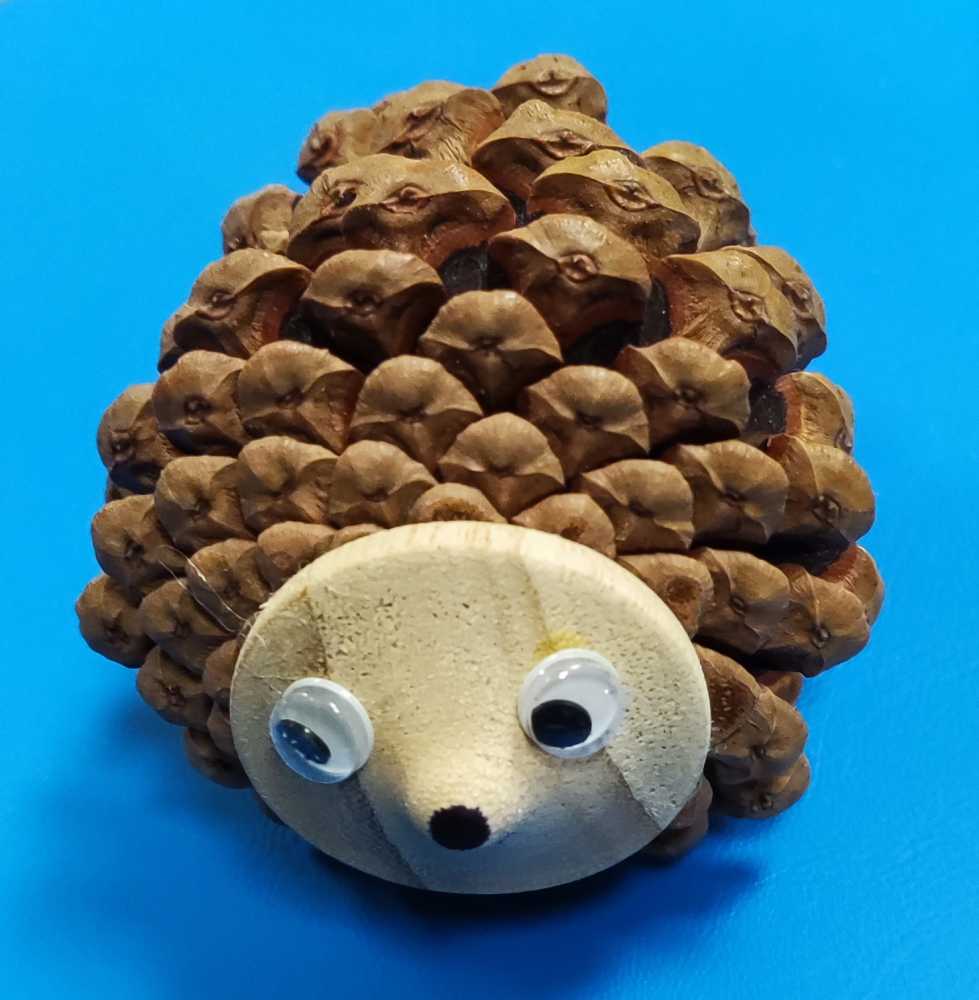
Hedgehog: Mounted in the chuck, he turned a conical shape and parted it off, and then repeated as there was still a small piece of wood protruding from the chuck. No wastage of wood here! Viv then produced a pine cone hedgehog and explained that all was needed was to put one flat on the end of a pine cone and another on the side and then to glue the small piece of wood into place – he uses hot melt glue. Add eyes and nose to your liking to complete the job.

This was a great demo by Viv with lots of ideas for small Christmas gifts, greatly enjoyed by everyone – thank you Viv!

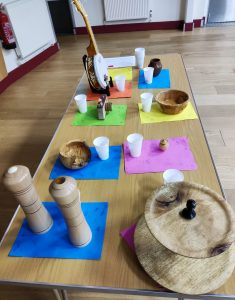
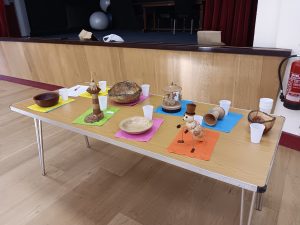
The competition table had a good collection of items this month.

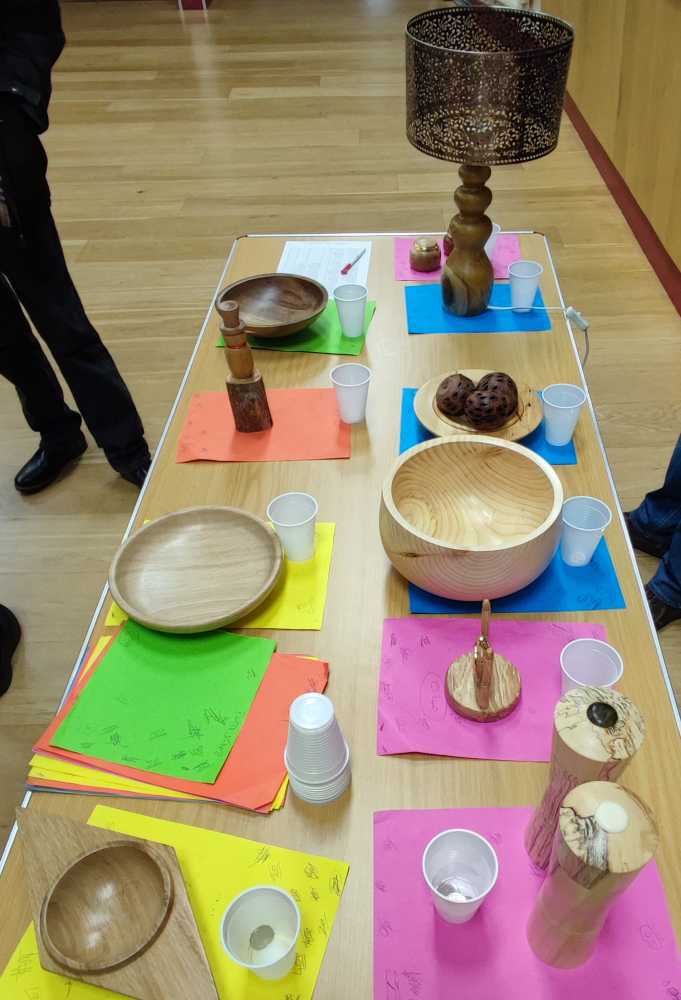
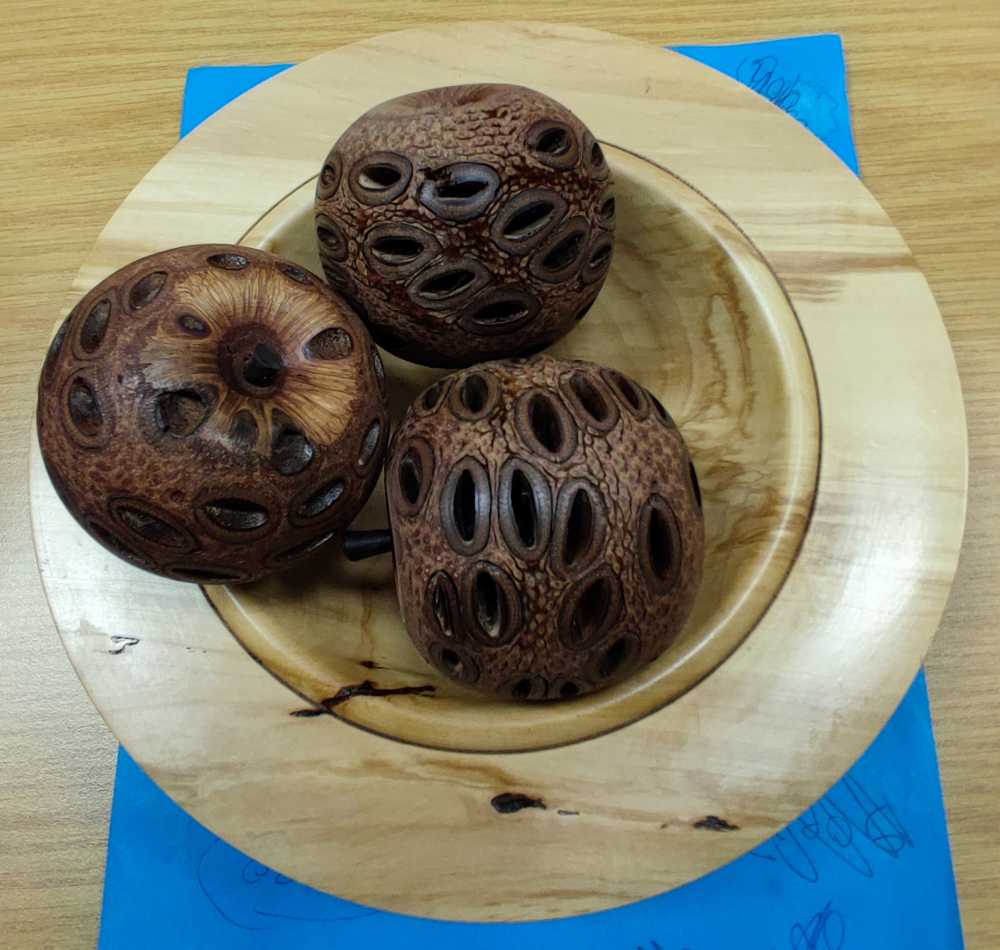
1st place was by Gerald Hubbard with a collection of banksia seed pod apples displayed in a nice bowl.

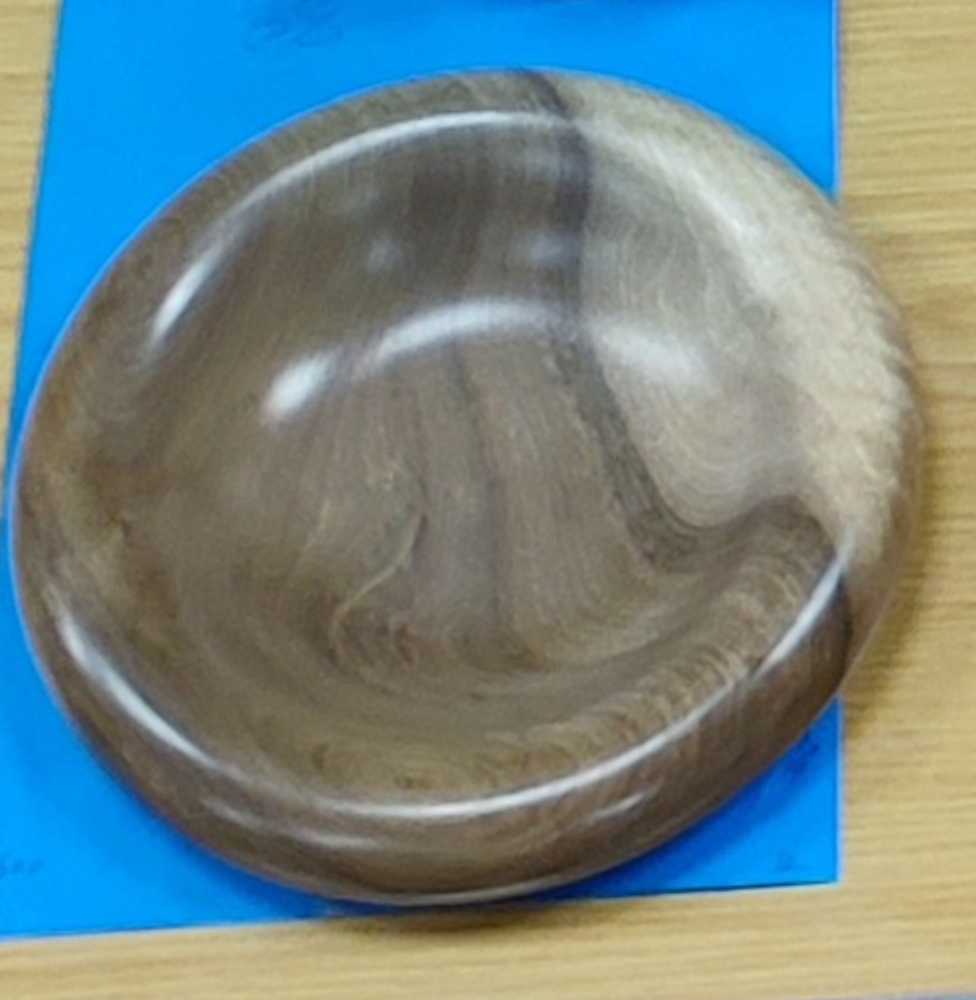
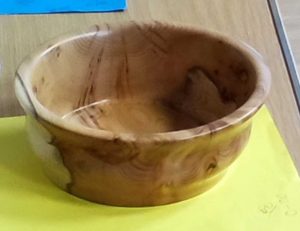
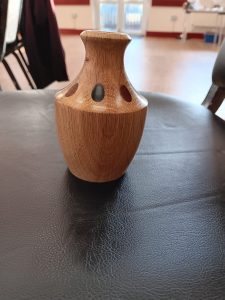
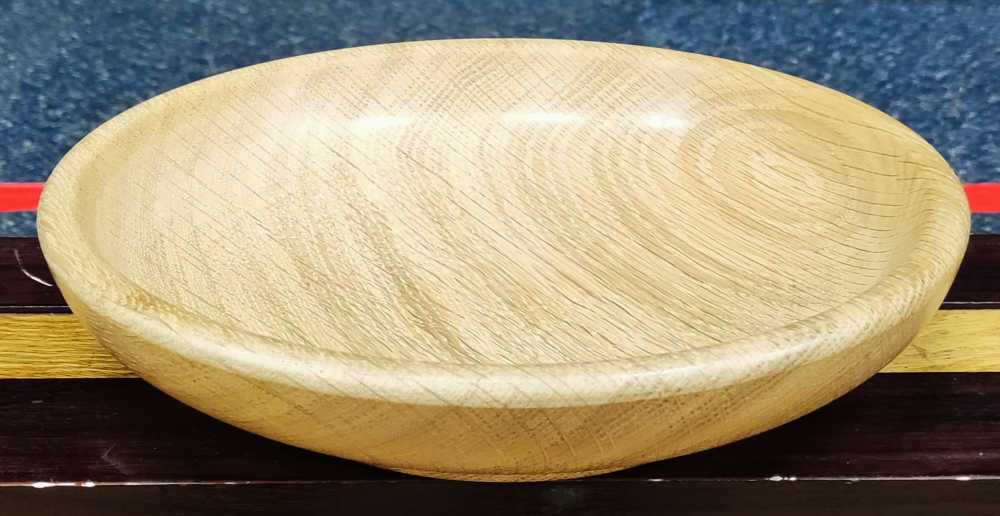
2nd place was an oak dish by Dave Rostance.

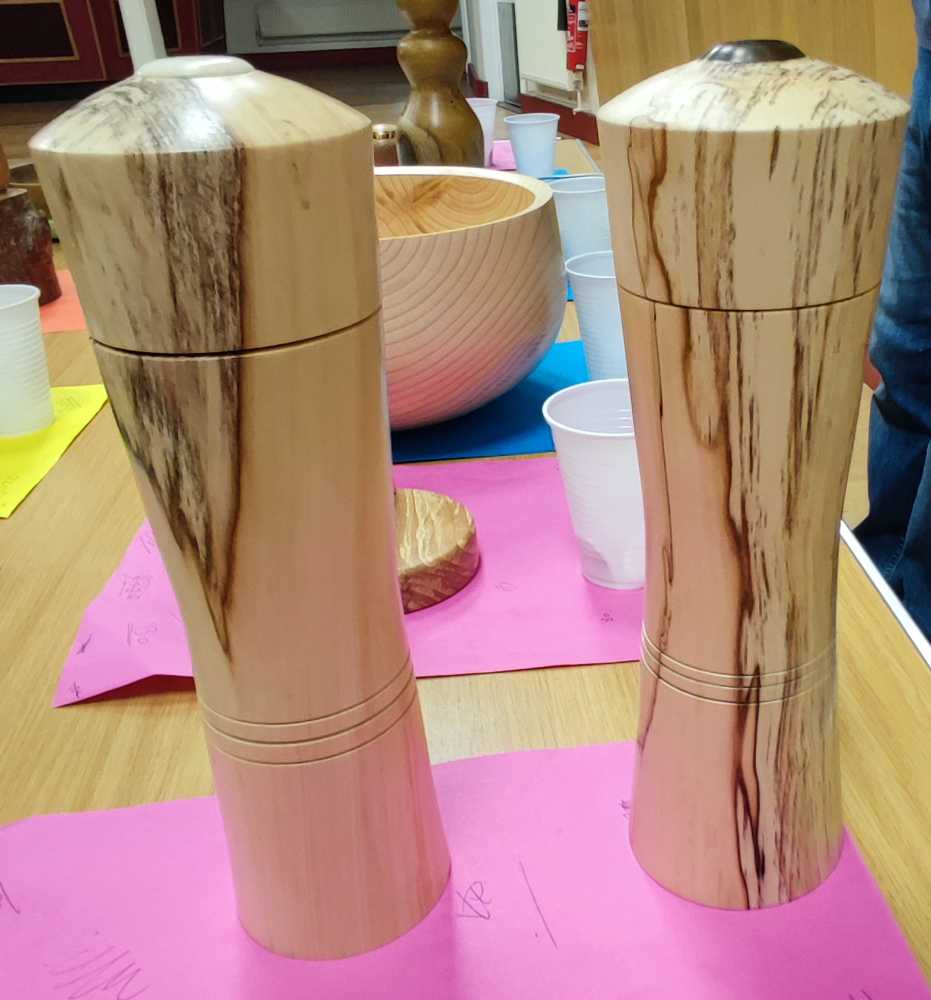
3rd place went to a pair of spalted salt and pepper grinders by Roger Gilbert.

Club Night – 18th October 2023

The meeting opened with some introductory words from Chairman Roger Gilbert and a welcome to our demonstrator this evening, Ian Ethell.

Ian brought along some examples of his work for us to see and explained that he would show us the making of a winged bowl, of which there were several examples on display.

He quickly ran through the seven fundamentals of woodturning – Wood grain; Chucking; Sharp Tool; Tool Rest Height, Rotation Speed; Stance; Technique – and said that much of his turning would be done using a bowl gouge with a 40/40 grind as espoused by Stuart Batty, and the heel ground off. He later provided a handout explaining the seven fundamentals in some detail – useful.

The bowl would be made from a yew blank of (my estimate) about 200 x 100 x 50mm in size. The blank was mounted between centres and a groove cut to suit the chuck jaws, and the blank then reversed.

Next, the waste in way of the wings was removed, taking care to keep clear of sharp edges. The bulk of the wing waste was removed with a bowl gouge, starting on the outside, and moving in in steps, and then squared off with a negative rake scraper. There is a lot of air when turning a bowl of this type, so Ian held the lathe speed down to about 800rpm. As it is the burr on the scraper that does the work, trips to the grinder after every 20 or 30 seconds of scraping were required to restore the burr.

This step process was repeated until the mass of wood remaining in the centre was ready for shaping into the bowl. With the tailstock removed to improve access, he made a series of cuts from the tenon to the wings in single fluid movements. Once satisfied with the shape, Ian made a tenon on the bottom of the bowl (bowl gouge: included angle 80 degrees – ideal) and then reverse mounted it in the chuck.

He then started thinning the wings in stages on the top side of the bowl, using the same process as for the underside. As the edge of the bowl was approached, he started looking closely at the shape so that the bowl curve followed through the wings.

For the final clean-up at the bowl/wing junction he used a beading and parting tool, ground with a burr on all edges.

Next, Ian hollowed out the bowl with his 40/40 bowl gouge, switching to a gouge with a steeper grind to finish the bottom of the bowl. This was followed up with a scraper to remove the central pimple and clean up.

Next, the bowl was reversed and held by the tailstock onto the jaws of the chuck, suitably protected by tissues – a jam chuck. Finding it difficult to gain access to the foot of the bowl with the tailstock in place, he ground his bowl gouge bevel to 60 degrees-ish and proceeded to refine the foot and underside of the bowl, finishing off with a skew chisel used as a negative rake scraper.

There was no time for a finish to be applied but the bowl looked pretty good as it was, although Ian did explain that a significant flaw running through both the wing and the wall of the bowl meant that he couldn’t go as thin as he would have liked. There was already plenty of air without separating into multiple pieces!

This was an interesting demo with plenty of explanation by Ian on how and why he was doing things in a particular way, and quite a lot of interest was shown in his sharpening grinder setup – Christmas is coming after all!

Club Night – 4th October 2023

The meeting opened with a welcome from Mick Denton and an introduction to our demonstrator this evening, Paul Hannaby (https://www.hannaby.com/).

Paul brought along a selection of black poplar bowl blanks and a variety of woodturning consumables for members to buy.

He had previously asked us what we would like to see demonstrated and it had been agreed that it would be a goblet with barley twist stem, so he brought along some suitable blanks and selected a somewhat knotty piece of box, explaining that he was not using yew because of the toxicity under demo conditions.

He discussed options for ensuring that knots and the (weak) pith did not affect the finished goblet – although not a major issue with box – and then mounted the piece between centres such that the knots would not be in the cup portion of the goblet.

A spindle roughing gouge took the worst of the lumps off before making a tenon on one end with a parting tool. The blank was then mounted in the chuck and the end squared off before he removed the tailstock.

Using a spindle gouge with a fingernail grind, Paul then bored out and commenced hollowing the cup. At this point he pointed out that a half round scraper could be used instead of the spindle gouge or, once the opening is wide enough, a ring tool. The ring tool is his favourite and he proceeded to demonstrate its use at the bottom of the opening to ensure proper bevel support. He said that his website has a description of how to modify a shielded cutter to work in a similar fashion.

Finally he shaped the rim of the goblet with a spindle gouge and the ring tool and sanded the inside, working through the grits in the usual way.

Paul next turned his attention to the outside of the cup with a spindle roughing gouge and spindle gouge, taking care to leave plenty of wood lower down to keep it from vibrating too much. However, as the cup walls become thinner, vibration does become a problem so he used the tailstock and a live centre to hold a polystyrene ball in the cup for support.

Once down to about 4mm wall thickness, Paul sanded the outside of the cup, taking care to avoid rounding over the crisp edges.

The spindle gauge was used to turn the stem (in stages to maintain its strength) with a skew to add V cuts marking the transition from stem to cup and stem to foot. To finish off the main turning operations, the foot was shaped ready for parting off later on.

Before commencing the barley twist, Paul explained that he generally uses a selection of small round files of varying sizes and degrees of coarseness and also sometimes uses a microplane file.

With the lathe turned off, and starting at the foot, he held the file at around 45 degrees across the stem and turned the chuck by hand whilst filing the wood, until a spiral groove was formed along the stem to the cup. Note that tailstock support was still in place as the stem becomes weaker as grooves were filed into it, and some co-ordination is required to ensure constant spacing between the grooves.

As this was to be a two-start twist, Paul then repeated the process, starting the second groove equidistant between the turns. Once complete, both grooves were deepened to about half the diameter of the file – this usually takes him two iterations but with the hard boxwood, he needed three. The spiral grooves were then widened somewhat with a larger diameter file.

This left grooves with a square edge so he went lightly across the grooves with a file at 45 degrees in the other direction (90 degrees to the spiral direction), then again at 22 degrees to knock any remaining corners off. The resulting grooves were than cleaned up with his finest file, first in the grooves and then across them as before.

Now the lathe was restarted and the grooves sanded with a piece of abrasive wrapped around a piece of dowel sized to match the grooves, moved back and forth along the stem in the same direction as the grooves.

Finally the tailstock was pulled back and the goblet parted off, holding it by the stem, not the cup.

Paul said that starting the grooves at the cup end of the stem would result in an opposite spiral on a goblet, left hand and right hand spirals being particularly effective if making a pair of goblets.

Throughout the demo, Paul explained clearly what he was doing, and why, which was especially interesting when he came to demonstrating the ring tool, something that many people shy away from.


The competiton table this month had a good collection of items.

1st place was a rounders bat with fractal burning patterns by Chris Harkin.

2nd place was small box (walnut?) by Ken Garratt.

3rd place went to Dave Simms with a laburnum bird on a yew base.

Club Night – 20th September 2023

This being a hands-on meeting, two lathes were set up, with Mick Denton presiding over his sharpening station to one side.

The more experienced turners gave assistance to a number of members, helping them to overcome problems (rotten tool control in my case – thanks Roger) and Mick helped with sharpening issues, whilst Ken was working with Graham on spindle turning.

Roger even had time to try out one of Mick’s tipped hollowing tools – nice to use.

Those who were not directly involved had plenty of time for a good chinwag, all of which led to a very pleasant evening.

Club Night – 6th September 2023

The meeting opened with a welcome from Roger Gilbert, the Chairman, and a reminder that membership annual subscriptions are now due.

Robert Till was our demonstrator this evening (https://www.roberttillwoodturner.com/), making one of his signature candlesticks using involuted turning.

Robert brought a number of items along to display his work, including a couple of samples of the candlesticks.

To start, two 300mm lengths of 43mm square pinewood (from Wickes) were glued together with a paper joint to make an oblong turning blank – PVA glue, a layer of newspaper on each piece. They can be clamped together or just held with tightly with masking tape until the joint has reached full strength. As this takes one or two days, Robert brought along a previously prepared blank.

He took care to mark the centres accurately as any errors will be very apparent in the finished article, and mounted it in the lathe with a revolving steb centre in the tailstock to avoid splitting the paper joint.

When marking out the blank, he filled in material to be removed with a marker pen as pencil marks will not be visible once it’s spinning.

To achieve a good finish he turned up the speed as high as possible so that his spindle gouge was not bouncing in and out due to the alternating air/wood as the blank rotated. Once the shape was developed, he sanded carefully, with the lathe spinning or stationary as appropriate (lots of air!).

This was the inside of the candlestick now completed so he removed it from the lathe and split it along the glue joint with a chisel.

The blank sections were then rotated 180 degrees and glued together, this time just with PVA; no paper joint. Robert advised not to overglue as the cleanup can be fiddle in the inside areas. Once again, he used masking tape to clamp them together as this is less prone to slide the two halves out of alignment. They can then be further secured with clamps until fully dried.

Before turning the new blank, Robert mounted a forstner bit in the headstuck chuck and drilled one end for a candle cup before forming a tenon on the other end to suit the base.

Robert then mounted the blank between centres and started shaping the middle section, again at a high speed (2500 rpm) and with regular stops to check progress and ensure that the inner and outer shapes mirrored each other exactly. Any centreing errors from the early stages will show up here!

Once satisfied, he shaped the rest of the candlesticks, forming a number of fillets, beads and coves.

After a few final checks and sanding, he removed the candlestick from the lathe and mounted a blank on a screwchuck for the base.

First of all, he trued up the edge and face with a bowl gouge and then formed an internal tenon with a shaped centre which will be included in the finished foot.

After reverse mounting the base, he drilled it to suit the tenon on the candlestick and then proceeded to shape the base and apply some details. The base and candlestick were then pressed together, mounted between centres and the assembly shape refined where necessary.

After a quick sand and a final check on diameters, the demo was complete, although Robert will apply a finish in due course.

Throughout the demo, Robert explained clearly what he was doing, and why, along with plenty of useful tips and a drawing of suggested dimensions for the central portion. Finally, he presented the club with a finished candlestick (the black one above) for the club raffle.

All of this made for an excellent and much appreciated demo – thank you Robert!

The competiton table had a good collection of items this month.

1st place was a goblet with a long barley twist stem and captive ring by Andy Blackwell.

2nd place was a novel carousel by Dave Simms.

3rd place went to Viv Harvey with a curvacious walnut bowl.

Club Night – 16th August 2023

The meeting opened with a welcome from Roger Gilbert, the Chairman, and a few words to let everyone know that MariVe would be co-ordinating the group effort to make a carousel for the 2024 Daventry Woodworks competition. There’s plenty of time yet but we all know how time flies!

There was also a reminder that membership annual subscriptions would be due from next meeting, 6th September.

This evening, Bryan Brumfield demonstrated making a decorative lamp using a DIY Bauble Kit from Emma Cook, the Tiny Turner. These kits are sold by Emma in a number of configurations and may be used to make e.g. Christmas snowmen or simply an attractive light, as in this demo. The kit used here was similar to this one:

https://www.thetinyturner.co.uk/product-page/copy-of-diy-bauble-kit-for-woodturners-copper-wire-multicoloured-leds

To start, a dry old oak blank about 120mm dia x 65mm long for making the stand was mounted in the chuck and a base recess hollowed out. The blank was then drilled for the LED cable – or at least as far as the drill would reach. A through hole is needed so it will be completed from the other end.

The blank was then reversed onto the expanding chuck jaws, before Bryan removed the tenon and shaped it with gouges.

He then drilled through to meet the hole drilled earlier and thus complete the hole through which the LED cable will pass. Next, he created a recess in the top of the stand in which to sit the bauble.

A refining of the shape was followed by sanding and finishing with acrylic sanding sealer and acrylic lacquer before a final polish with a cloth and stick wax.

The stand was now complete so Bryan removed it from the lathe and set about assembling the bauble kit onto the stand.

He fed the LED cable through the centre of the stand and taped the switch/battery assembly into position in the base recess.

Soudal Fix ALL Crystal Clear adhesivewas applied to the recess in the top and he started lowering the bauble towards the recess, all the while feeding the LED lighting cable into the bauble.

This particular type of adhesive is recommended by Emma Cook due to its decent open time and good grab to all types of surface. It can be purchased from Emma’s online shop: https://www.thetinyturner.co.uk/product-page/soudal-fix-all-crystal-adhesive-125ml.

Once the cable was all in place, the bauble was pressed down firmly onto the adhesive. Finally, he turned it on!

Club Night – 2nd August 2023

The evening was a demonstration by Mick Denton who made a lidded box in the form of an apple. We were told that it would be made of marblewood but the initial stages would be demonstrated using olive ash since the box was made from two pieces of wood which need to be glued together. This approach facilitates the hollowing.

He started off making the bottom half, initially mounting the blank on a screw chuck and then reversing it onto a tenon to carry out the hollowing. It is best to use a fine grained wood to disguise the join between the sections, or to disguise the join with a feature such as a bead. Mick took care to note the internal rim finished diameter with calipers which he locked to prevent a change in the measurement.

Next was the top half but, before doing anything, he was careful to make sure he had it the right way round so that the grain orientation would match the bottom half. Once again, it was mounted on a screw chuck and, this time, an internal tenon was put on the other end. It was then reversed and hollowed out with care to get the rim diameter matching the bottom half so that there would be no step inside the completed box. Mick then quite deliberately (really!) went through the bottom (i.e. the top of the box) to make a small opening for the top of the box– this was the reason for using an internal tenon.

At this point the two hollowed sections would all be glued together but, for the demo, Mick took his previously assembled marblewood piece and mounted it in the chuck. It looked suspiciously like sapele but Mick assured us that it was indeed marblewood – “trust me” he said!

The assembly was shaped and reversed as necessary, and the sections blended together before shaping a recess in the top.

Pulling a tissue from the opening, he then revealed that the interior was packed with marbles – hence marblewood! A good joke which certainly most of us hadn’t seen coming!

The opening was refined to a slight taper and then another piece of wood mounted and turned to form a lid that fitted nicely in the opening and was blended into the body of the box.

Finally Mick made a stalk out of a piece of African Blackwood to complete a very interesting demo. He will glue the stalk in and finish off at home.

The competiton table had a good collection of disparate items this month.

1st place was a lovely little boxwood box with a threaded lid bu Gerald Hubbard.

2nd place was Chris Harkin’s yew bowl.

3rd place went to Geoff Warr and his banjolele with a segmented body.

Club Night – 19th July 2023

The evening was a demonstration by Roger Gilbert who made a mug tree to hold four mugs.

He started off making the base and drilling it to take the upright. Wax was used as a finish throughout the project, giving the wood a nice warm tone.

Next was the upright, made out of a length of square wood mounted between centres. The four holes for the mug hangers were pre-drilled into the square blank to give a slight upward angle to the hangers once fitted.

Roger made the tenon to suit the base and, as he proceeded to shape the upright, there were a number of requests for particular features from some of the audience so he included a few burn lines and a captive ring in the design. The ring inner surface was sanded against abrasive wrapped around the upright.

Finally, Roger made the four hangers from square blanks held in pin chuck jaws, making the first one and using it as a template for the remaining three.

As there was still a little time left he demonstrated how the conical end, cut off a banksia seed pod prior to mounting on the lathe, need not be wasted and could be used as the head of a mushroom. The picture shows the result.

This brought the interesting and enjoyable (i.e. mildly rowdy – the usual culprits!) evening to an end.

Club Night – 5th July 2023

The evening was a demonstration by Viv Harvey who showed us the principles and techniques of doing inlays into a bud vase.

The process for the turning of the vase was traditional however, the holes were drilled off lathe and the insert pieces made up as a dowel.

To end the evening Viv showed us his technique for making flowers and onions.

The evening was really entertaining and informative.

The July competition table was really well subscribed with a variety of excellent projects.

1st place went to Chris Harkin with his bug.

2nd place was a lighthouse by Viv Harvey.

Equal 3rd place was a pot by Ian George and a carousel by Dave Simms.

Club Night – 21st June 2023

The evening was a demonstration by Chris Harkin and was based on a textured and coloured vase that was shown on our stand at WoodWorks. The demonstration did include the basic turning of the vase but the main focus was on the texturing and colouring.

The vase was first scorched using a blow torch but this was not demonstrated here because of hall restrictions. When using a blow torch at home be very aware of the safety aspect of using a flame in the workshop, or better still do it outside. There are varying degrees of scorch which Chris designated as “toast”, “roast” and “barbeque”.

Once scorched the burnt bit needs to be brushed down which can be done with a brass brush or preferably a rotary nylon brush.

The vase was then coloured using basic poster paints which can be mixed to produce whatever colour you want. This is painted onto the vase then immediately wiped off so that the grain pattern shows through the colour. 

The last operation was to lacquer or wax the vase, whichever is your preference.