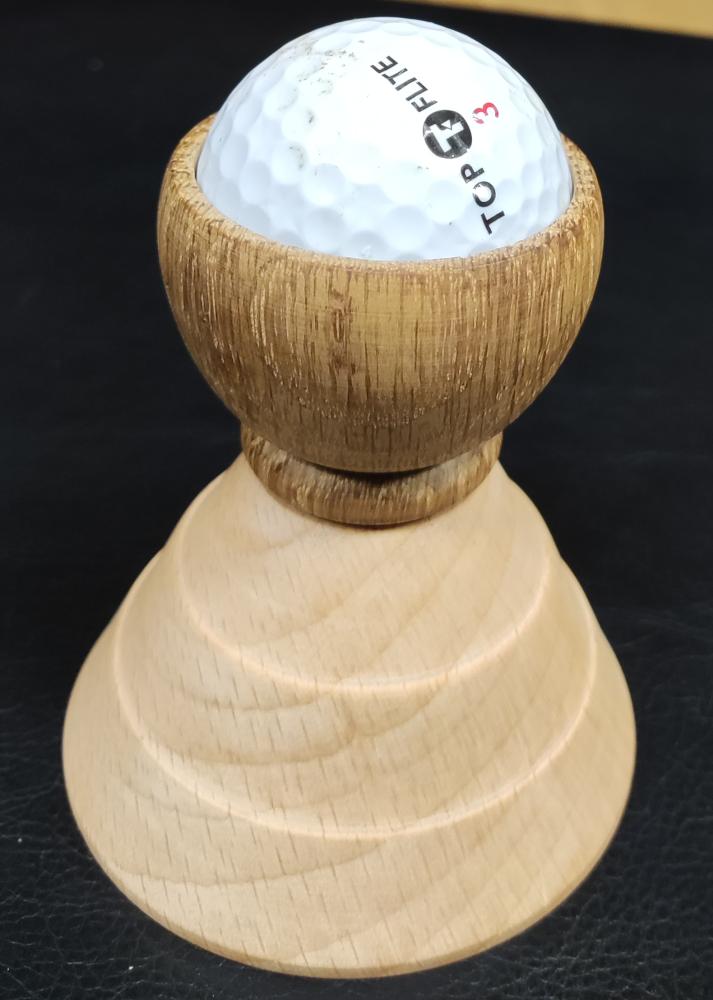
Club member Ken Garratt gave a demo this evening, carefully chosen to encompass one of his other interests – golf. The subject was a hole-in-one golfing trophy, complete with golf ball.
Consisting of three pieces in all, Ken managed to use three different types of wood, making this a very economical little project!
The Base
Here, Ken turned a piece of beech into a cone shape and added some detail steps for interest before drilling a 15mm hole, 15mm deep into the top to accept a tenon from the cup.
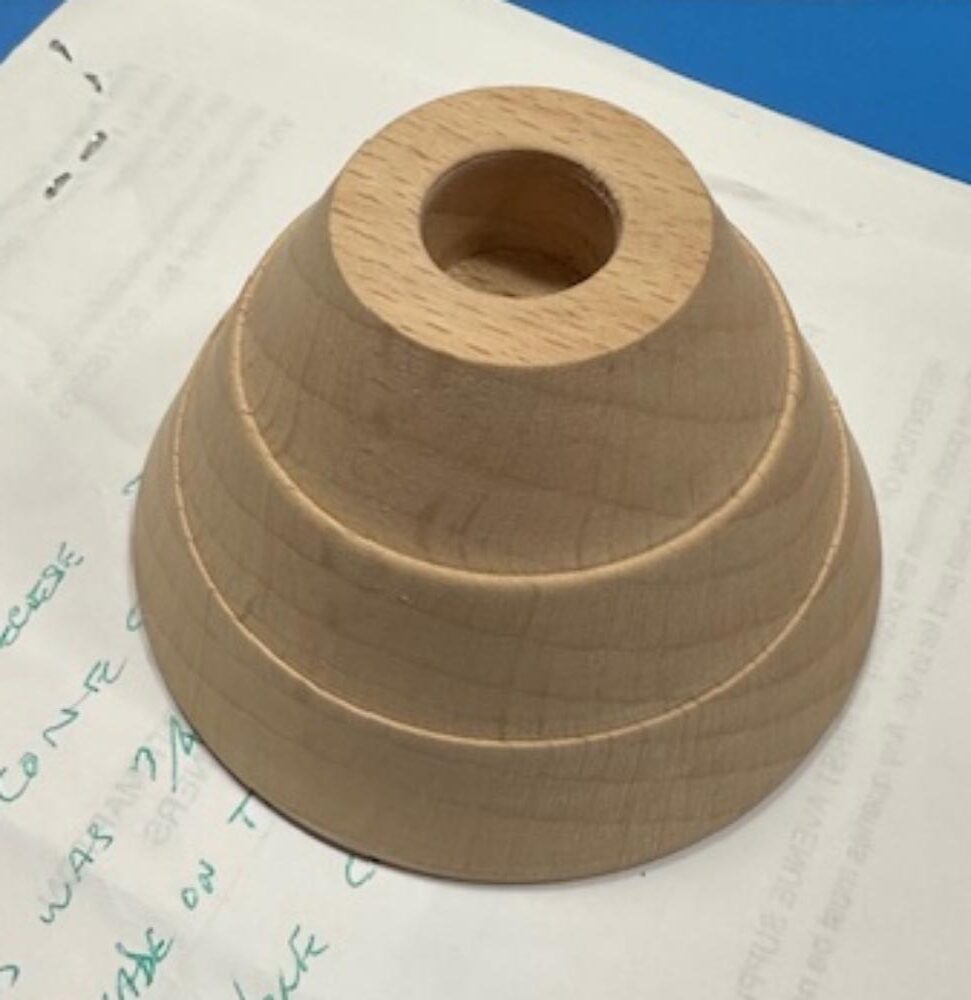
He took care to make the bottom of the base slightly concave so that it would stand securely on any flat surface.
The base was finished off with a quick sanding.
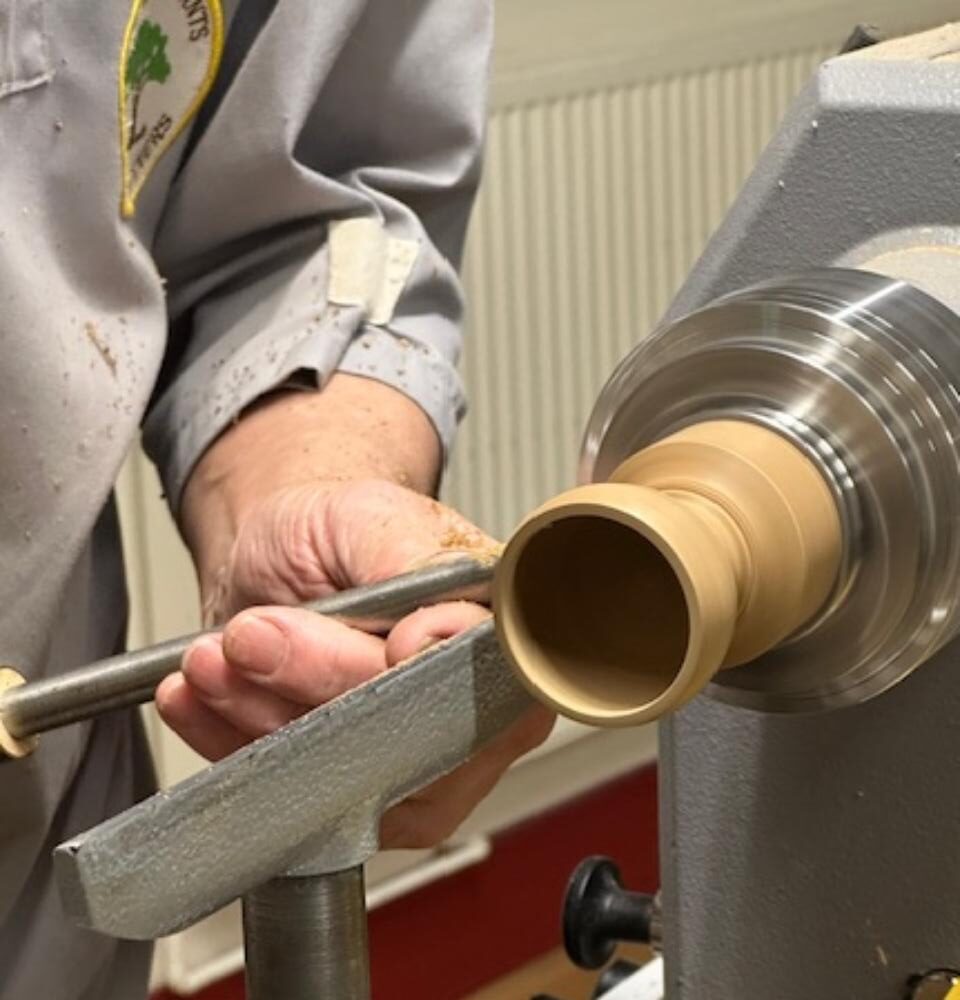
The Cup
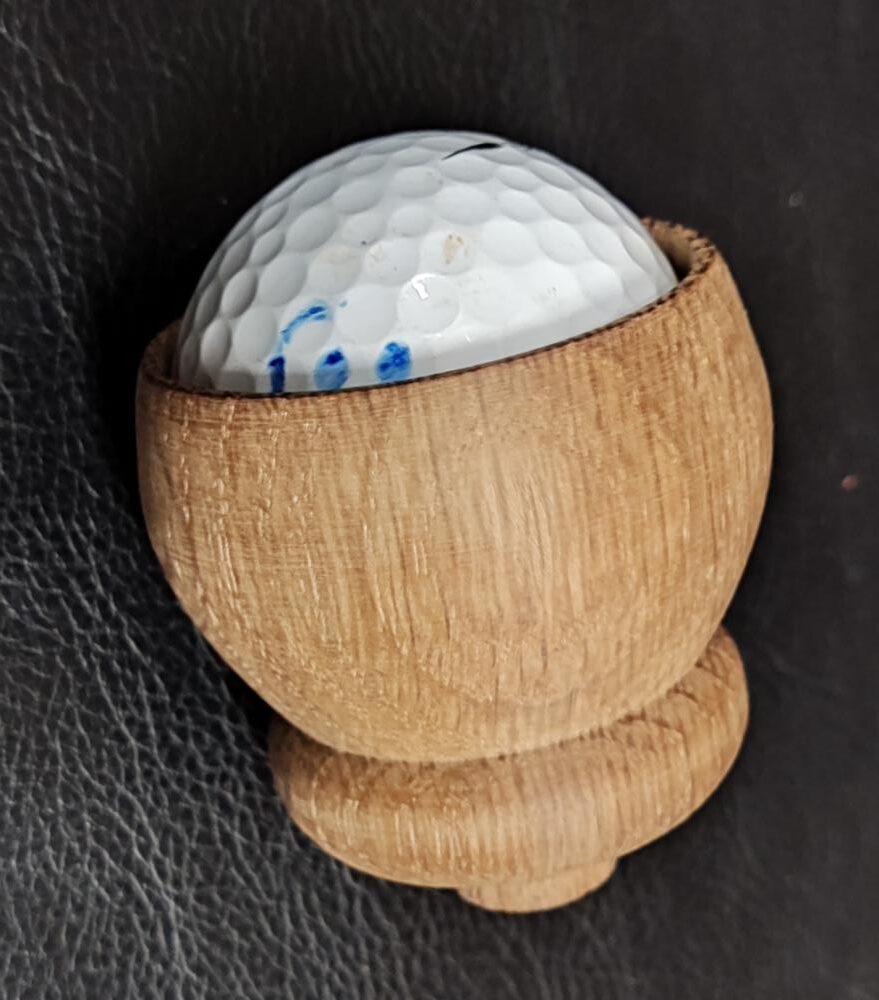
A piece of sweet chestnut 100 x 45mm was mounted in the chuck and hollowed out to a semi-sphere shape, with the top rim just a bit less than the diameter of a golf ball.
The inside was carefully scraped with a skew for final dimensioning so that the golf ball would sit freely – but care was taken to keep that rim at less than golf ball diameter!
Once this was done, Ken shaped the outside to form the cup, with a fairly thin wall.
He then formed the tenon to suit the base, sanded it all over, and parted it off.
The final action was to push a golf ball in, the thin wall flexing enough to insert the golf ball, but then holding it captive.
The Pocket Tee
To finish off, Ken mounted a piece of ash in the chuck and formed a rounded hollow in the end.
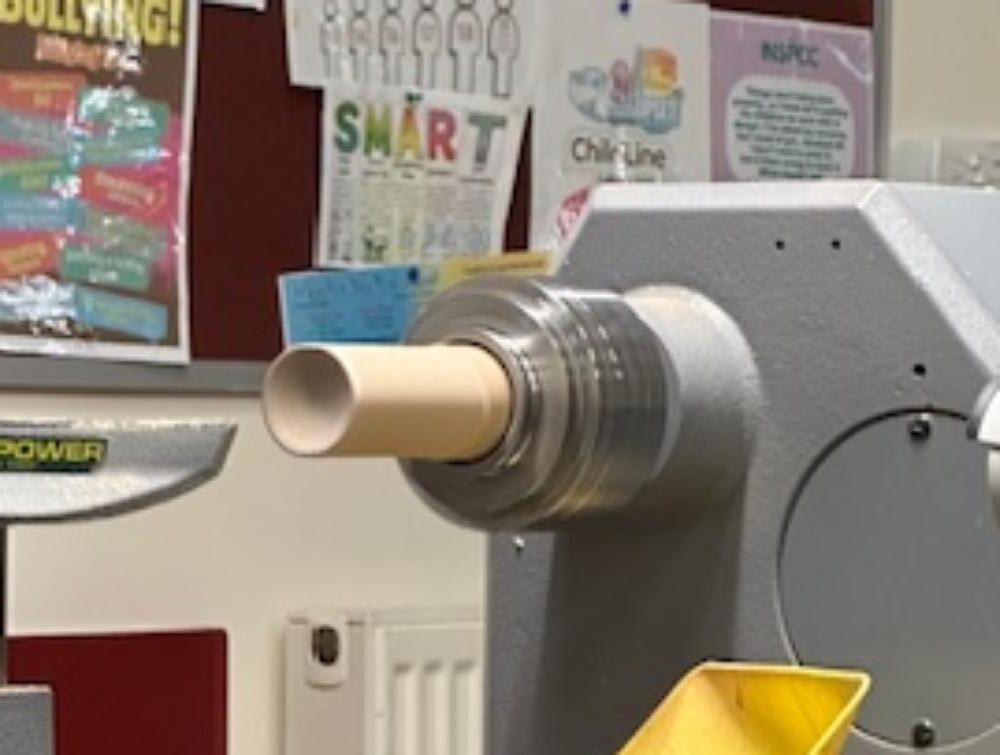
He then shaped the outside, forming a thin stem before sanding all over and parting off.
Next, he mounted a sanding disc in the chuck and proceeded sand flats on the side of the hollowed section to produce a nice little tee.

Shame about the weather at present; I don’t suppose there will be many holes-in-one for some time yet!