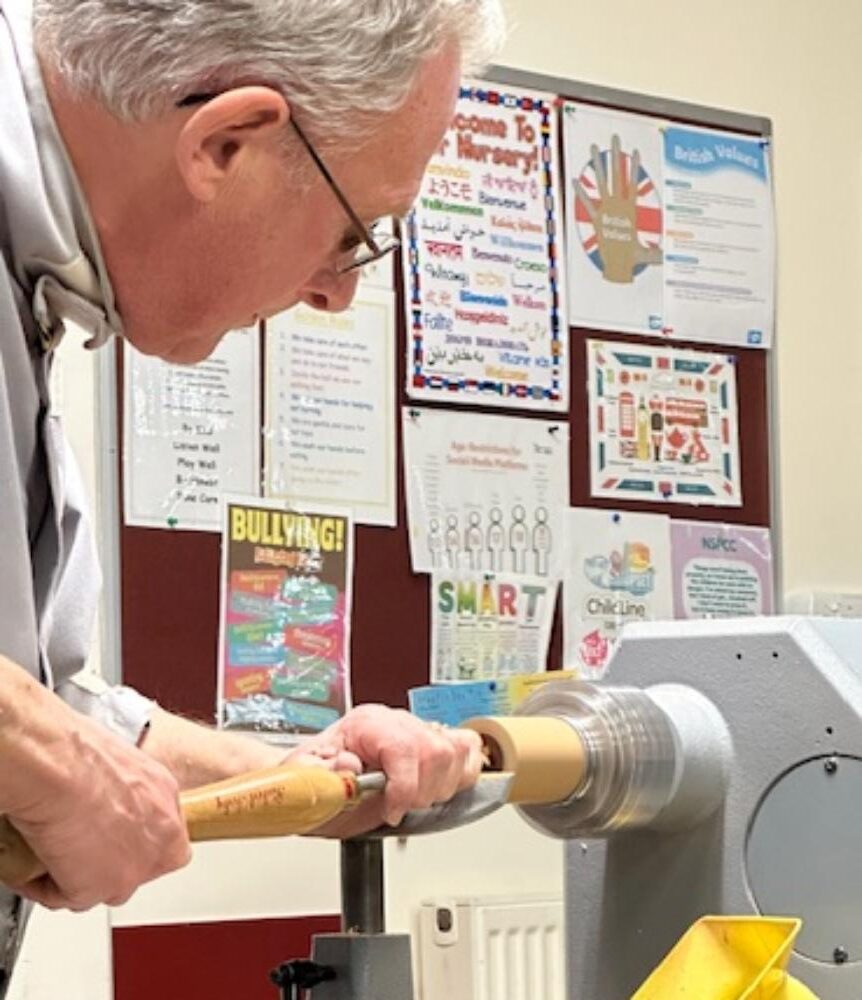
Club member Gerald Hubbard gave the demo this evening, typically keeping us in suspense about what items he was making, but admitting that they may be loosely related to the Woodworks teaset challenge.
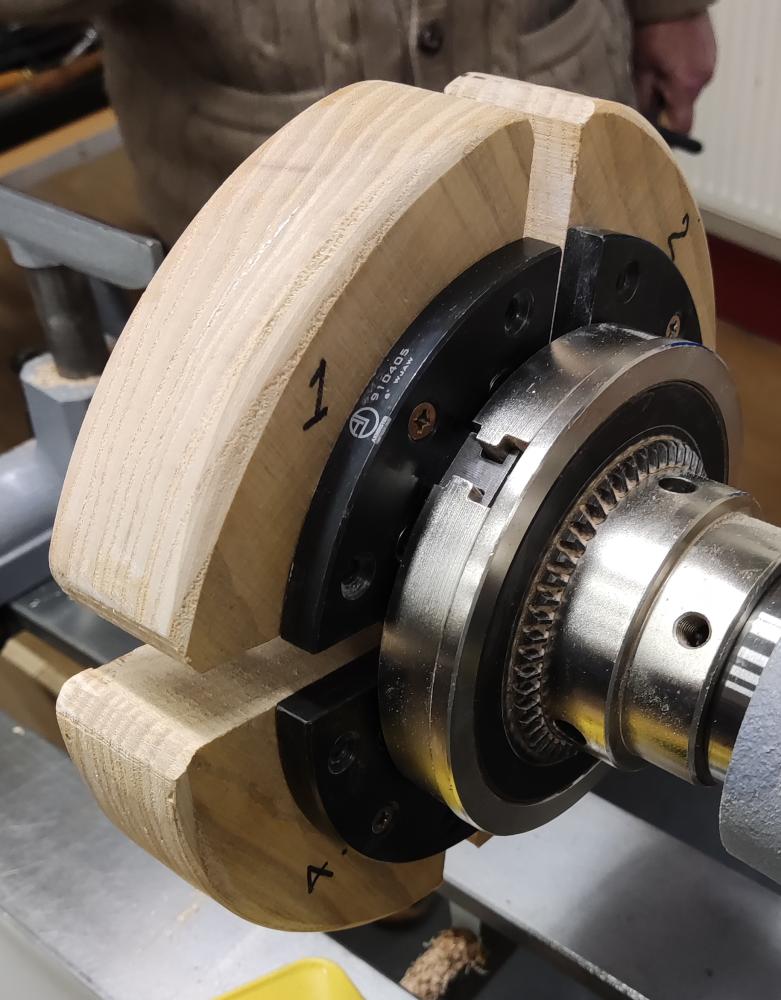
For the demo, he used his home-made 6” stepped wooden jaws. He uses wooden jaws frequently, finding them very flexible and easily made to suit a particular job – and they don’t damage the tools if they should come into contact with them!
The wooden jaws are mounted upon Axminster woodturning wood jaw plates, Axi Code 910403.
Plate
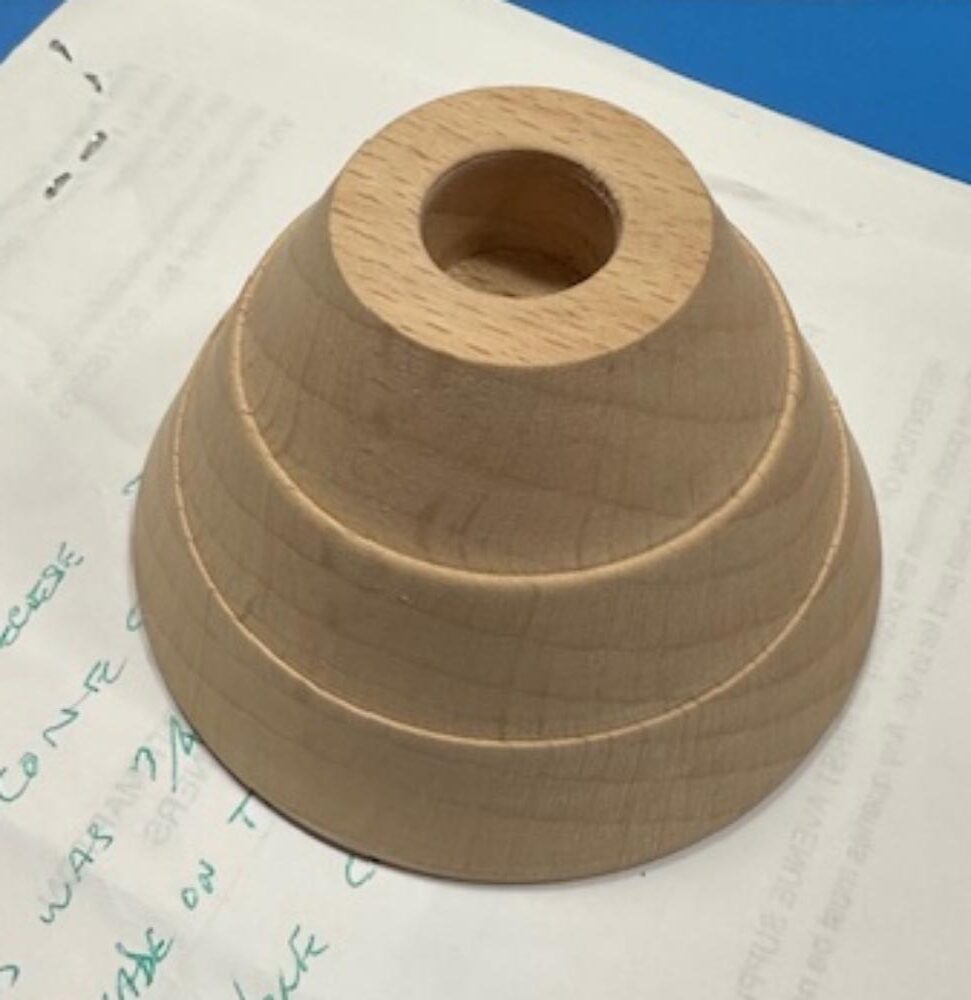
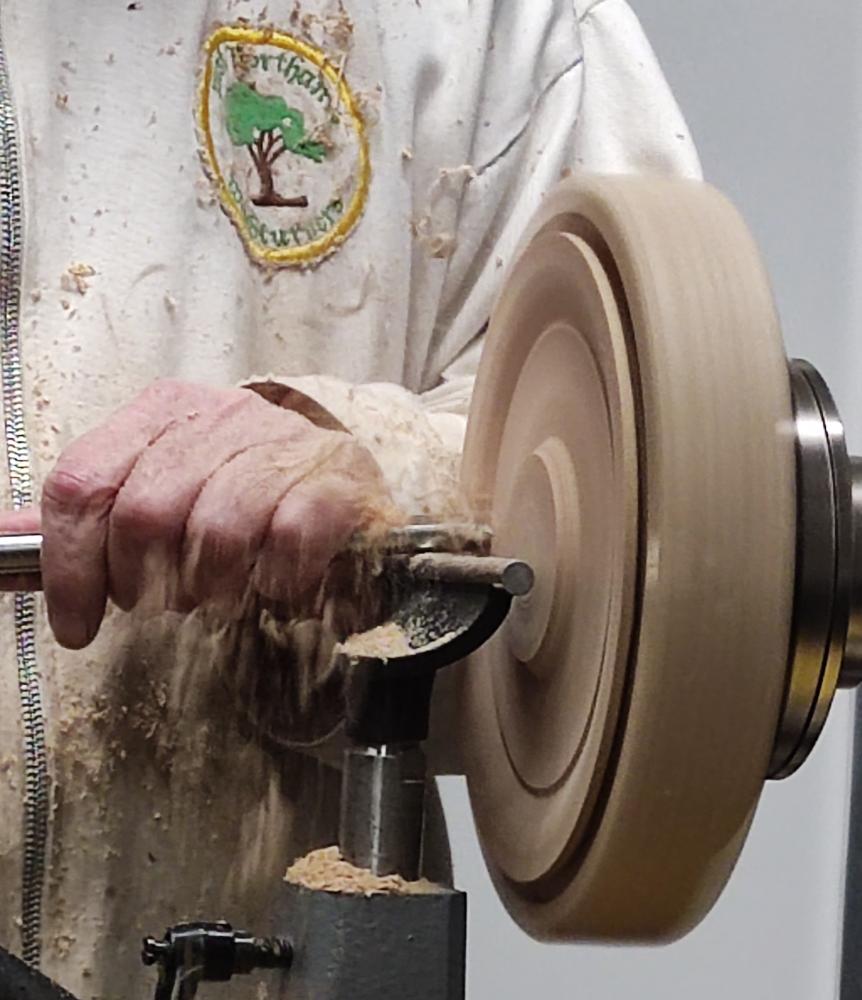
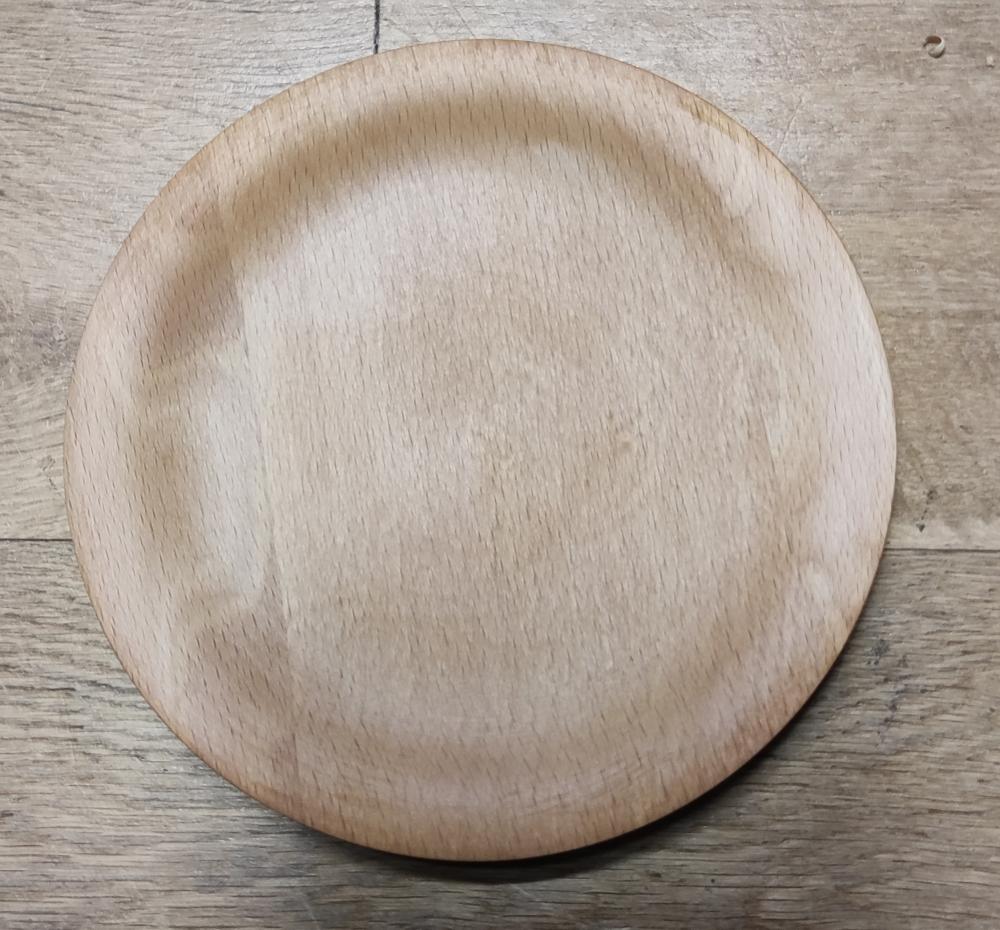
First off, Gerald mounted an old beech cheese board in the jaws and faced it off with a pull cut before making an ogee shape on the underside of the plate – for that is what he was making.
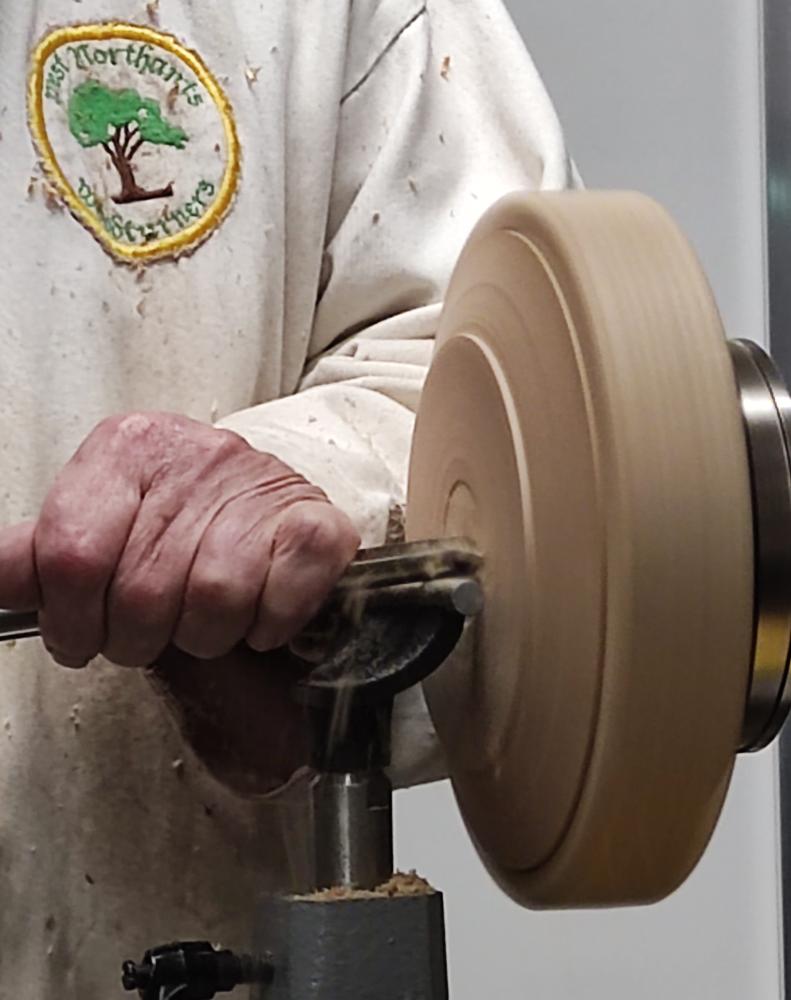
For a bit of fun (or to show off?) he reversed the lathe and did a reverse back cut which can be handy if reaching right across the lathe to start a conventional cut is found to be awkward.
He formed a recess on the underside before reversing the plate onto the chuck. Once again, Gerald used a pull cut to true up the face and then used a push cut to dish it.
Once happy with the shape, he sanded through the grits and wiped it down with a food safe finish before allowing the finish to dry and then sanding lightly with 600 grit.
Salt Shaker
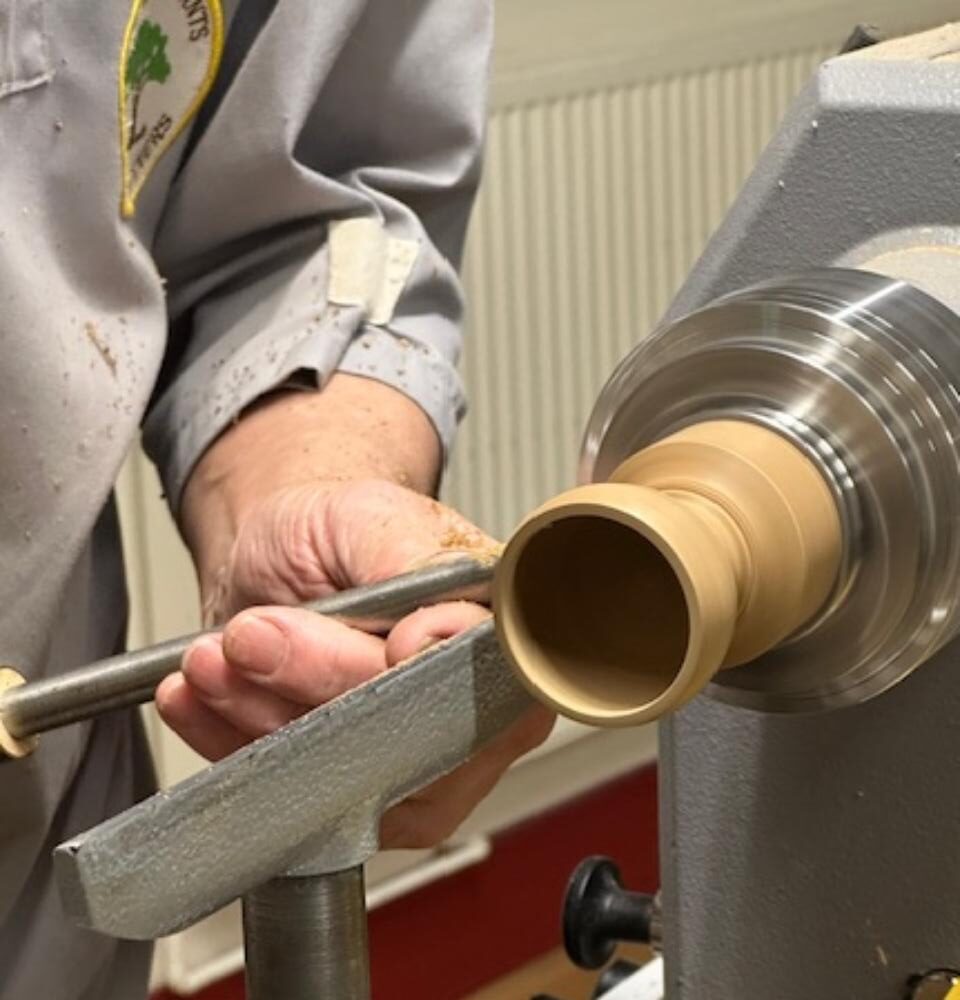
This is a two part design, with the body being made from a square spindle blank of elm – with some impressive splits, mostly turned out by the time the body was complete.
He mounted it between centres and brought it to round then held it in deep grip jaws and faced off the end with the help of a Bill Jones arm rest (saves messing around moving the tool rest) and a spindle gouge.
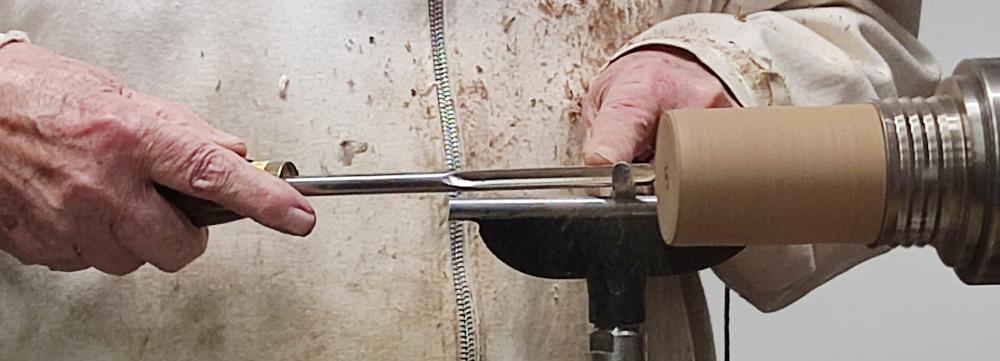
With a drill chuck mounted in the tailstock, he bored out the blank with a forstner bit to about 30mm deep. With a scraper he enlarged the hole at the bottom to form an annular space, and removed the dimple left by the drill.
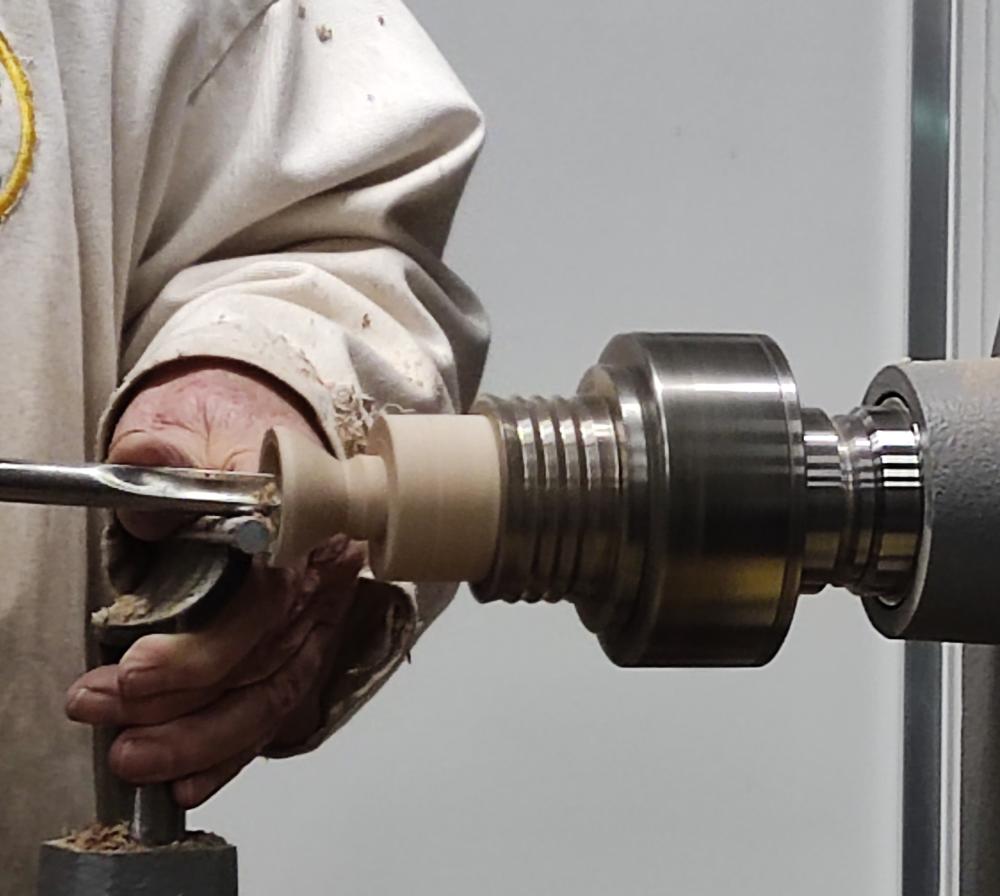
After sanding, the body was parted off and the stub shaped as a jam chuck to hold it for cleaning up the end and shaping it for cosmetic purposes.
Removed from the chuck, the body was now replaced by a maple blank from which to make the insert. It had earlier been brought to round so was mounted in the deep grip jaws.
For the insert, Gerald formed a funnel with a spindle gouge and a skew used as a negative rake scraper. The outside was sized to fit into the body for later gluing into place. A hole (about 2.5mm diameter) was drilled through the insert.
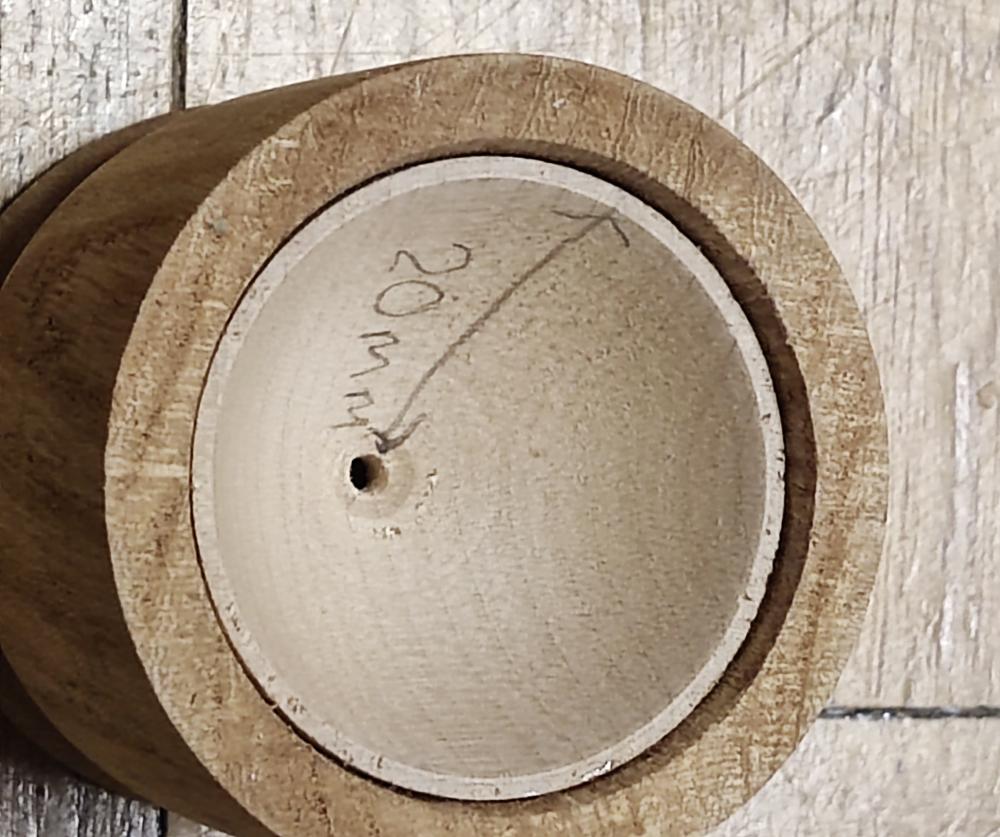
The next step was to glue the insert into place and it would then be ready for filling with salt through the drilled hole. To dispense salt, it’s just a matter of shaking so that the salt in the internal cavity falls onto the top of the funnel and through the hole. This can be a good way to have your visitors scratching their heads, wondering how to get the salt out!
Bottle Opener
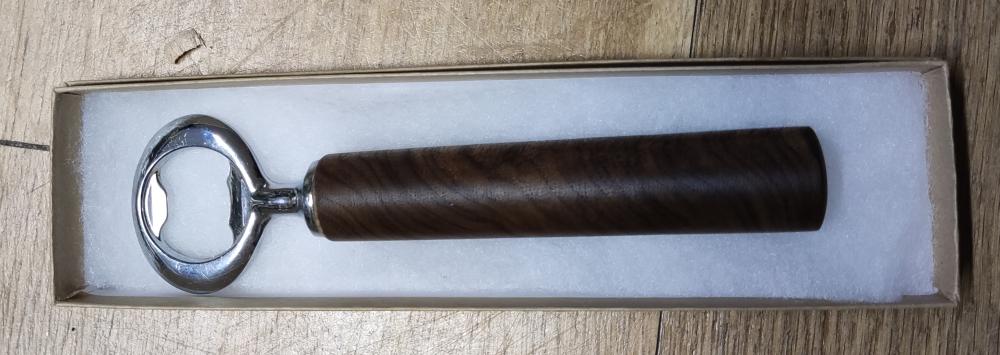
For his final piece, Gerald started off with a walnut blank about 125mm long x 25mm square.
Mounted in a chuck, he marked the centre of the end and then drilled it to suit the 3/8” x 16tpi threaded spigot on the bottle opener kit. Although threaded, the spigot can simply be glued into a suitably sized hole, avoiding the need to tap a thread in the handle blank.
He then mounted the blank between centres, with a live centre in the tailstock, and a light pull centre in the headstock, using the drill hole to centre the piece accurately.
It was brought to round with a spindle gouge and a skew chisel before rounding off the end and parting it off.
The kit spigot was glued into the hole, taking care not to use too much glue, and it was then sanded and a food safe finish applied. Although threaded, the spigot can simply be glued into a suitably sized hole, avoiding the need to tap a thread in the handle blank.
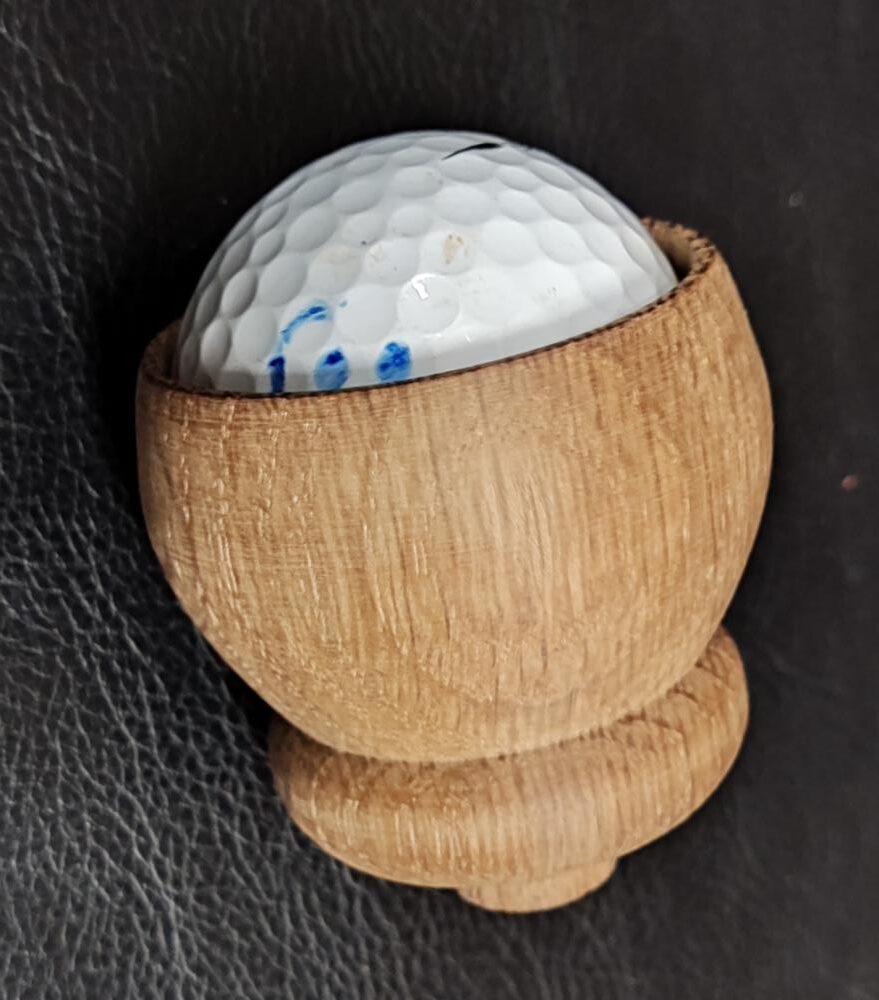
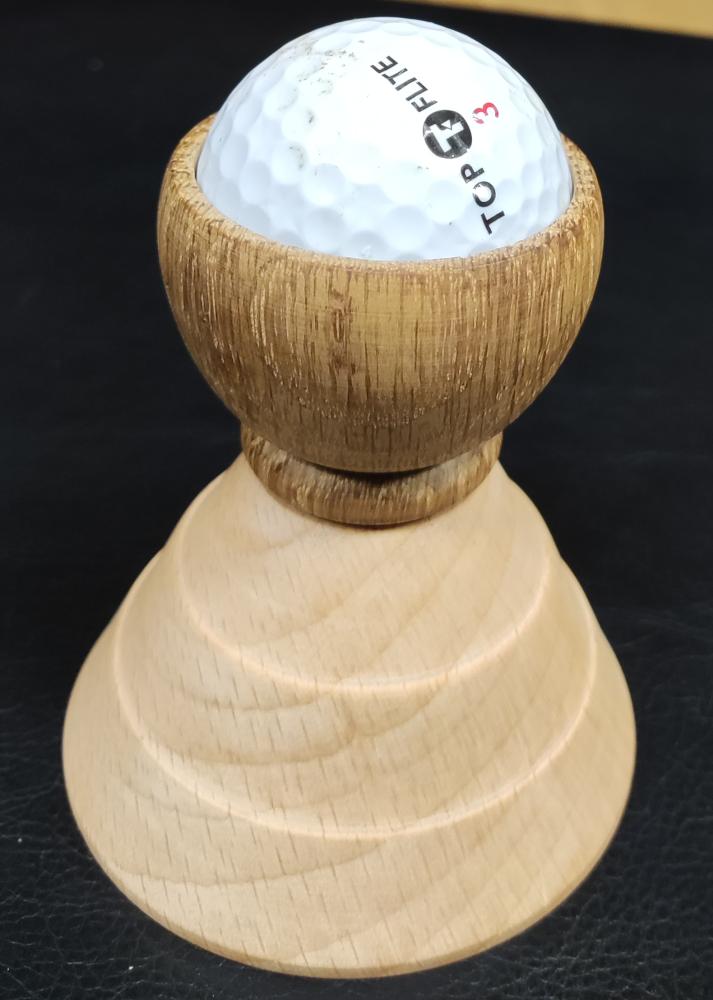
These three “foodie” items would be ideal for a nice plate of chips with salt, and a bottle of beer – sounds good to me!
Bandsaw Circle Cuttting Jig
As an extra to the above, Gerald brought in his simple circle cutting jig for a bandsaw.
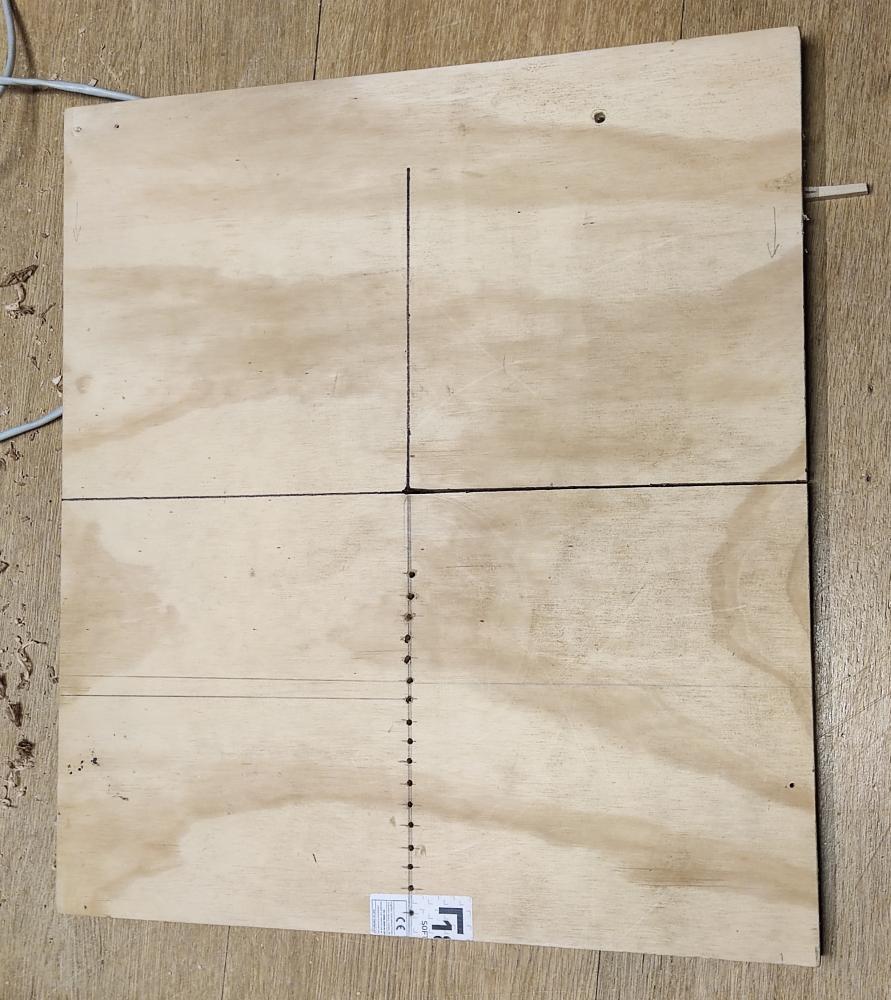
With the runner aligned in the bandsaw mitre slot and the wood with a suitable pivot pin in its centre, the wood can be located into the required radius hole. Start the bandsaw and slide the jig onto the table with the runner in the mitre slot until the front of the blade aligns with the centre of the workpiece and jig (a stop block or fence on the jig could be used for this) and start rotating the workpiece on its pivot. Carry on until the circle is cut.
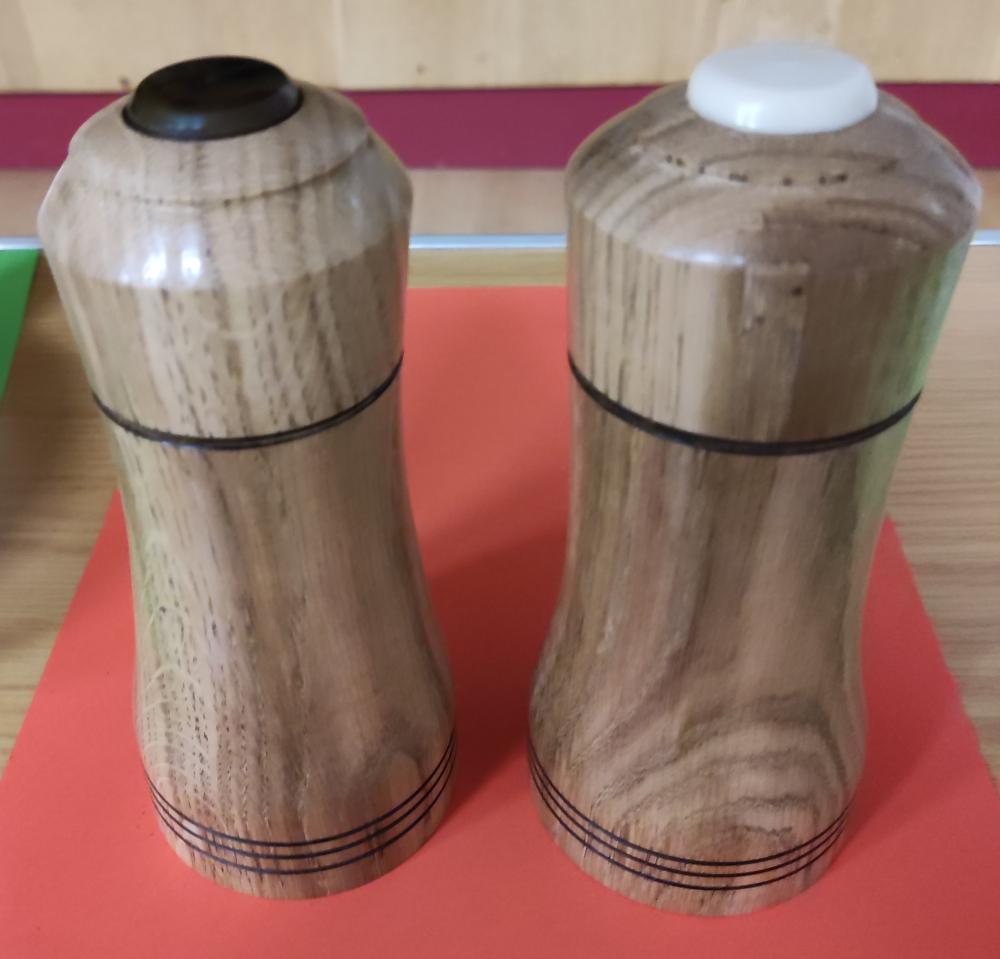
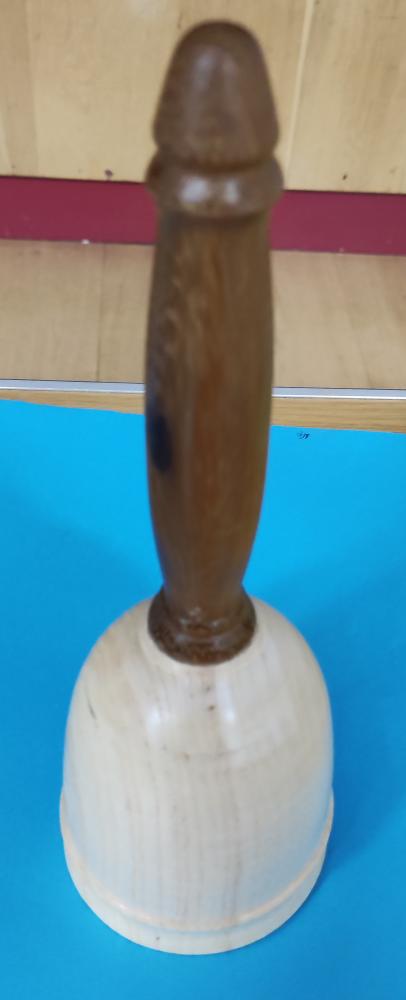
The competition table this month had a good variety of entries.
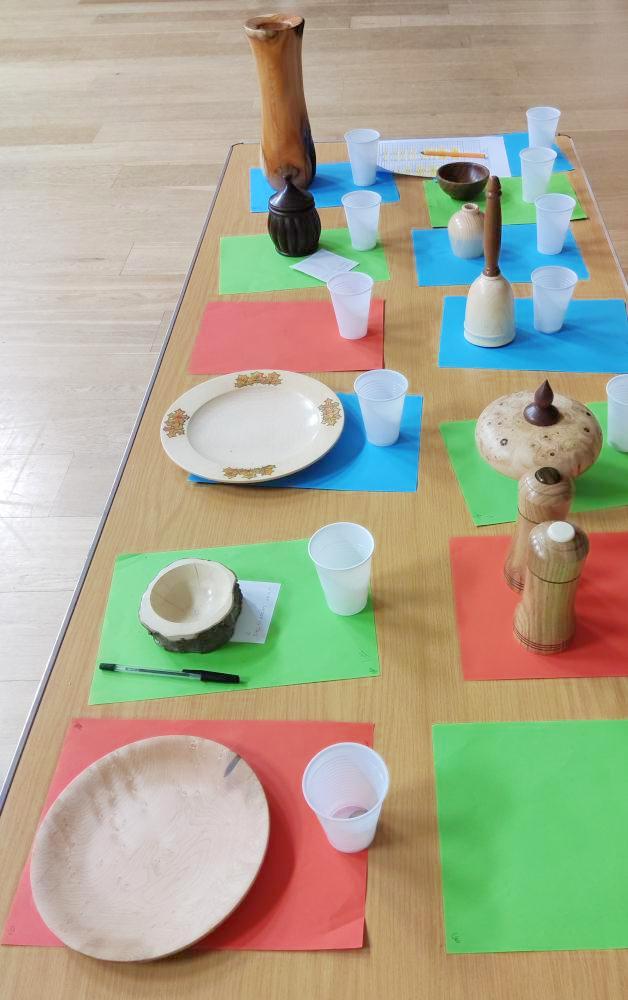
1st place went to a pair of salt and pepper grinders by Roger Gilbert.
2nd place was for a bell by Geoff Warr.
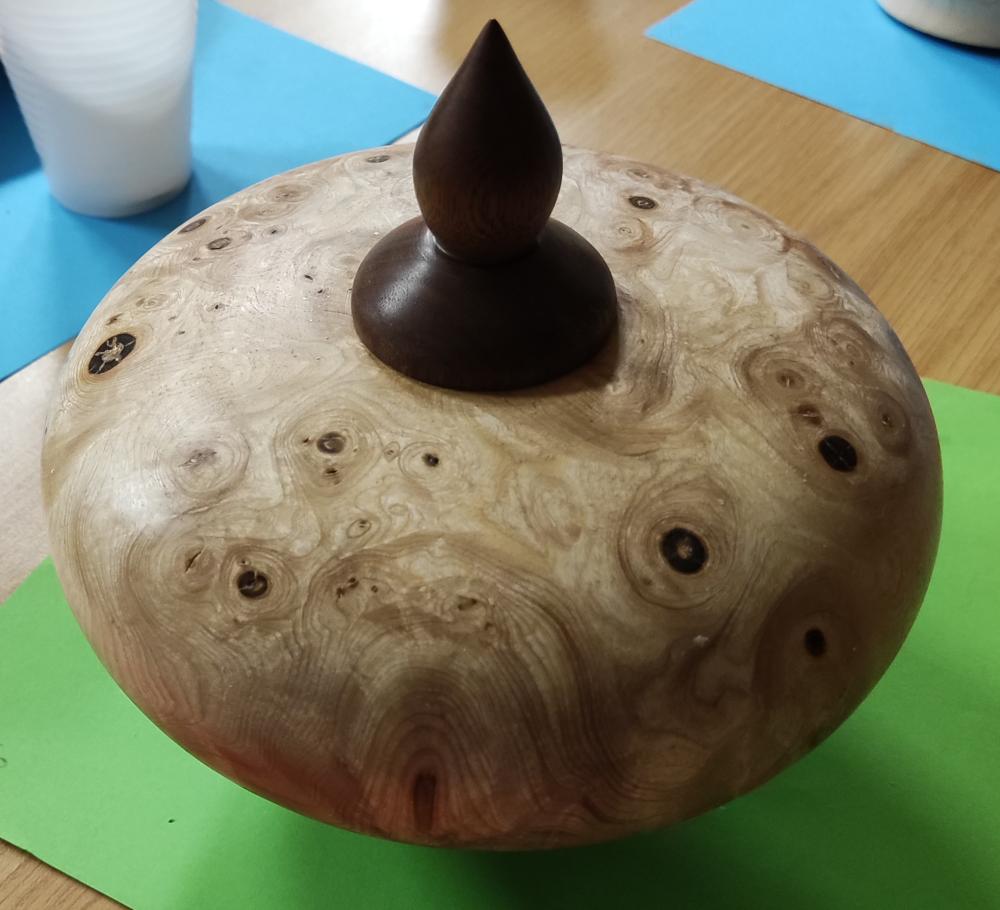
3rd place was for a burr hollow form by Dave Simms.