Club Night – Wednesday 16th October 2024

Before the demo started, we were told that the club challenge for Daventry Woodworks next year is to be a teaset – teapot, cups, saucers, plates and accessories. This gives plenty of scope for interpretation and opportunity for lots of people to take part. Should be fun!

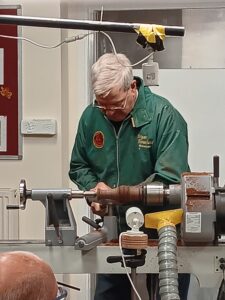
We had a double act tonight with Mick Denton and Viv Harvey tasked with making the same item in whichever way they thought best. We, the audience, were not privileged to be told what they were making so we just had to be patient and try to figure it out from the two quite different approaches on show.
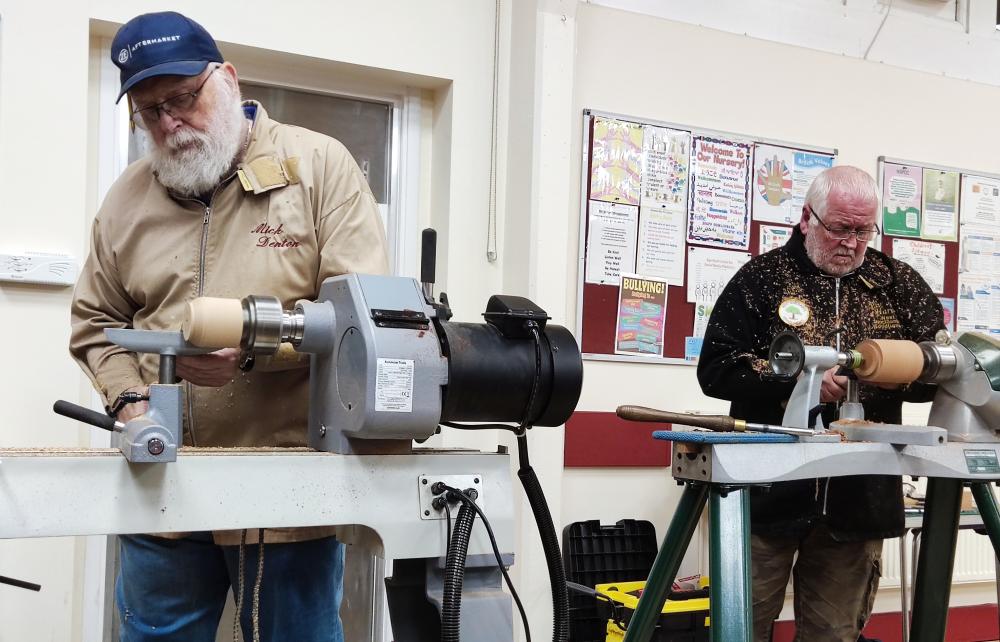
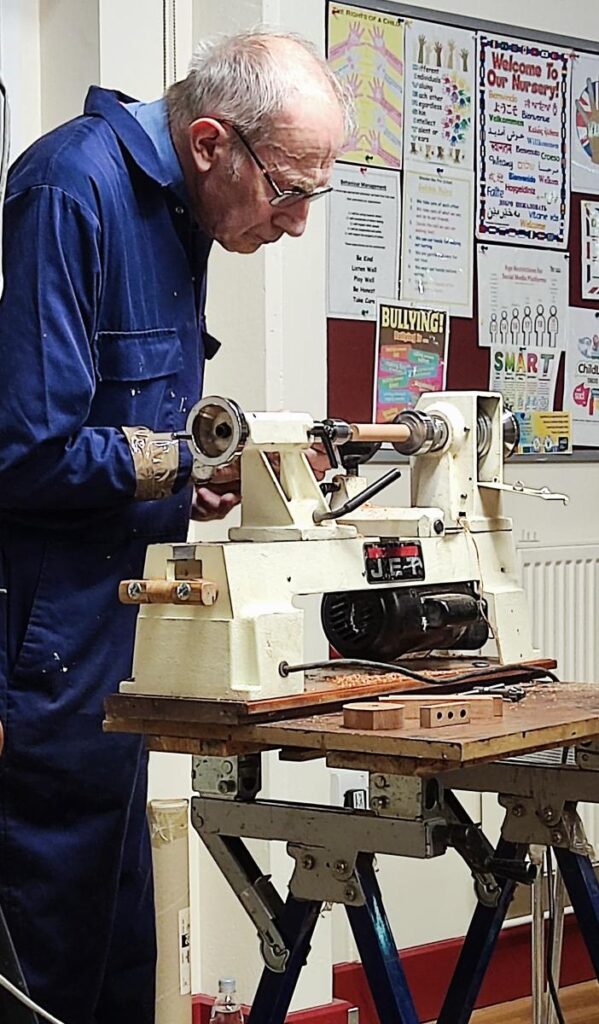
Mick started off with a cube of oak about 100mm on a side, mounted on a screwchuck.

This he proceeded to bring to round before using a bowl gouge to shape it to a rounded cone with a tenon on the end.
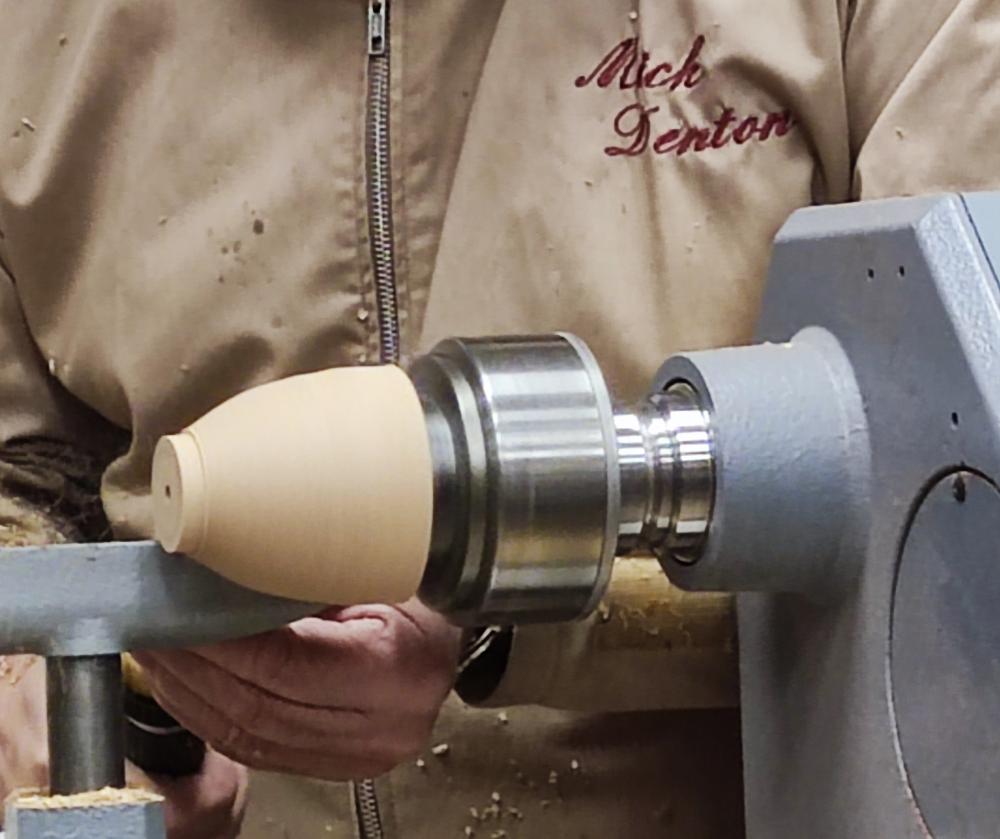
 

After sanding it he reversed it onto the chuck and centred it before tightening the chuck for a secure hold.

Using a bowl gouge and a carbide tipped hollowing tool Mick hollowed it out and then drilled a hole through the bottom.


After a quick sanding, he took it off the chuck and dribbled some superglue into a crack that had appeared in the wood.

Another block of wood was mounted between centres, rounded, and drilled through before opening up further. Mick used a 10mm parting tool to size the edges to suit the tenon on the larger piece of wood and then drilled all the way through before reversing it.
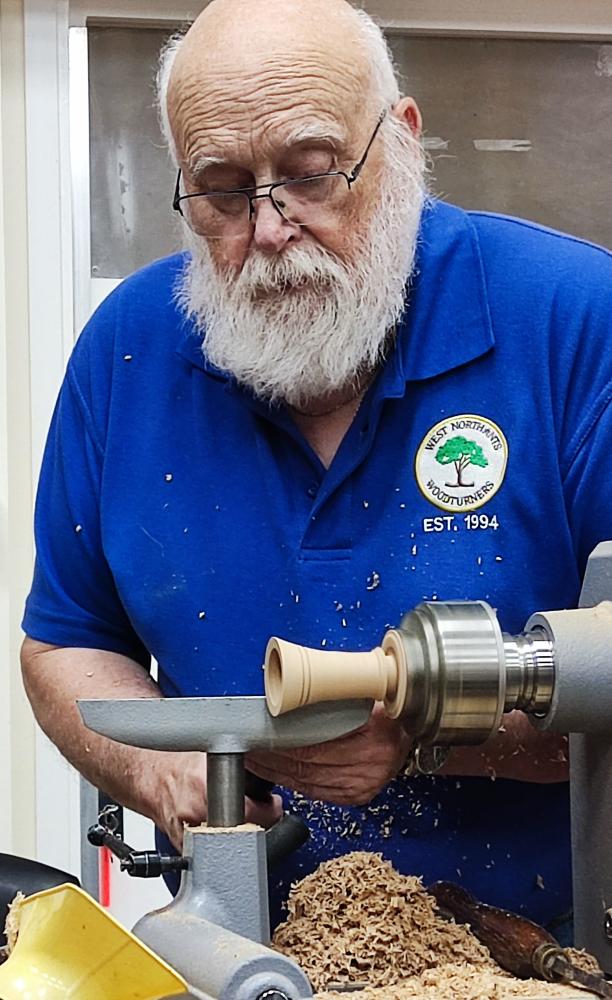
 

After adding some detailing and sanding it, he parted it off and then glued the two pieces together with a dab of superglue to hold everything in place while the PVA glue set.

The picture shows the one that Mick made today as well as an earlier practice piece. Starting to get an idea of what it is now?
 

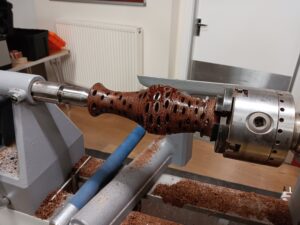
Viv started off with a block of sapele about 150mm long x 110mm square, mounted between centres.

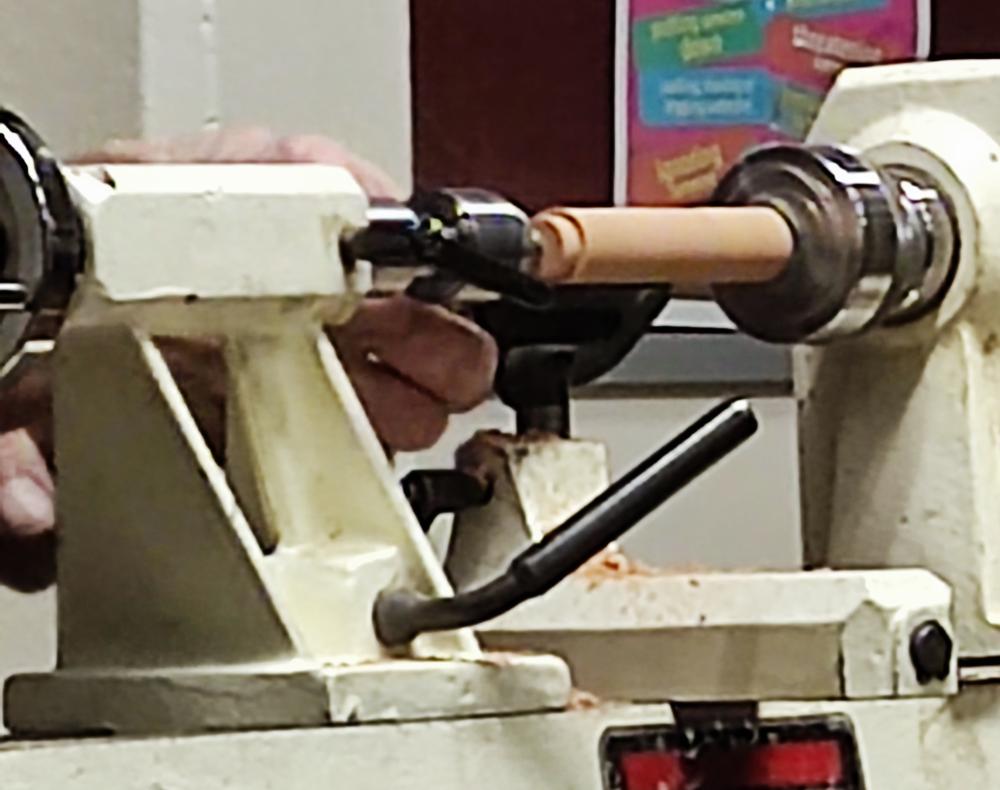
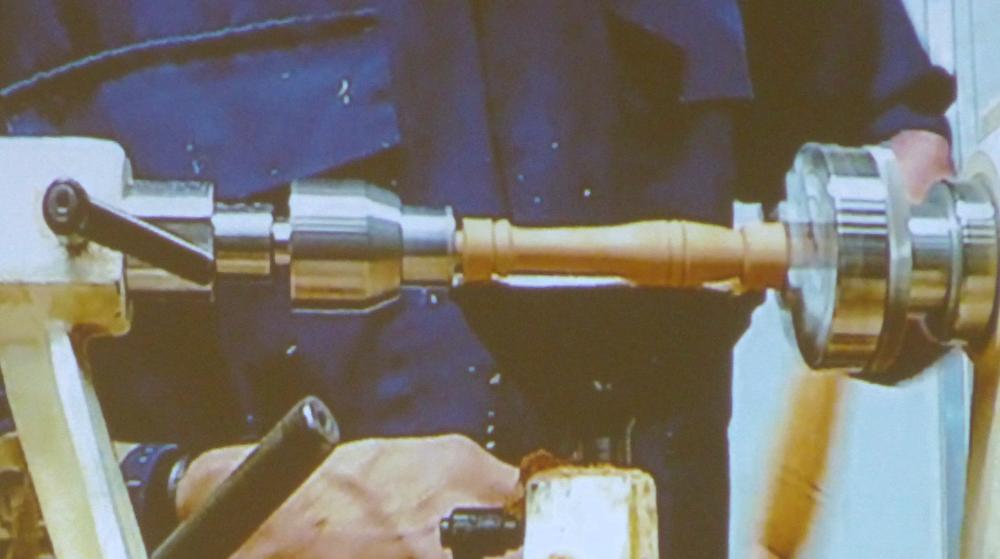
Bringing it to round with a spindle roughing gouge, he then put a chucking tenon on each end with a bedan/parting tool.

Moving to a smaller piece of wood about 150mm long x 65mm square, he brought it to round with a spindle roughing gouge before drilling out the end and hollowing the opening out with a spindle gouge.
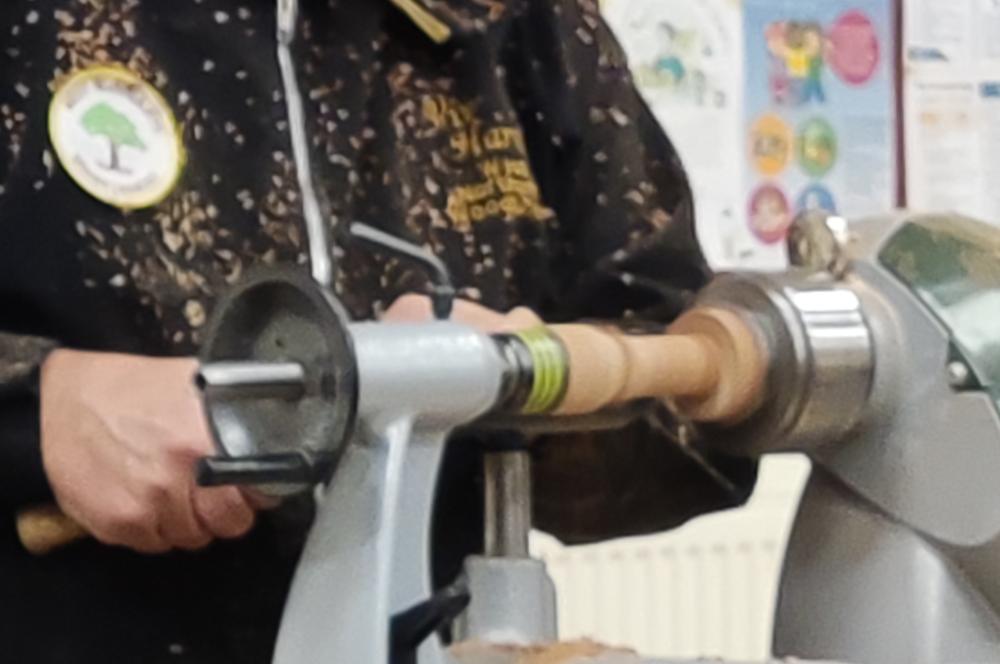
 

He then brought up the tailstock for support and shaped the outside; all finished off with acrylic sanding sealer and beeswax before parting it (what exactly???) off.

The larger piece of wood was now mounted into the chuck, drilled out and reversed. The now redundant chucking tenon was removed with a parting tool and shaping of the exterior began.

With the shape established, Viv hollowed out the inside with a spindle gouge and then used a scraper to get a clean finish, following up with some abrasive on a stick to avoid catching his fingers.
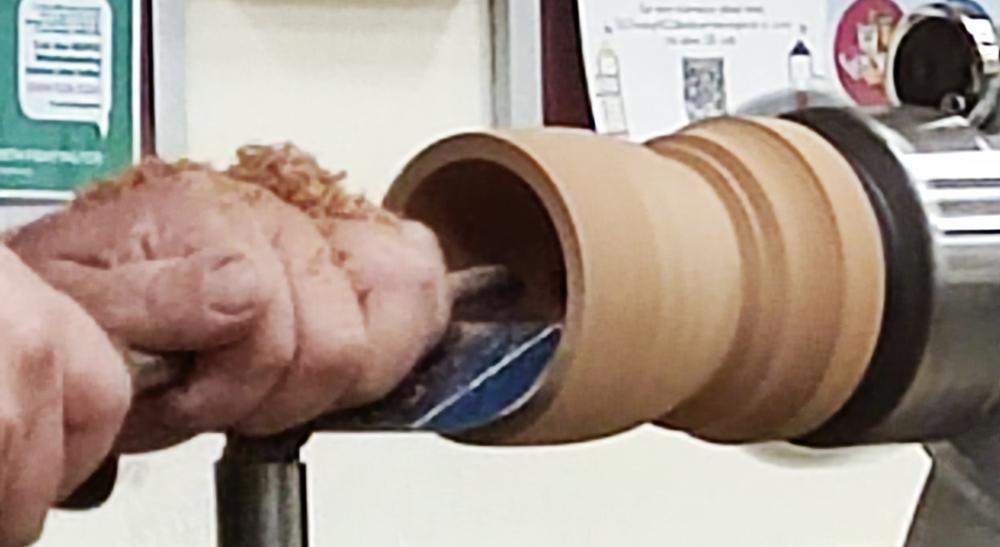
For aesthetics, he added some detailing and wire-burn lines.
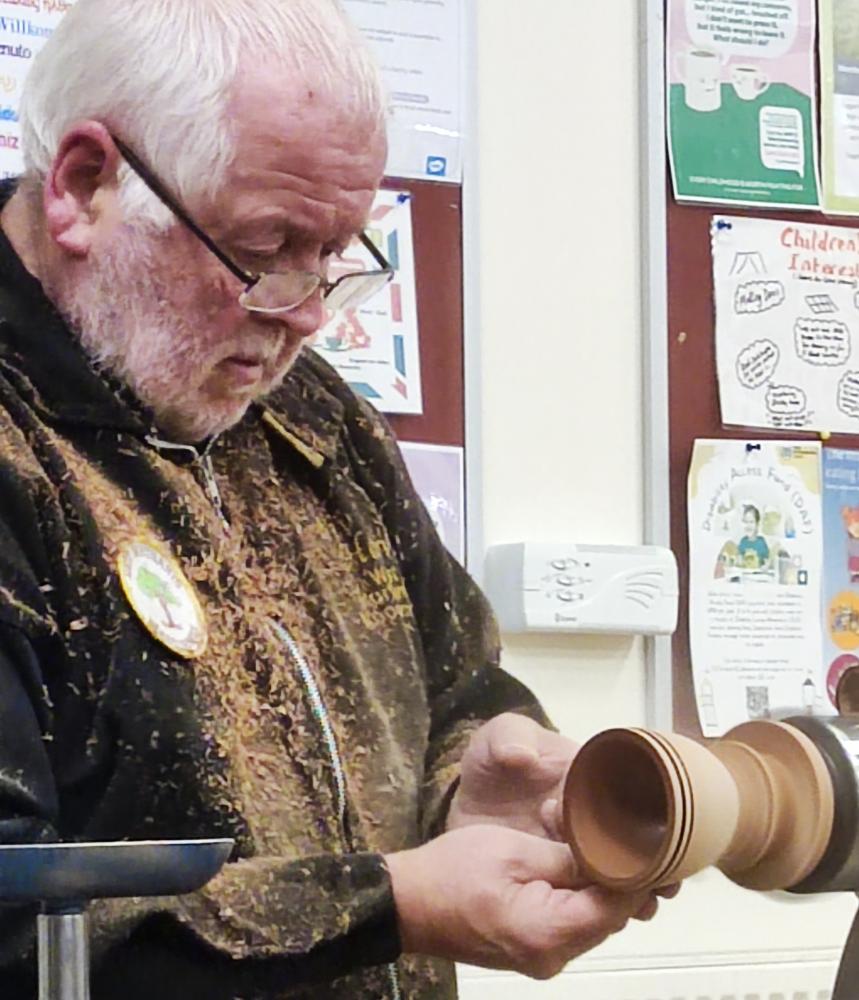
 

Next, he parted if off and reversed it onto the chuck jaws, using some paper to to protect it from damage as the tailstock was brought up to hold it in place.
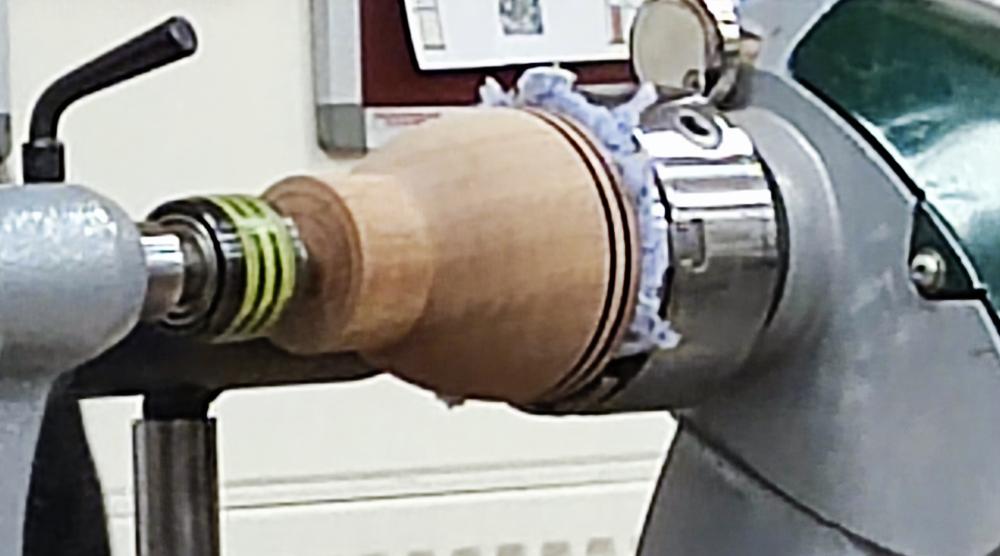
 

With it securely held, Viv finessed the tenon size to suit the other component, applied superglue, and pushed the two items together with the tailstock.
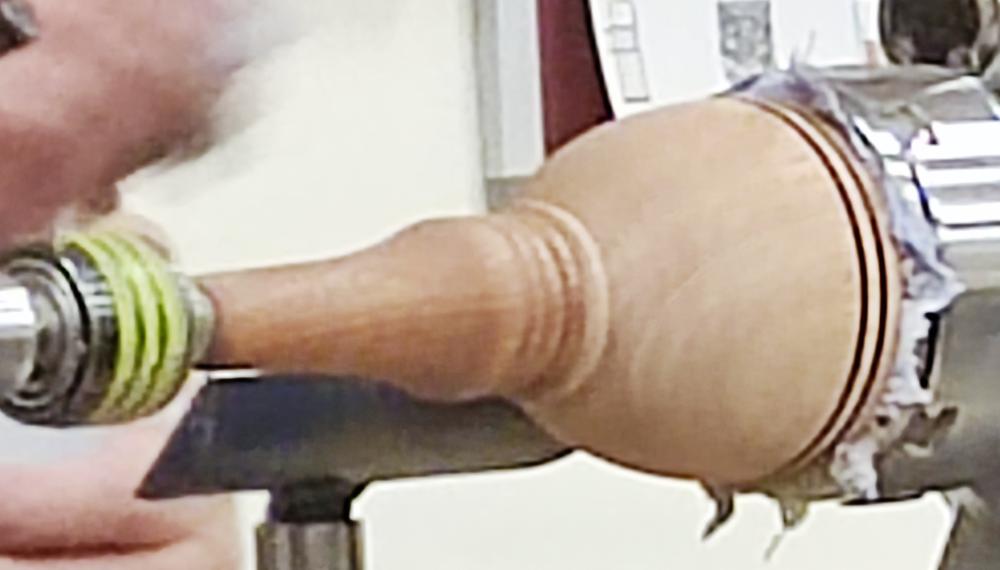
 

He once again used acrylic sanding sealer and beeswax as a finish and then buffed it up.
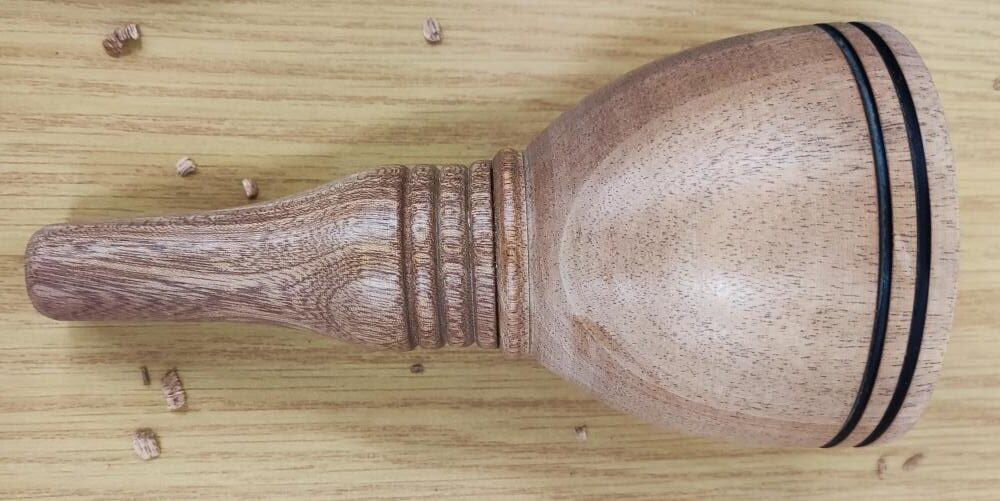
 

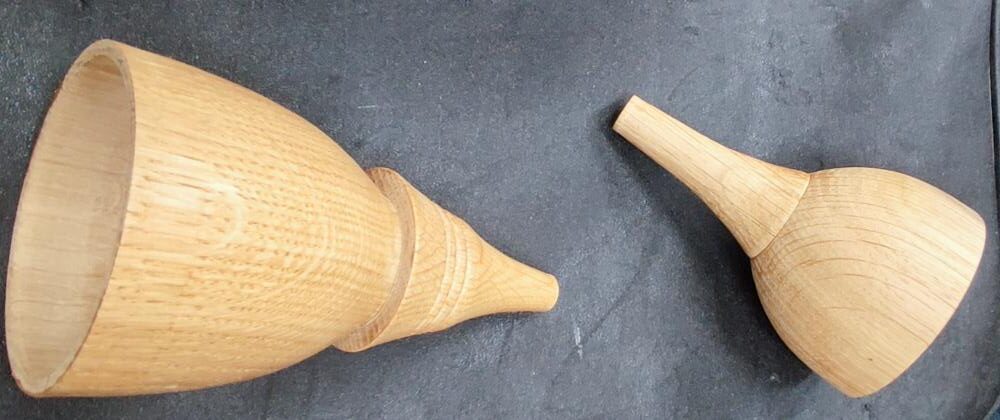
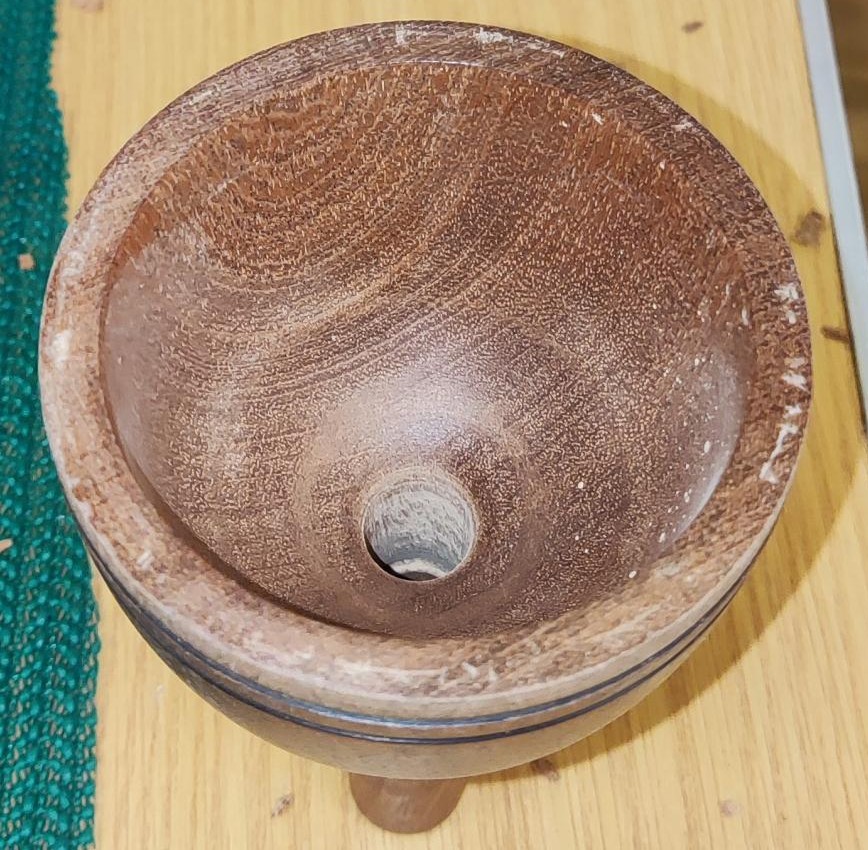
So what was this all about?

The picture shows Viv’s offering from an angle that may help you to figure out that these are a pair of funnels, something that we’ve all made at one time or another!
 

Club Night – Wednesday 2nd October 2024

The evening demonstration was held by Bryan Brumfield, one of our established members. His theme for the night was the Banksia Nut which is a seed pod from a species of plant from Australia. It is an item that is often turned into small, interesting looking artefacts. Banksia nuts have a relatively solid core surrounded by a fibrous layer which is an adaptation for the Banksia to survive bush fires as the fibres insulate the seeds. 

Bryan first cut the pod into sections and the first section (the biggest) was turned between centres to create a vase which was then mounted on a chuck to allow him to drill out the centre. By doing this the pod became “see through” where the seeds are lodged.

Once finished the Banksia pod was spray coated with sanding sealer. It is Bryans intention to fill the voids with Milliput but as this takes 24 hours to cure he did not do this tonight. The turning was left partially complete so that he could undertake the finishing later.

A second section of the Banksia pod was turned, again between centres, to form a Tea Light holder which when the light was inserted created an effect of the light shining through the voids.

The final piece utilised the point of the seed pod as a mushrom cap with a stalk turned from a piece of ash and this showed that all of the Banksia pod can be used with very little waste.

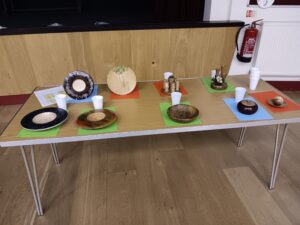
The night also had the October competition table which was really well represented.

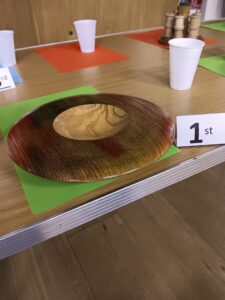
First place went to Bryan Brumfield with his rainbow dish.

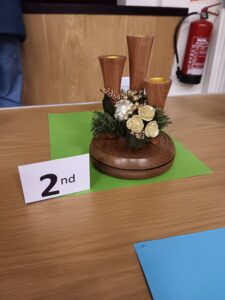
Second place was Viv Harvey’s triple candle holder.

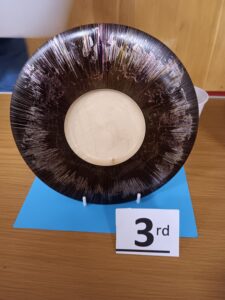
Third place was Colin Humphries’ dish


Club Night – Wednesday 18th September 2024

Club member Henry Howard gave his first demo this evening, and it was a somewhat unusual one with a humourous background.

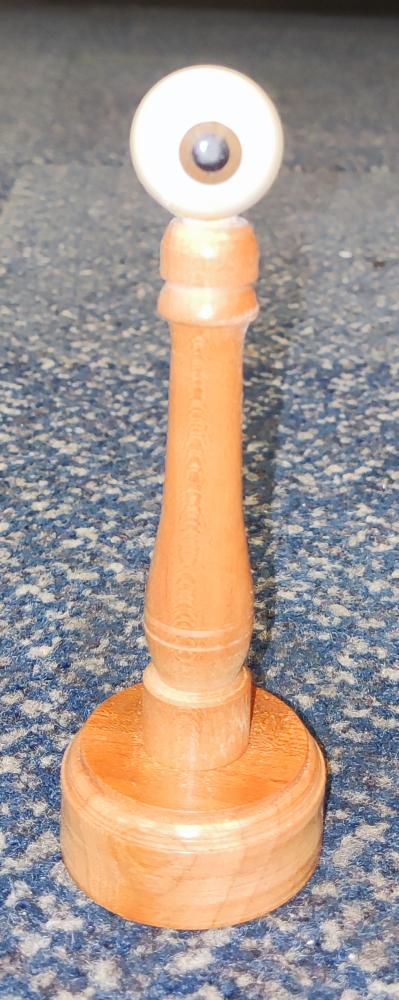
He made an (all-seeing?) eyeball mounted on a pedestal, something that he originally did for an opthalmic surgeon who had treated him. Comprised of three main pieces, he carried out the turning on his own lathe, mostly with the aid of small chucks for mounting the wood.


Stem

The square blank, approx 150mm x 25mm was mounted between centres and brought to round, and then a tenon put on one end – the size of which Henry checked in a little test piece that he had brought along.


It was then mounted in the chuck, supported by the tailstock, and a 7mm tenon formed on the end.

With this done, Henry added some shape and detail to the stem before sanding through the grits and applying friction polish.


Base

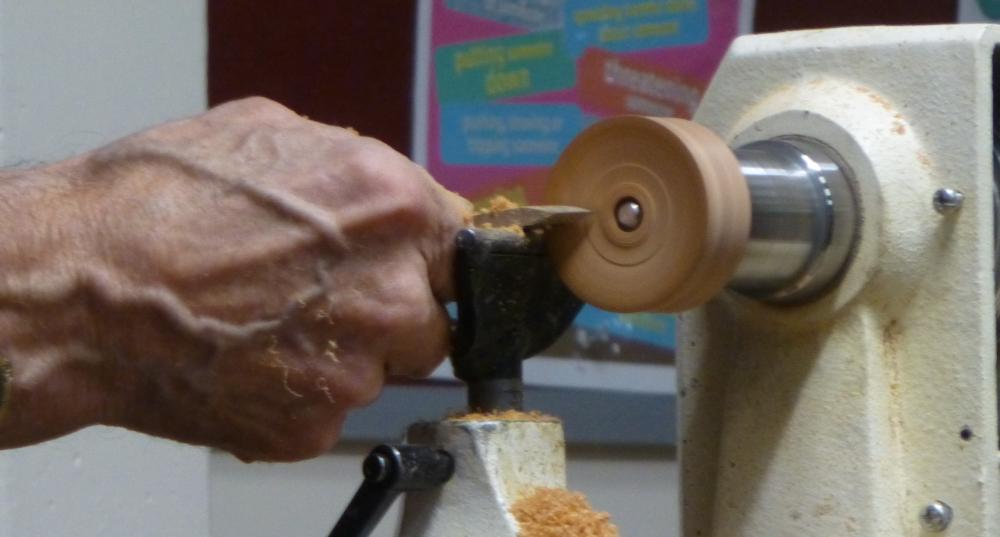
The blank for this was mounted on a screw chuck, trued up, and the circumference sanded. The disk was dished slightly, as this will be the underside of the base, and he turned a rounded profile for the top edge.

A quick sanding and polish, and the base was reversed onto the chuck where the circumference and top were also sanded and polished. Henry pointed out that you know when the polish is dry when there’s no longer a shadow on the workpiece.

Eyeball

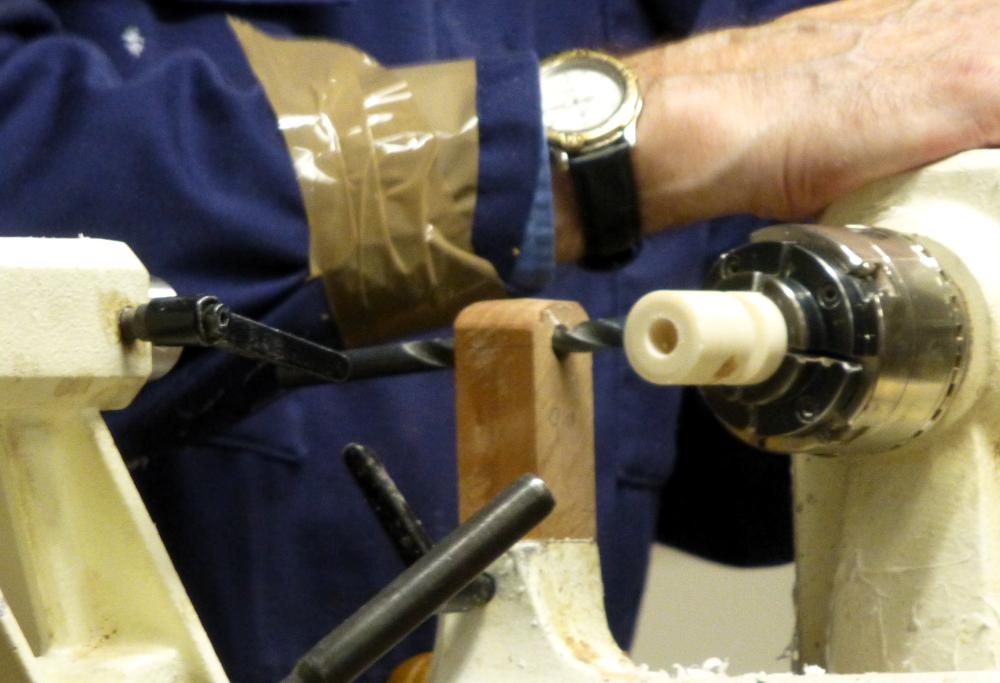
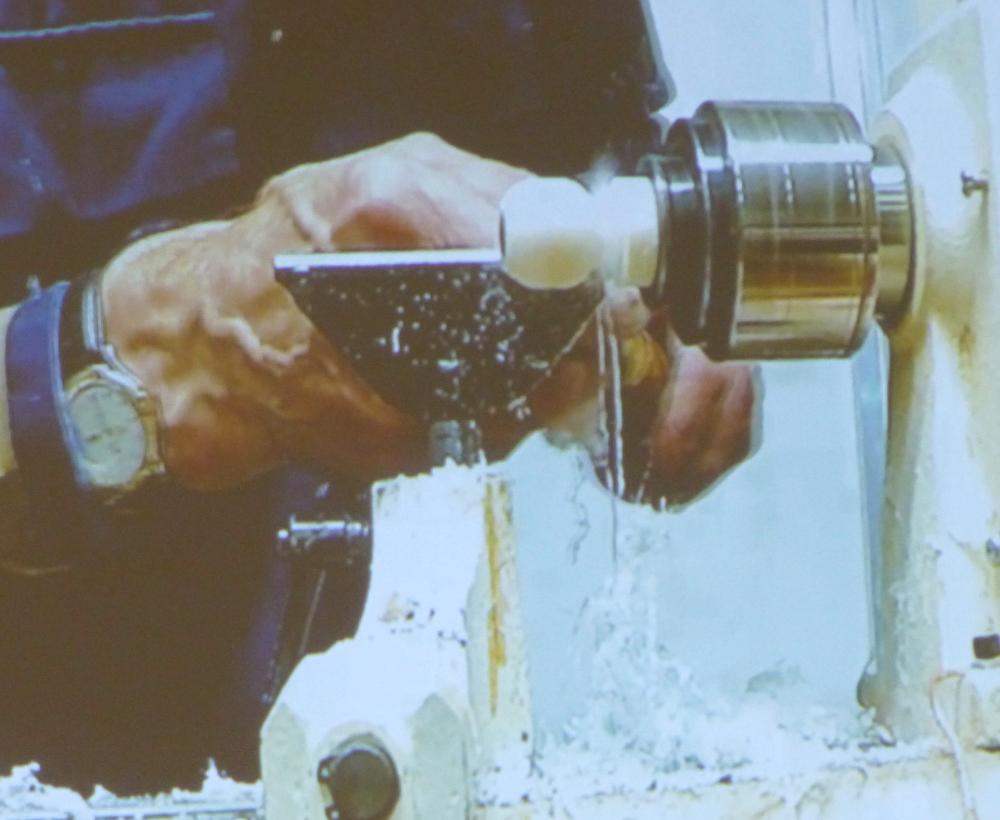
Taking a small round bar of ivory alternative, Henry mounted it in the chuck and used a parting tool to delineate the size of the sphere then drilled a hole in the end – this will be for the pupil and iris of the eye.

Using a simple home-made jig, he drilled a 7mm hole in the side of the blank to suit the tenon on top of the stem.

For this latter drilling operation he locked the spindle to ensure a good clean hole.

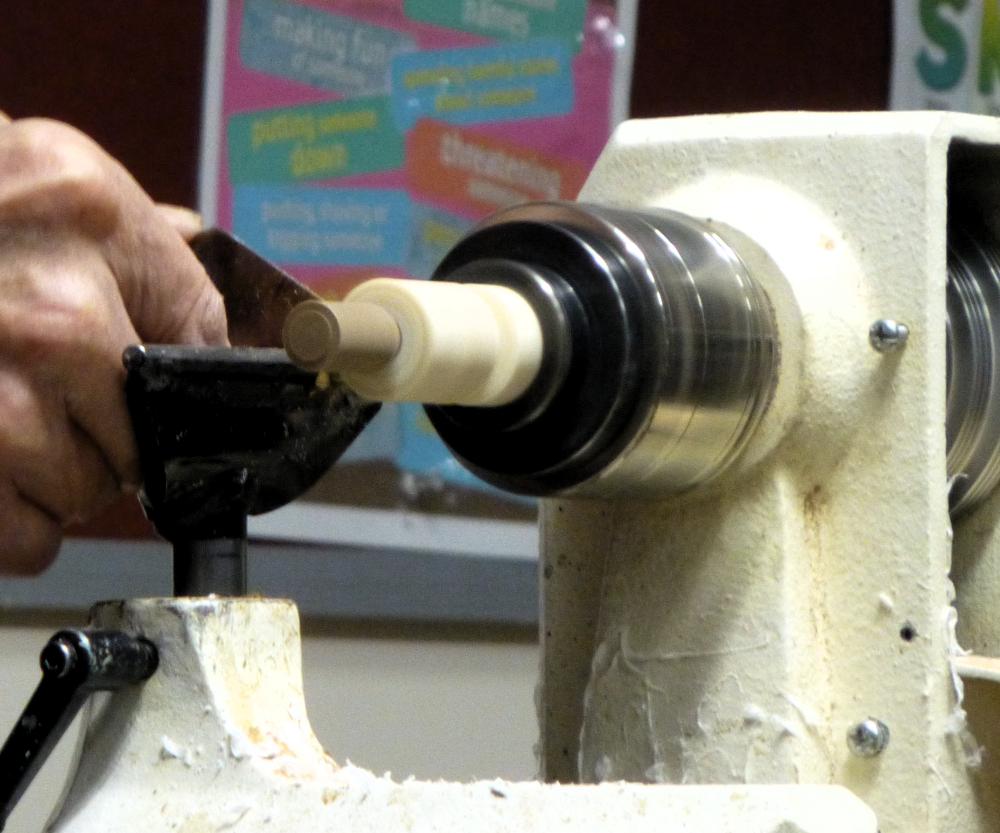
Mounting a piece of wood in a chuck, he turned it down to diameter to form the iris and glued it into the eyeball (still a cylinder at this point), using the tailstock to press it into position.

Once this was done, Henry cut off the surplus iris wood and drilled a smaller hole into it. Next, he turned a piece of black wood and glued it into the hole to form the pupil before cutting off the surplus.

With all parts now in place, he rounded over the front of the eyeball and then repeated the operation for the back of the eyeball, using a skew chisel. Happy with the shape, he sanded the eyeball (to 4000 grit!), applied some friction polish and parted it off.

Finally, the stub was removed and rubbed down before assembling the three parts to complete a rather unusual desk ornament!