Club member Gerry Coles gave his first ever demo this evening – and it was a corker!
He made a lovely little earring stand out of three separate pieces of oak – pointing out that this meant that the base and top could be made from crossgrain orientation and the stem from wood mounted conventionally for spindle turning. If made from one piece, such a small stand may end up quite weak at the edges due to the grain orientation.
Base
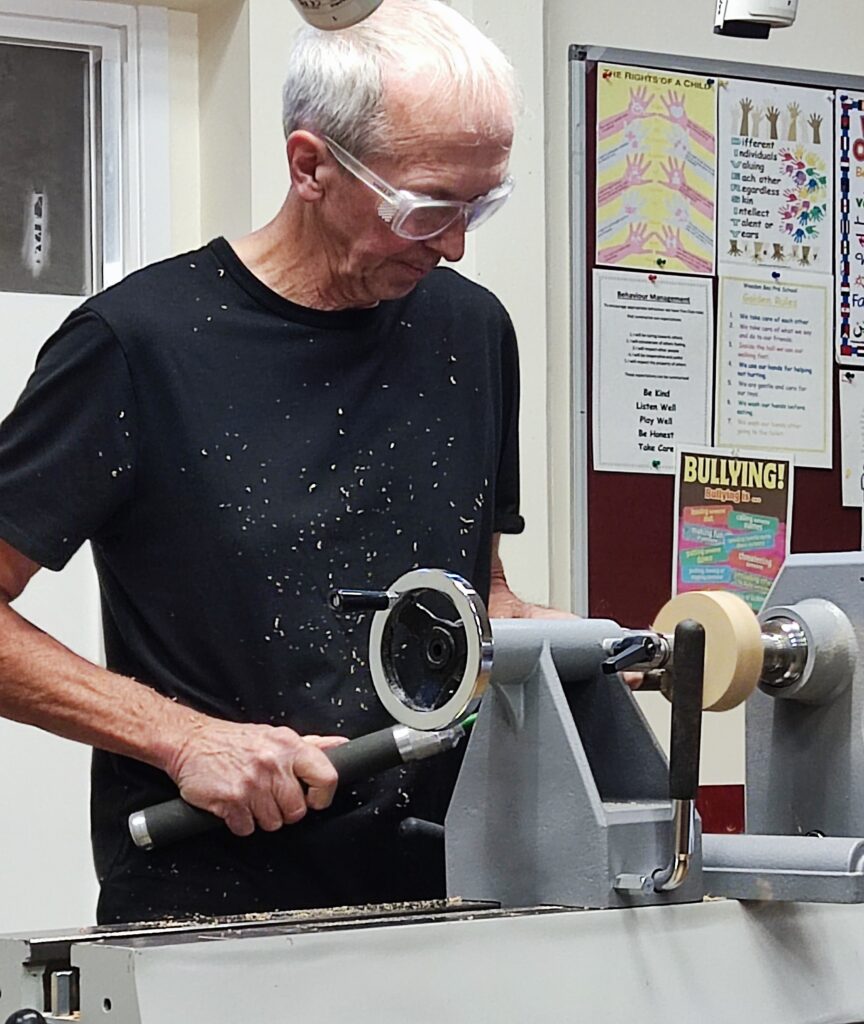
He started off mounting the blank between centres and truing it up with a bowl gouge before using a home made HSS scraper to make a recess to suit his small chuck. The home made tool has a relief ground into it which allows it to be used with the tailstock still in place.
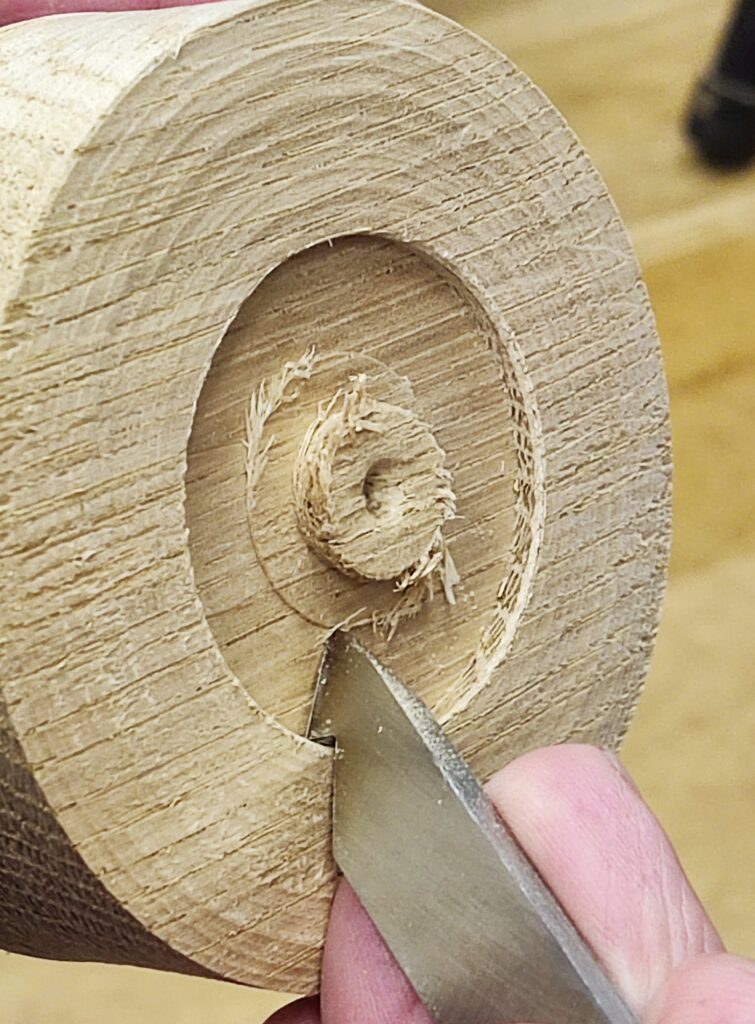
A similar process was then used to prepare the top before mounting the base onto the chuck.
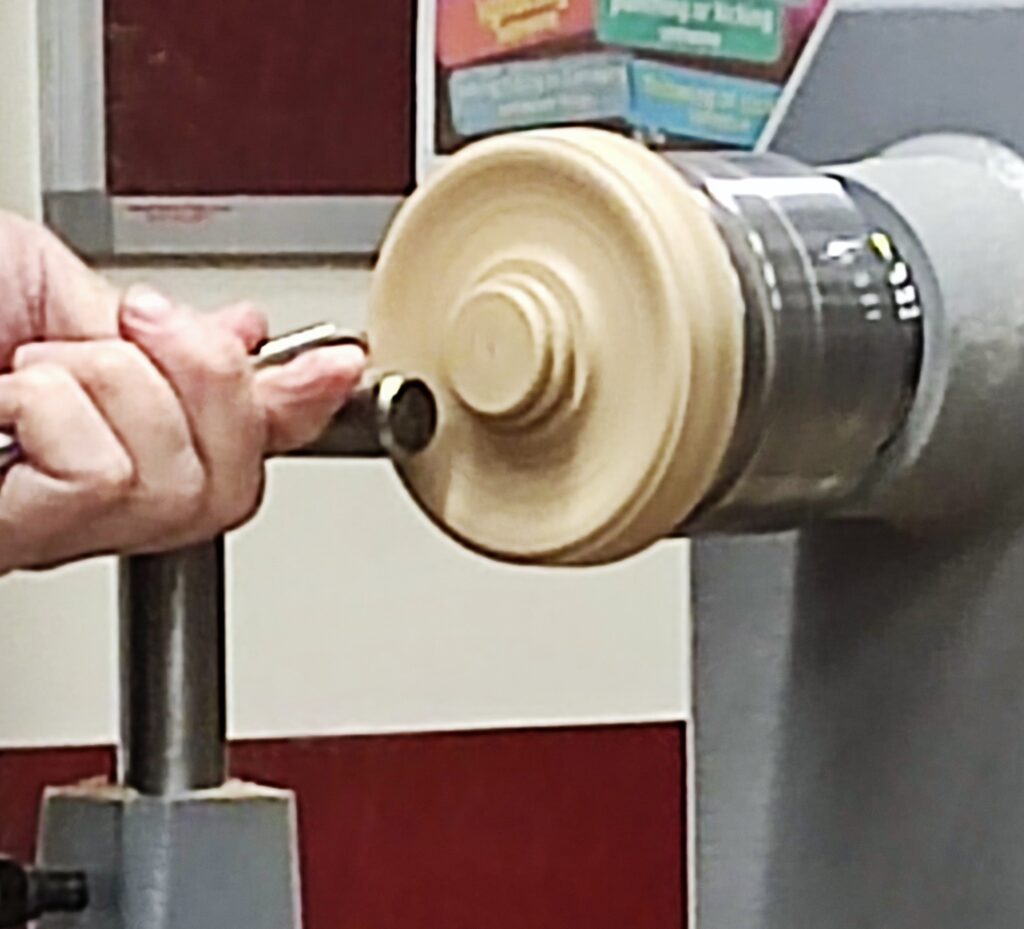
Gerry shaped the base for aesthetics, leaving a little upstand on the top side to blend into the stem, trimmed with a scraper presented just below centre as he finds this prevents the scraper from tending to walk across.
Next, he put a bead on the upstand, using a home made beading tool, and being careful to leave a shoulder so that the chuck will have a register when reversing the piece. To complete turning the base, Gerry dished the top of it to hold rings and other small items of jewellery.
For finishing, he sanded through the grits and applied boiled linseed oil, wiped off the surplus and then applied beeswax with the lathe running (which blends the BLO and wax), and buffed with a paper towel.
Having forgotten to do so earlier, he drilled an 8mm diameter hole for the stem tenon in the upstand.
Top
This was mounted in the chuck and the underside hollowed out a little, leaving an upstand with a bead and shoulder to match that on the base.
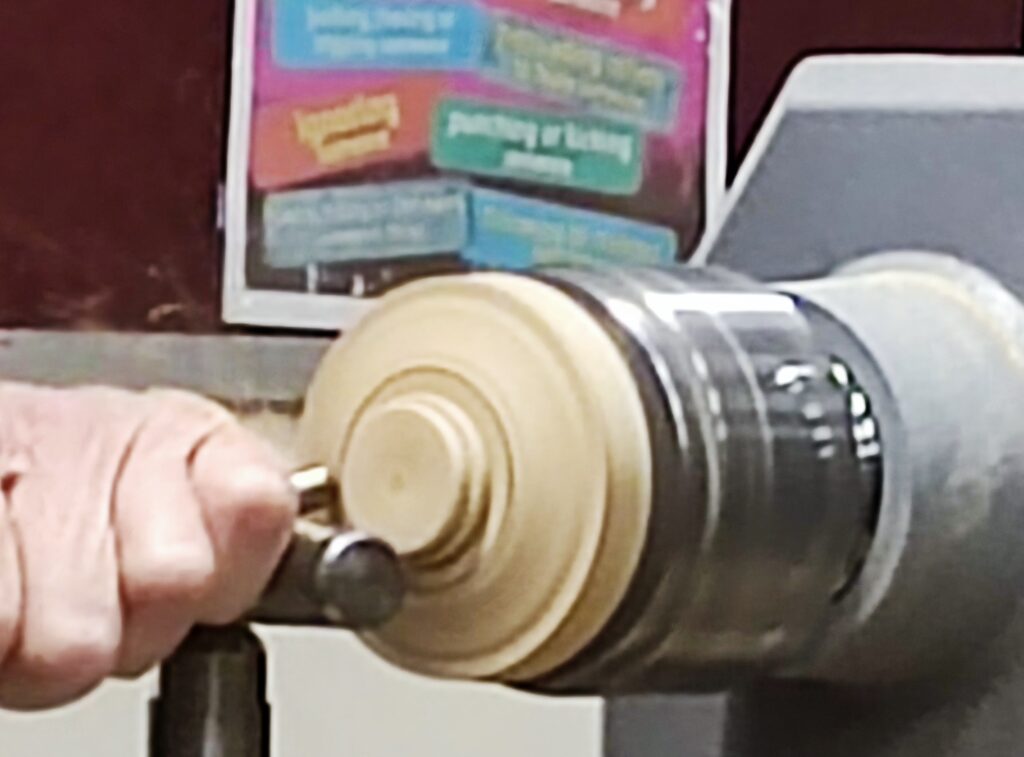
Yet another home made scraper was used to produce a fine finish in the hollowed area and a couple of detail lines added to enhance the appearance before a quick sanding and an 8mm diameter hole drilled for the stem tenon. BLO and wax applied as previously.
The top was now reversed onto the chuck and turned down to a thinner section to make the drilling of the holes easier.
Gerry rotated the lathe to mark the circle of holes and then showed how to use the lathe indexing to mark the exact position of the 36 holes with a pencil held on the toolrest. To speed up the job, though, he carefully placed a pre-drilled template over the wood and held it in place with the tailstock and then drilled the 1mm diameter holes with a Dremel. Without breaking any drills!
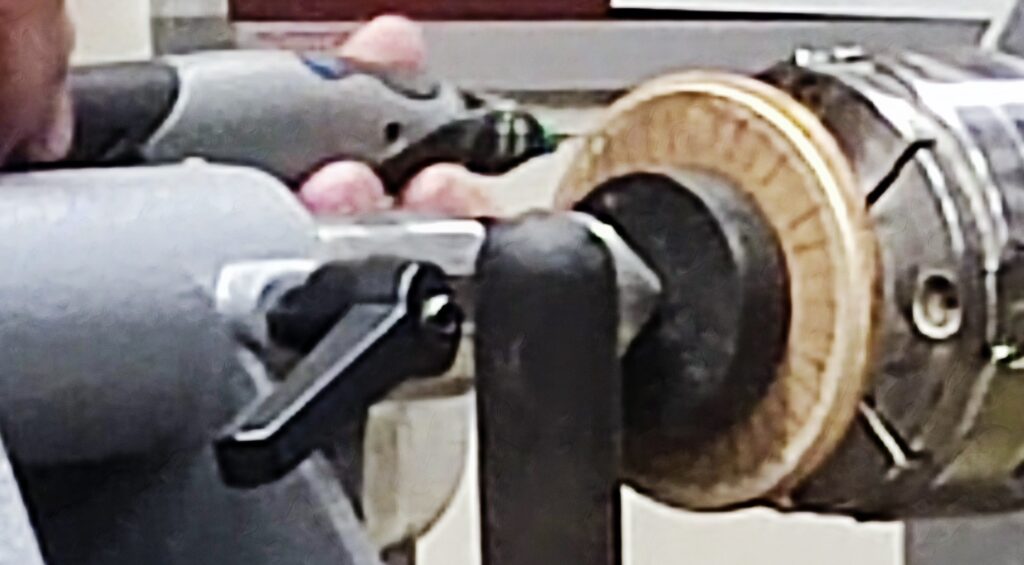
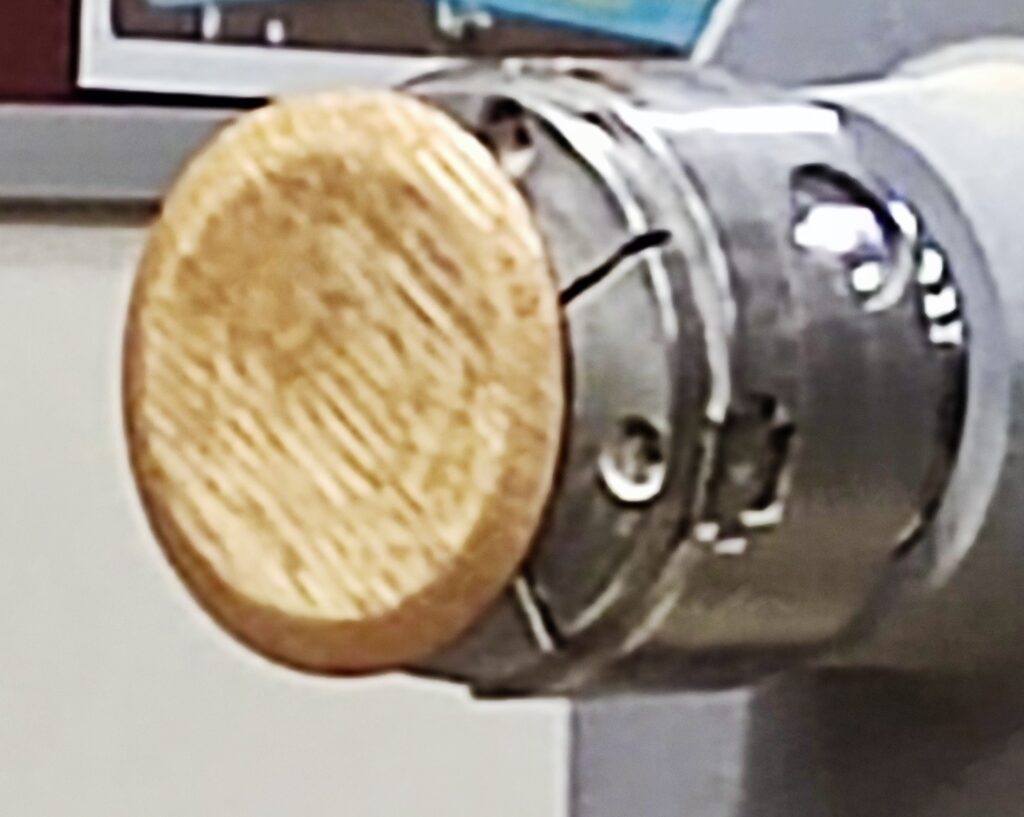
With that out of the way, he bevelled the edge and dished the top slightly before sanding, BLO and wax.
Stem
The square blank was mounted between centres and turned to round with a spindle roughing gouge. Gerry used a template to mark out the positions of aesthetic features and tenons accurately – important if making a pair, as any differences will be highly noticeable.
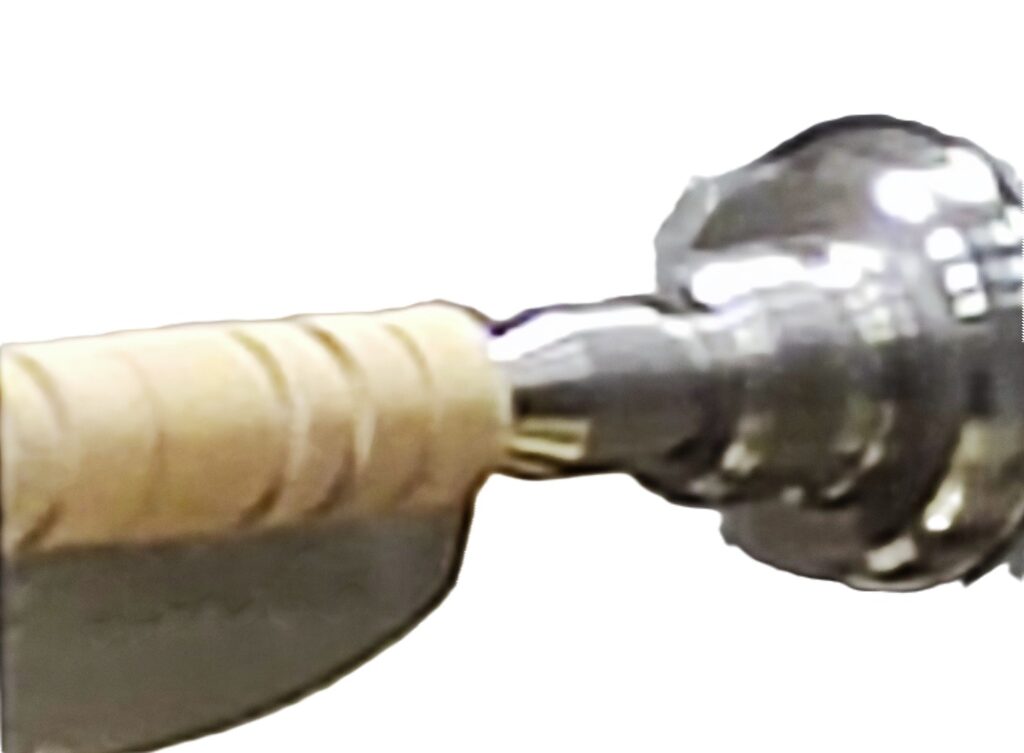
Once marked out, he used a parting tool to set the diameters and turned the stem to shape, and turned a tenon on each end to suit the 8mm holes previously drilled into the base and top.
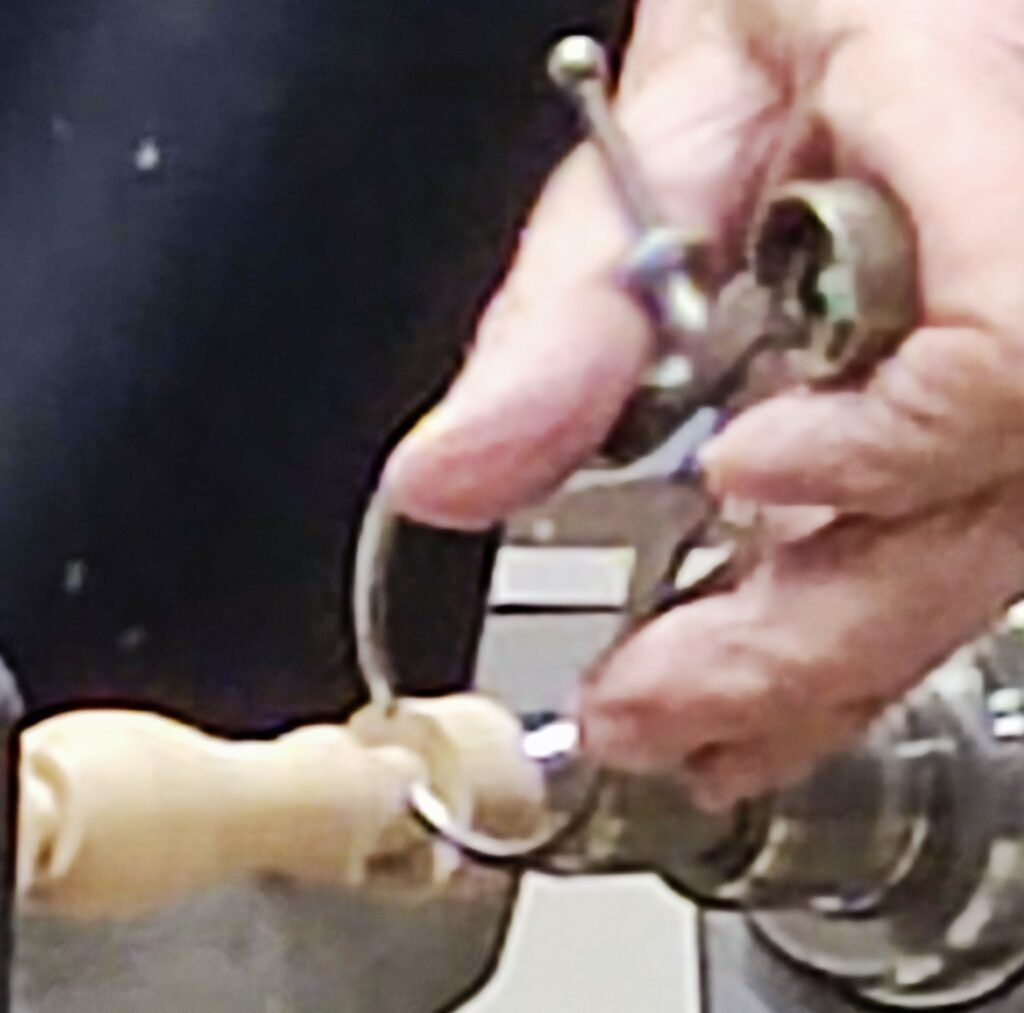
Finished off with sanding, BLO and wax.
Assembly
Finally, Gerry partially parted off at both ends, added small bevels on the end, and a groove on each tenon for the glue and then sawed off by hand. Dry assembly was simply a matter of pushing the three pieces firmly together, with gluing to be carried out a later time.
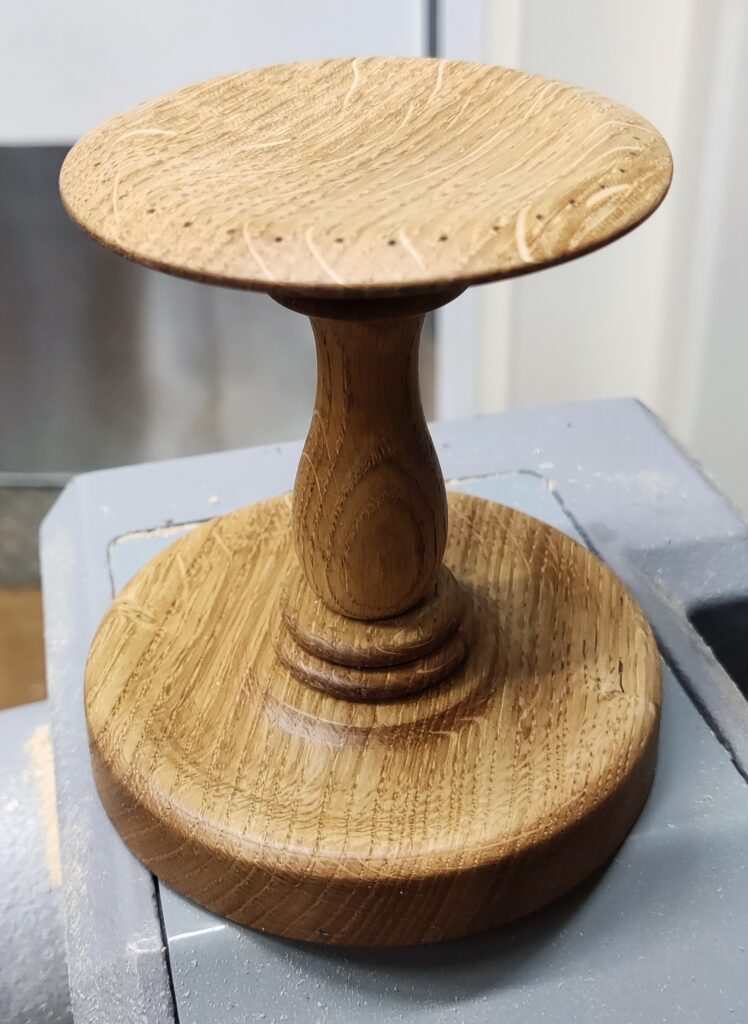
Throughout his demo, Gerry explained what he was doing, and why, with a lot of apparently minor steps making the next step easier. I have tried to incorporate those tips in the above notes but if any are missing or in the wrong order – it’s my fault, not Gerry’s!
The competition table entries this month were quite varied.
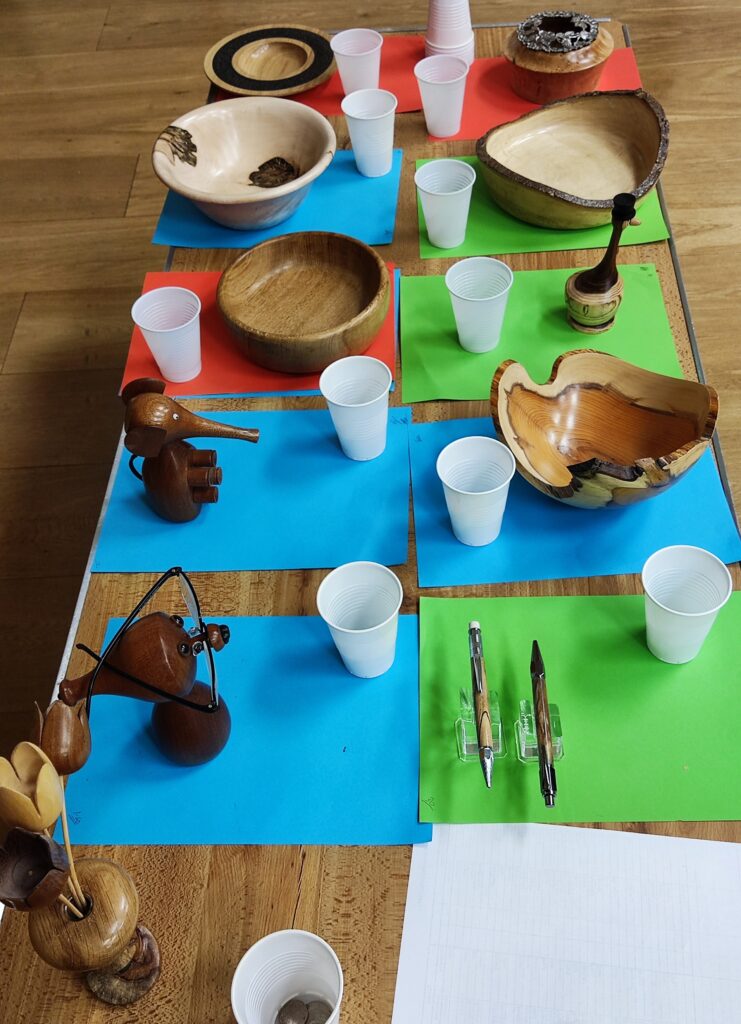
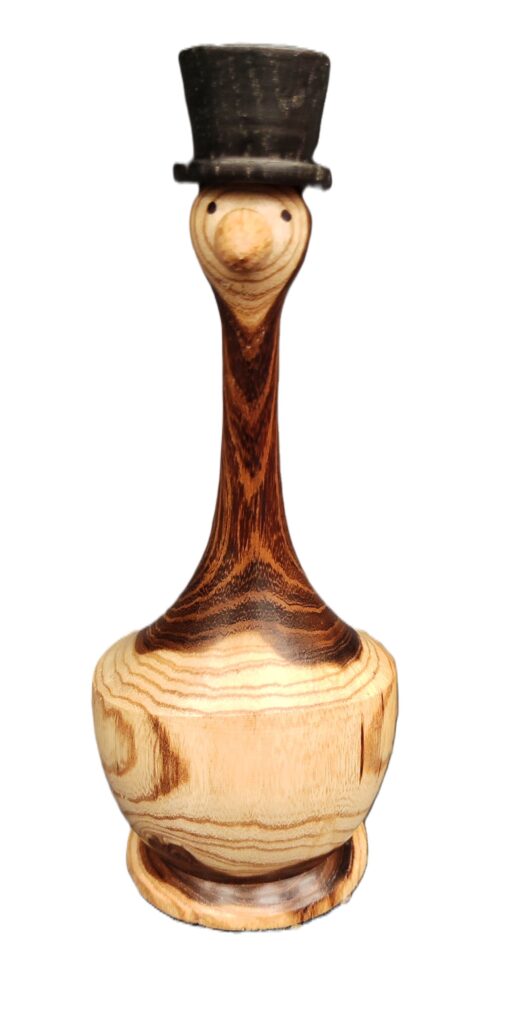
1st place went to Dave Simms for a slightly startled looking bird.
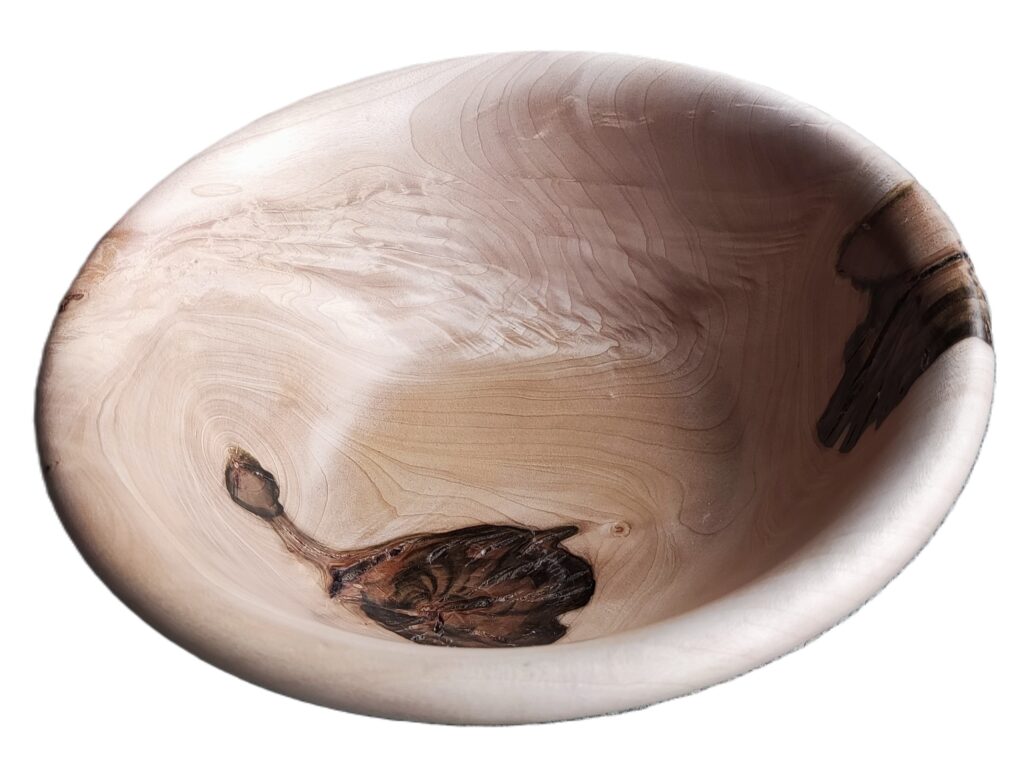
2nd place was for a natural edge yew bowl by Mick Denton.
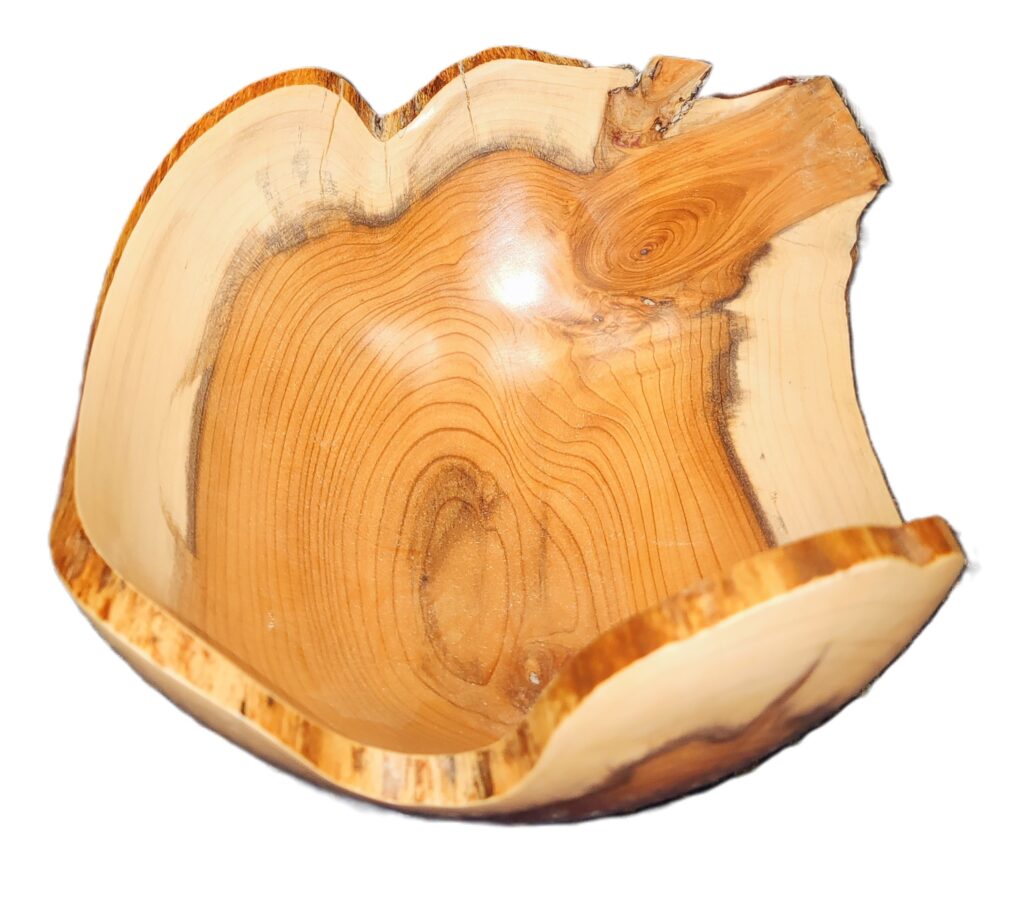
Joint 3rd places were for an offset vase with flowers and a protruding test tube by Geoff Warr
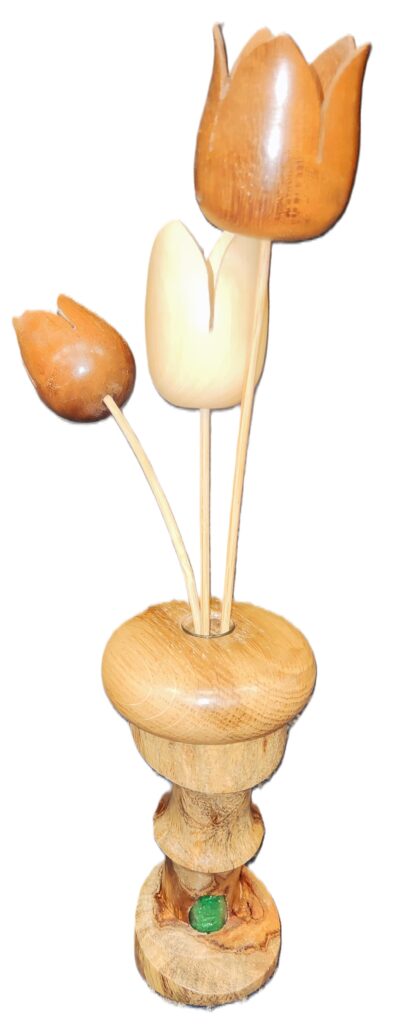
………and a bowl by Duncan Anderson.
