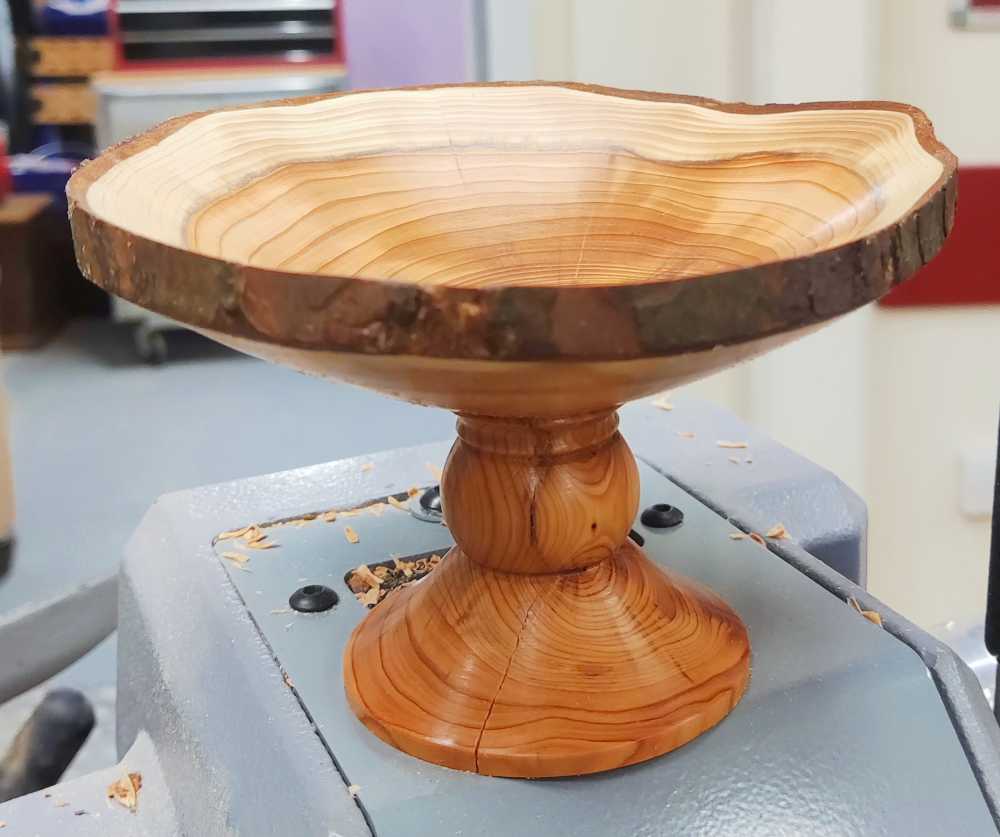
We had a slightly unusual demo this evening, with Chairman Roger Gilbert and club member Gerald Hubbard both tasked with producing a natural-edged tazza from two similar pieces of yew.
The yew was still fairly moist so it turned nicely but that also meant that there was a risk of splitting from the pith – and some cracks were already visible. More of that below!
Roger
Roger volunteered to go first and initially mounted the blank between a friction pad in the chuck and a live centre, but this slipped a bit, so he quickly switched to using a steb drive in the chuck.
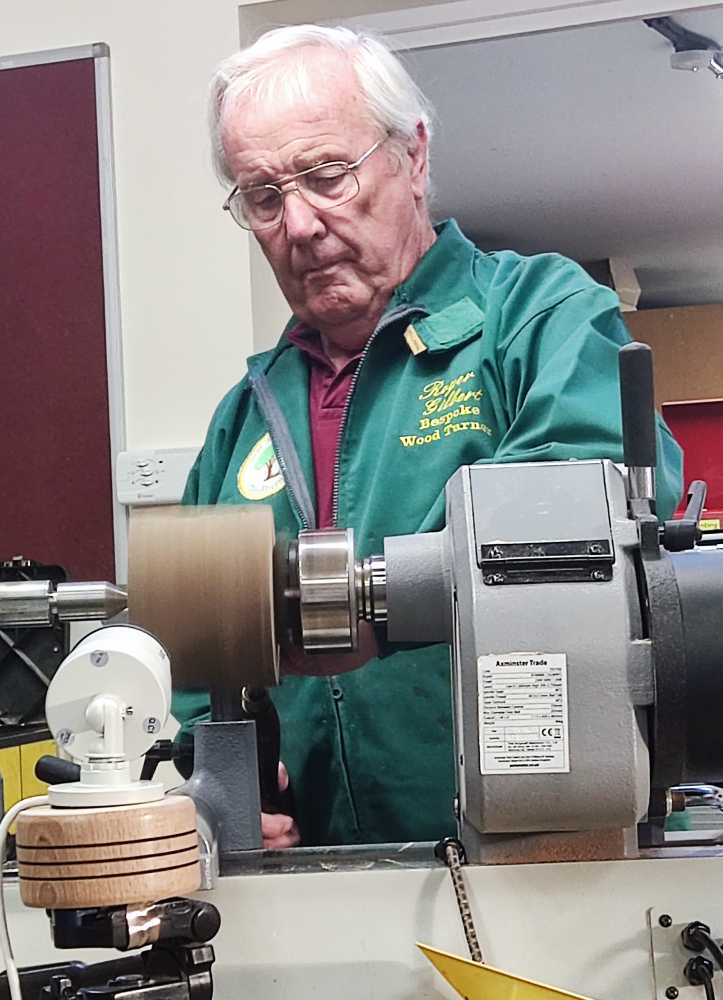
He started by reducing the area in way of the stem and foot with a spindle roughing gouge, then added a chucking tenon and mounted the wood in the chuck.
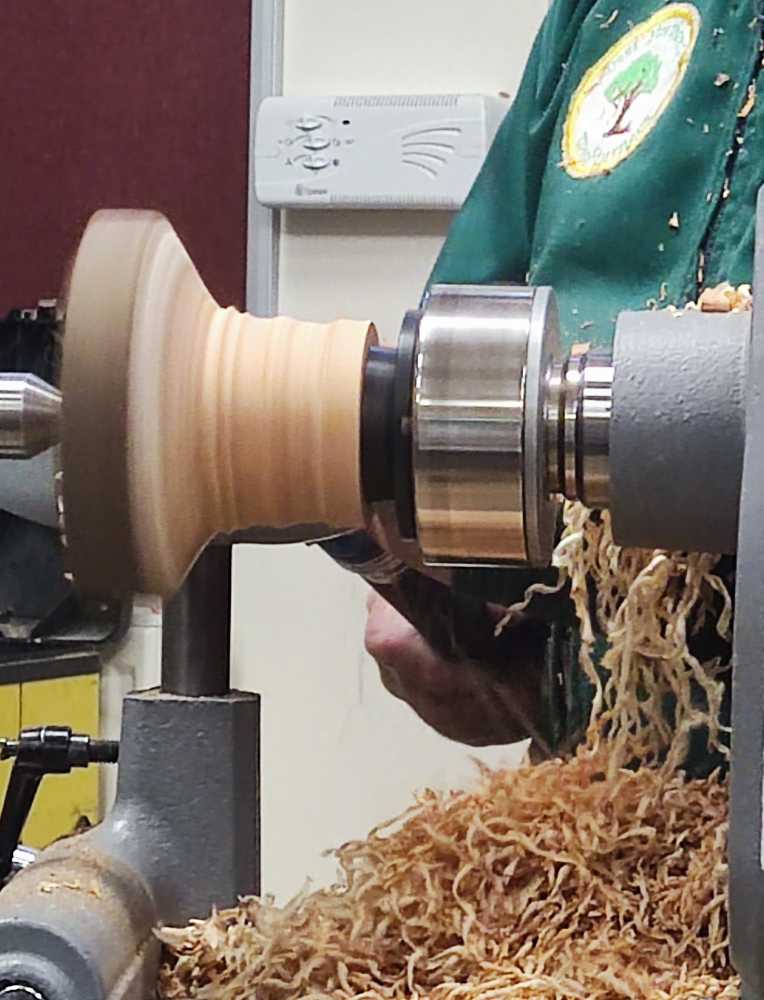
Using a continental spindle gouge and with the tailstock brought up for support he further reduced the stem area and then started dishing the tazza.
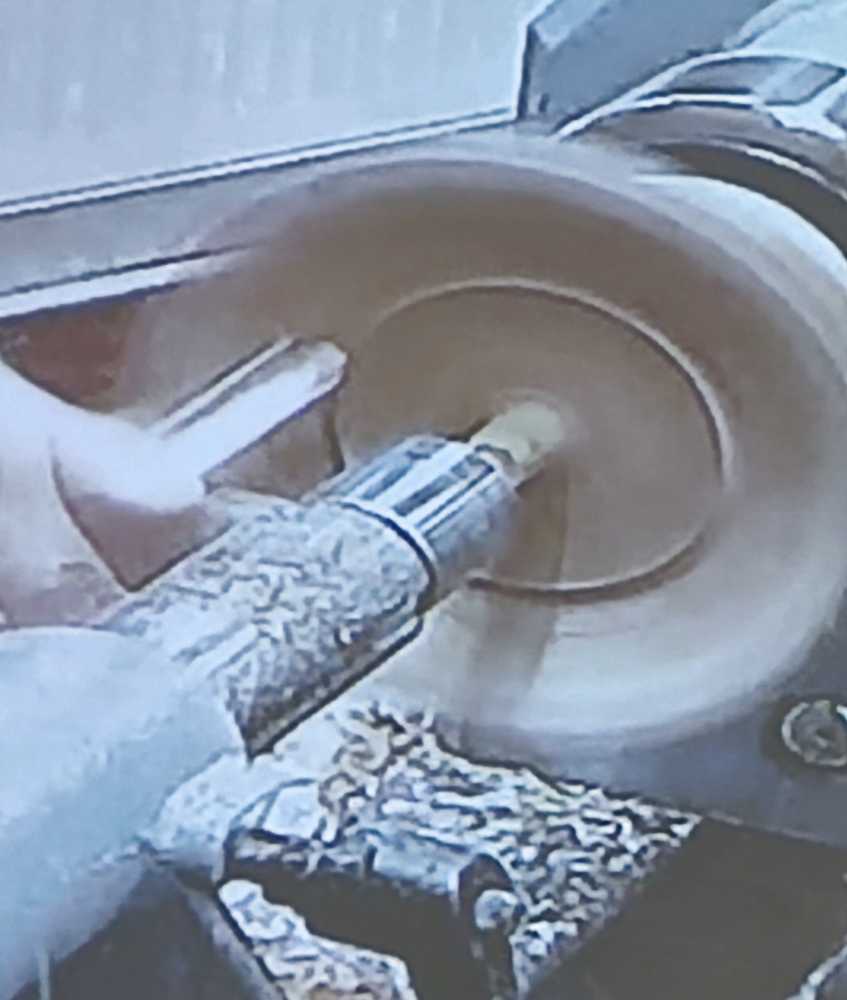
Carrying on, Roger continued the hollowing, and also worked the back (underside) of the tazza, lessening the wall thickness. Whilst thinning the stem down, he was particularly careful as a crack was propagating from the pith as he removed material.
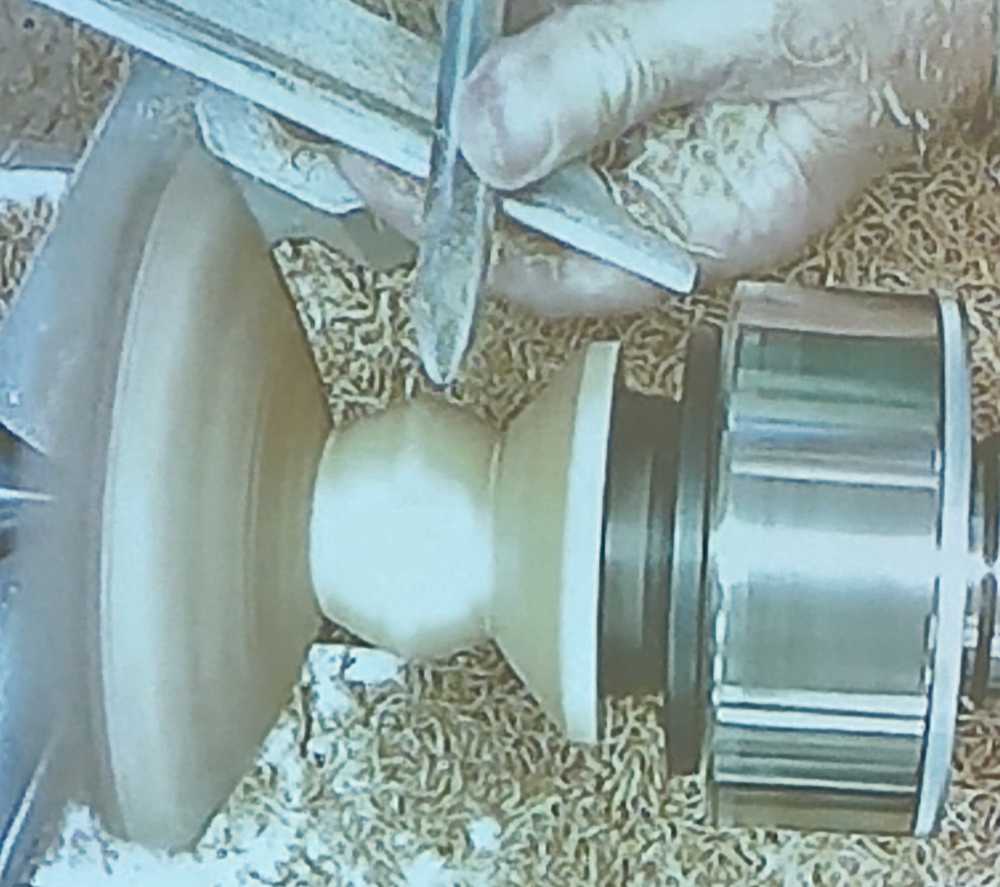
Once he’d gone as far as he dared, Roger did a few finishing cuts on the foot to form a nice ogee shape. Next was to pull back the tailstock and remove the stub in the centre of the tazza before sanding through the grits overall, applying sanding sealer and wax and parting off.
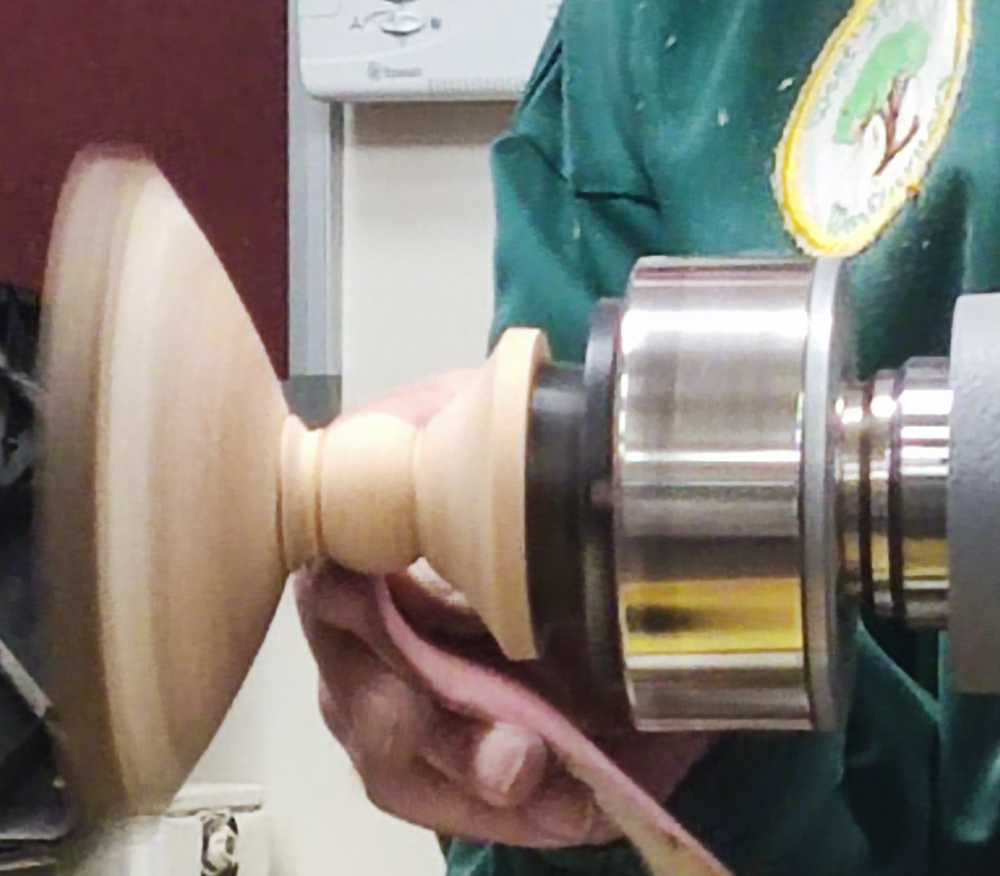
The final operation was to mount a sanding arbor in the chuck and clean up the underside of the foot.
Overall, a nice little tazza and I think the picture shows the extent of the cracks that Roger had to contend with!
Gerald
Like Roger, Gerald started with the blank between centres (steb drive + live ring centre) but pointed out that he likes to use a bowl gouge for much of the time, due to its greater strength and less chattering when working with a larger overhang.
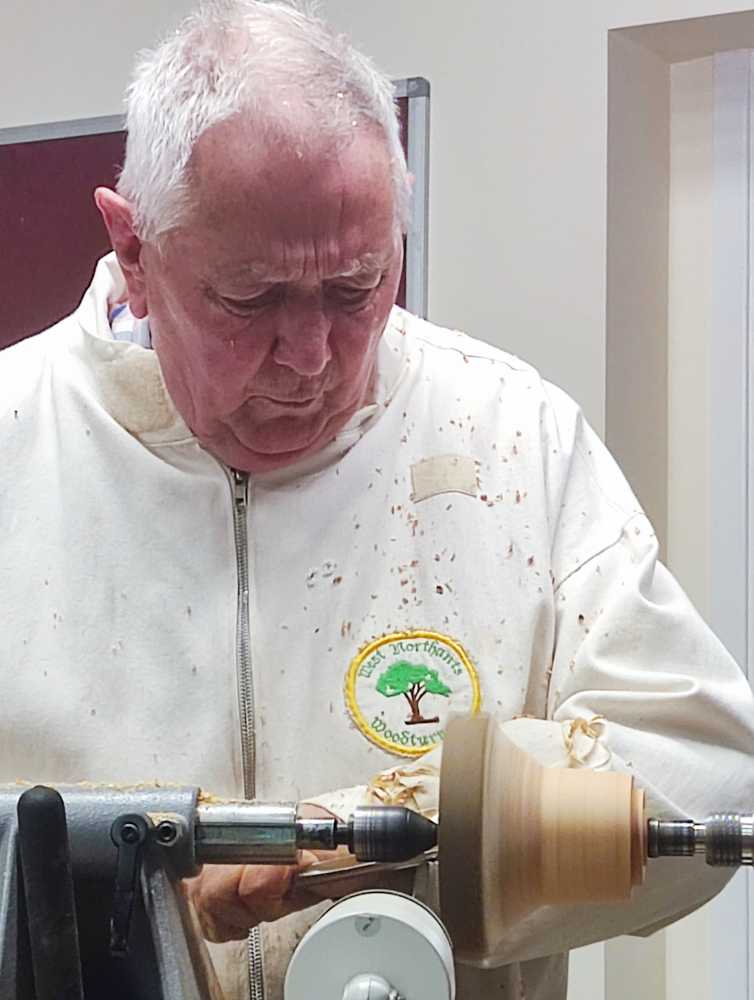
He reduced the area in way of the stem and foot and did an initial scooping out of the bowl before adding a chucking tenon and mounting the wood in the chuck.
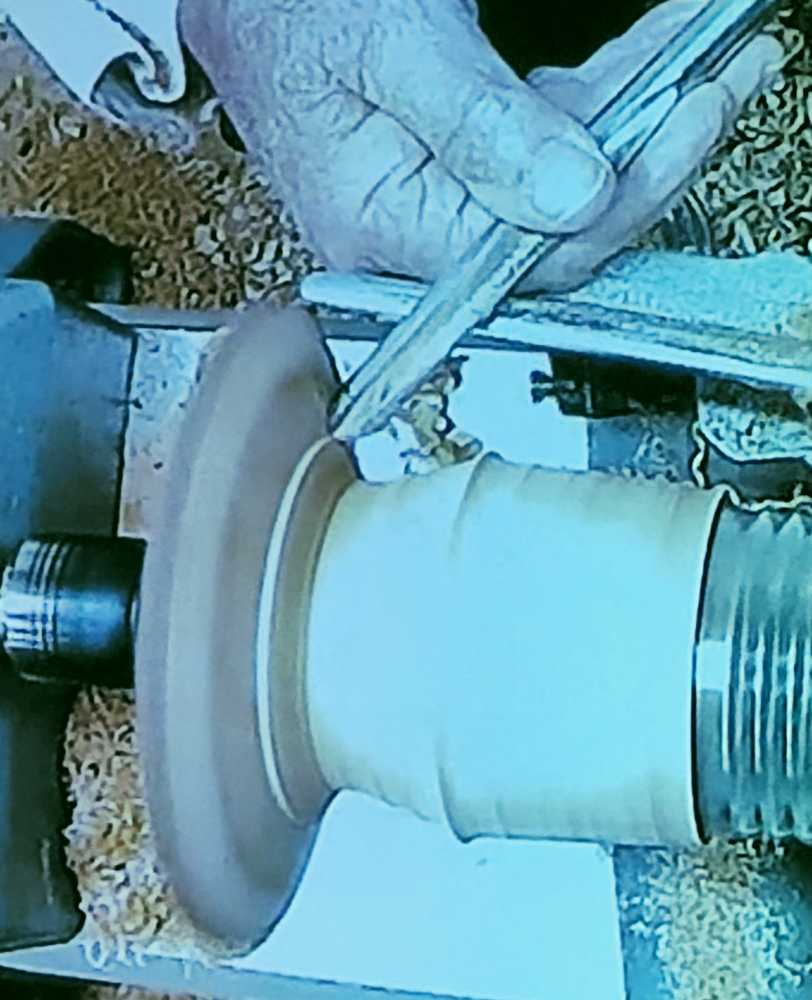
Working gradually, Gerald worked on the underside and continued some hollowing, interspersed with reducing the stem diameter. Aiming for a nice thin bowl, he noted that the wood was moving as stresses were relieved.
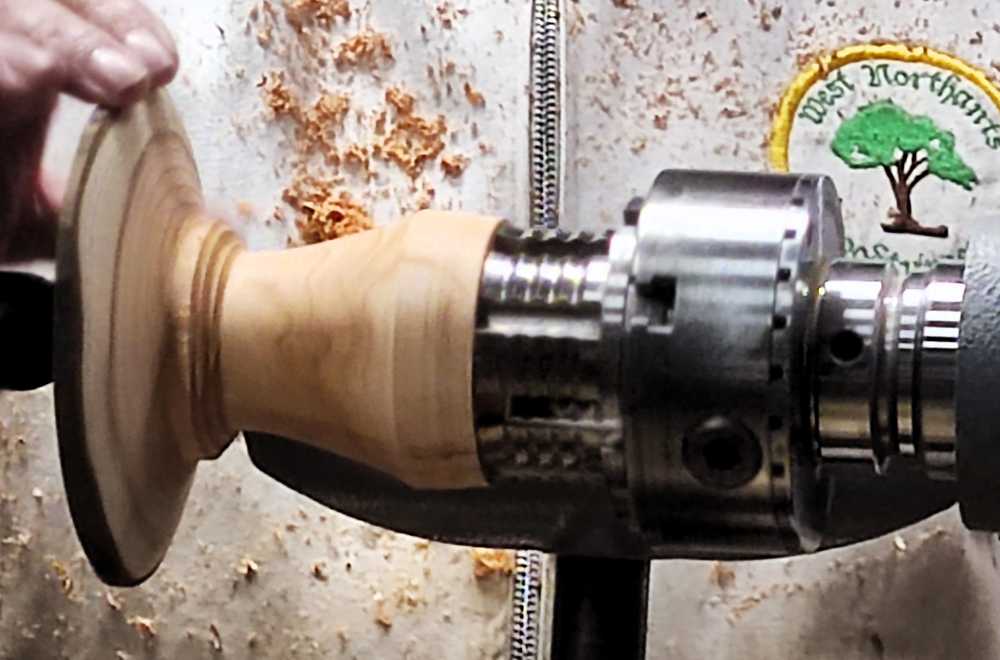
He finished off carefully with some light shear cuts.
Sanding the bowl, Gerald reduced the lathe speed to avoid heat checking (there are enough cracks already!) and supported it with one hand.
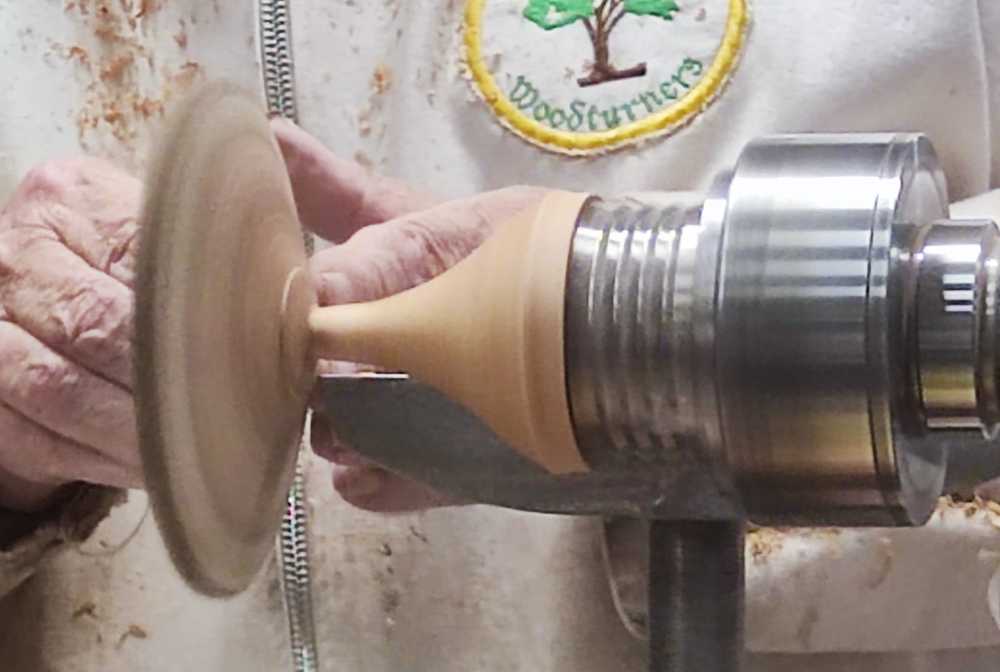
Once this was done, he moved back to the stem and carefully continued refining its shape and reducing its diameter especially towards the lower end.
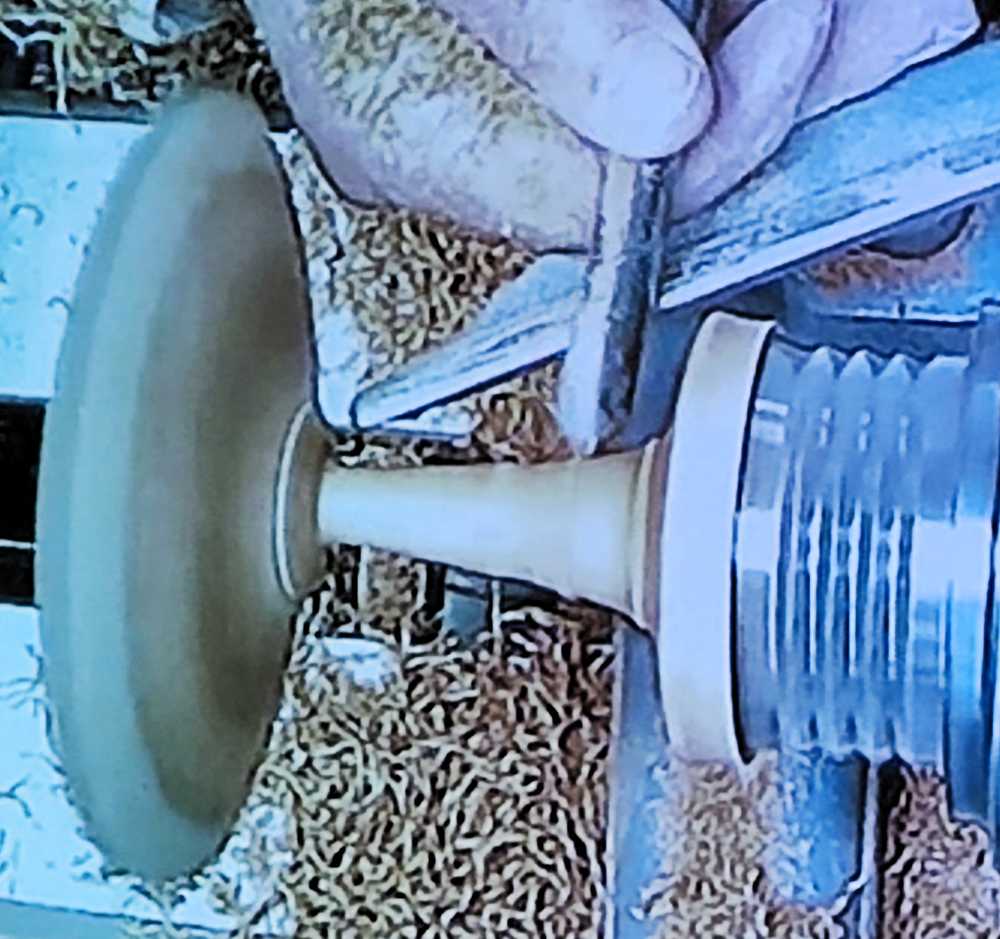
Disaster! A chunk came off the stem from one of the cracks leaving him with a “design opportunity” as he put it.
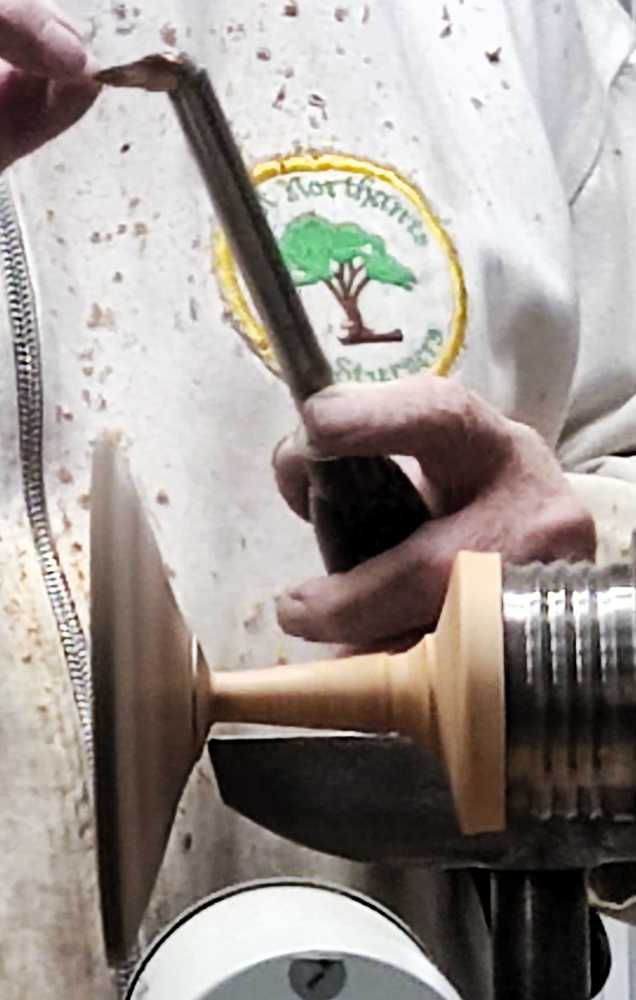
With fewer options now, he recovered well, and narrowed the stem down to remove the area of damage, but kept the shape simple.
This held everything together and he was able to safely sand overall and then improve the shape of the foot before applying sanding sealer and giving it a very light rub over with a grey “scouring pad”.
The final operation was to part it off.
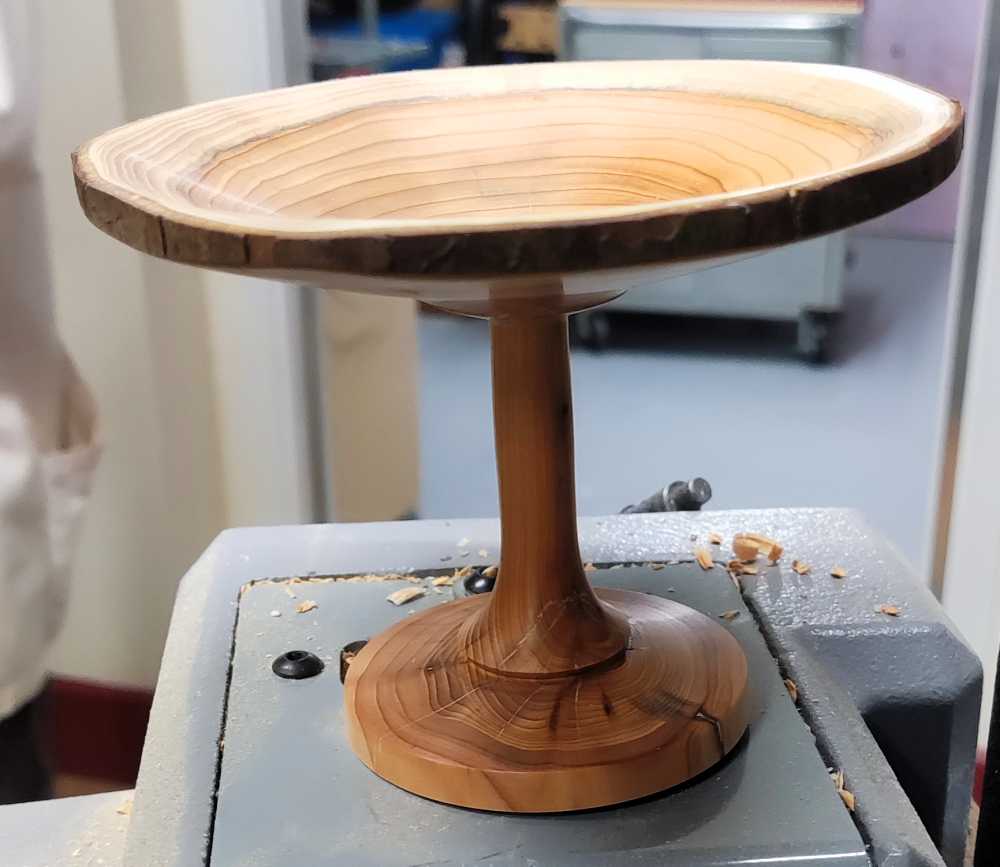
This was a particularly interesting evening as two very good turners dealt with the same challenge in slightly different ways but also had to deal with the vagaries of the particular piece of wood that they were given.
