This evening, Ian Ethell gave us a demonstration of how to make a little elephant – of which, his house has many variants apparently!
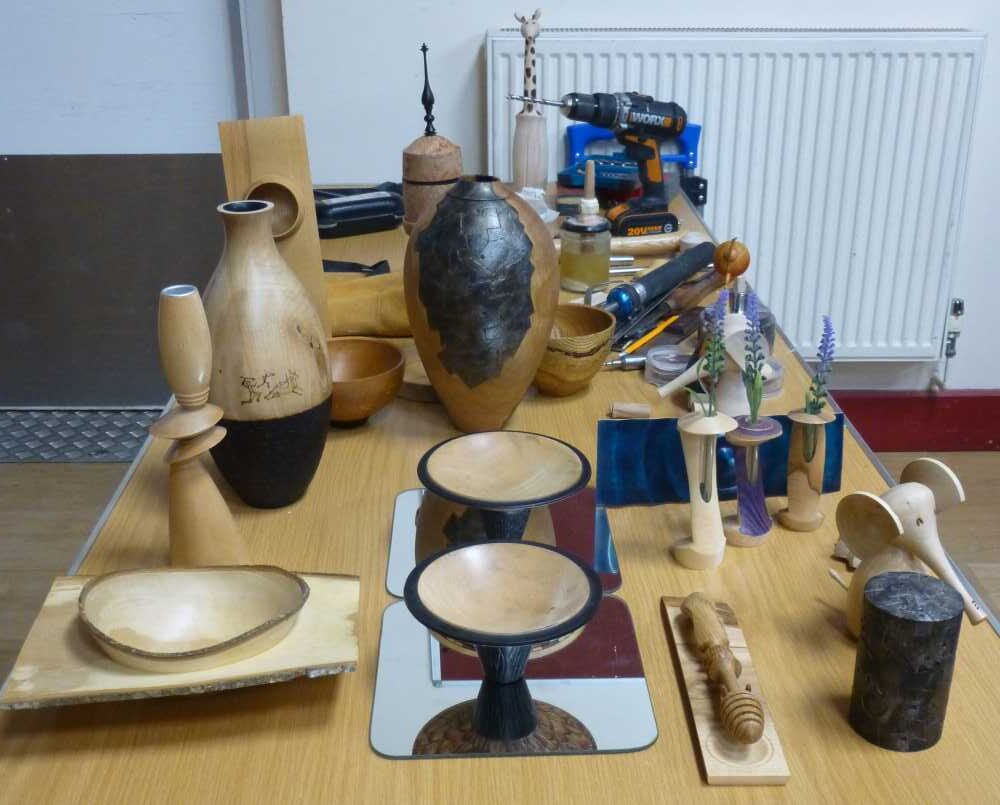
Ian brought along some examples of his work for us to see.
He also handed out very useful dimensioned drawings showing that the elephant was made up of a number of pieces: head and trunk, ears, body, tail, and legs.
As he’ll be mounting a number of smaller pieces between centres, he mostly used a light pull drive in the chuck. The wood used was sycamore and, for much of the time, he used a 3/8” bowl gouge with a 40-40 grind as promoted by Stuart Batty.
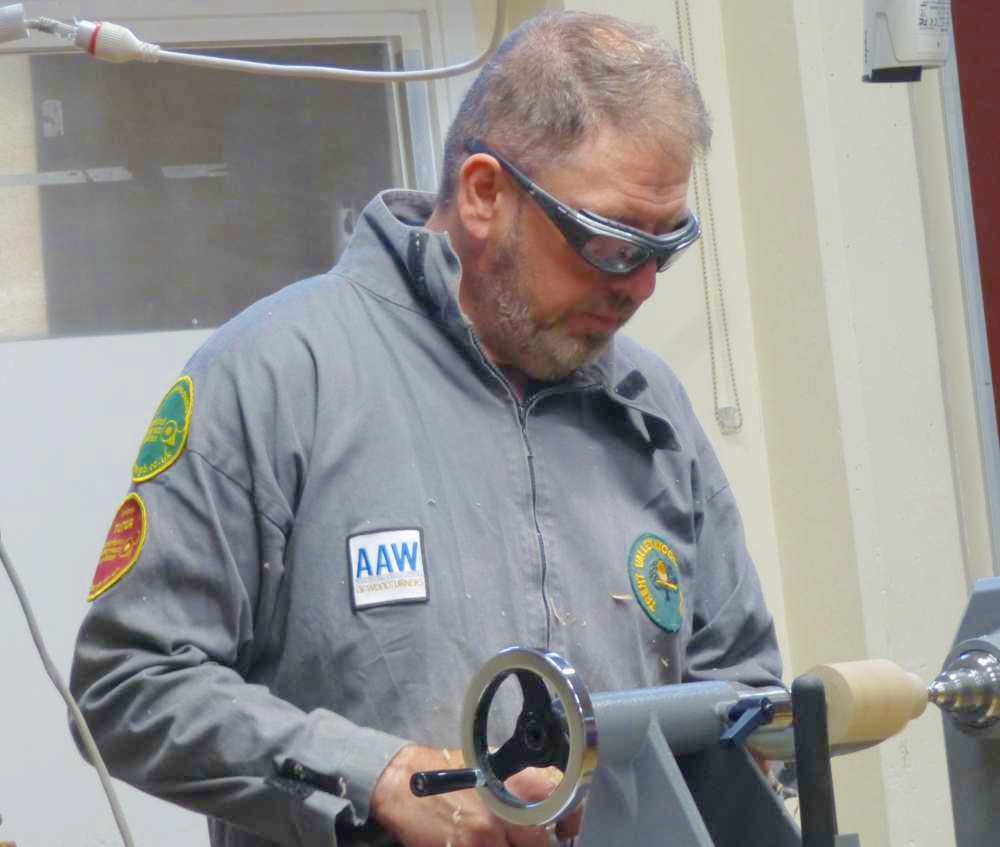
Body
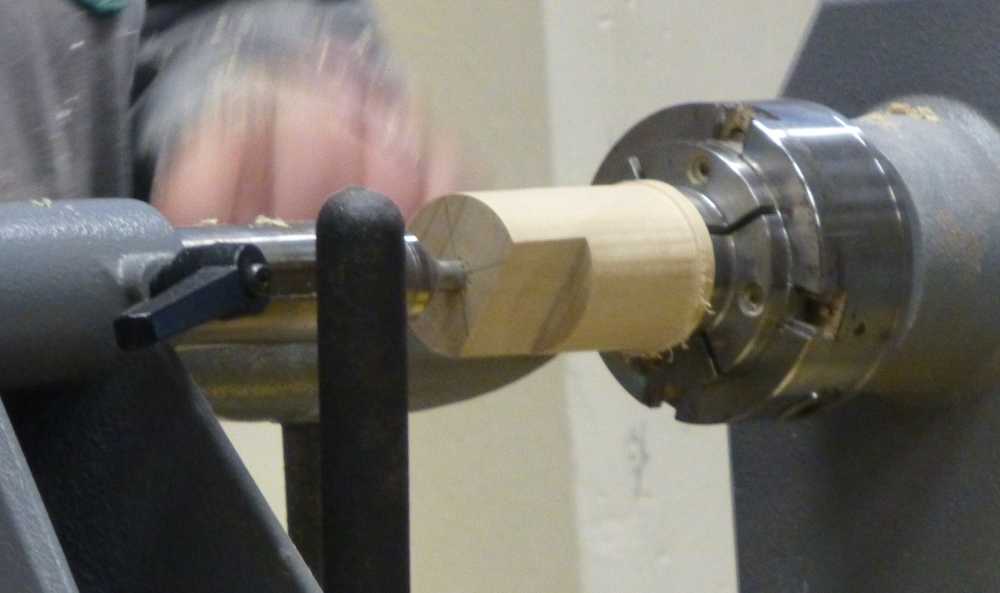
Starting with the body, he showed us that the blank was pre-drilled and oblong rather than square in order to get a flat underside for the legs.
Mounted between centres, Ian quickly formed the initial shape by making a long cove at one end and then rounding the corners off the body before turning the body until the underside flat was the desired width.
He next refined the overall shape and took the neck down to the required diameter, blending it into the cove. At this point Ian made a comment that, with the 40-40 grind, it was important not to put too much pressure on the bevel of the gouge. The body was finished off with minor adjustments of dimensions and an overall sanding.
Head
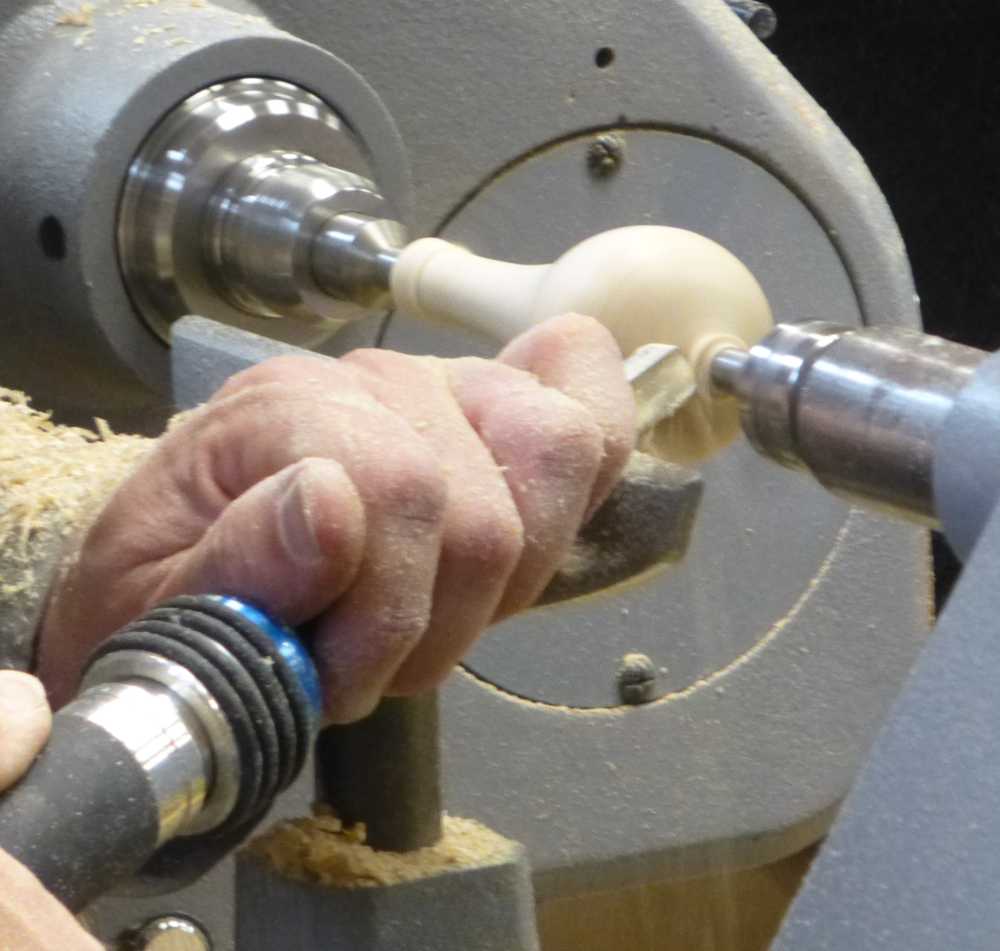
First, a 6mm hole was drilled in the end, and deepened using a 3mm drill in order to suit the light pull drive. With the blank between centres, Ian brought it to round and started forming the trunk with a long cove before shaping the head and trunk and blending them together.
Once sanded, he marked both sides of the head on the centre line for the ear positions and used a forstner bit to drill at an angle to suit the tenons that will be on the ears.
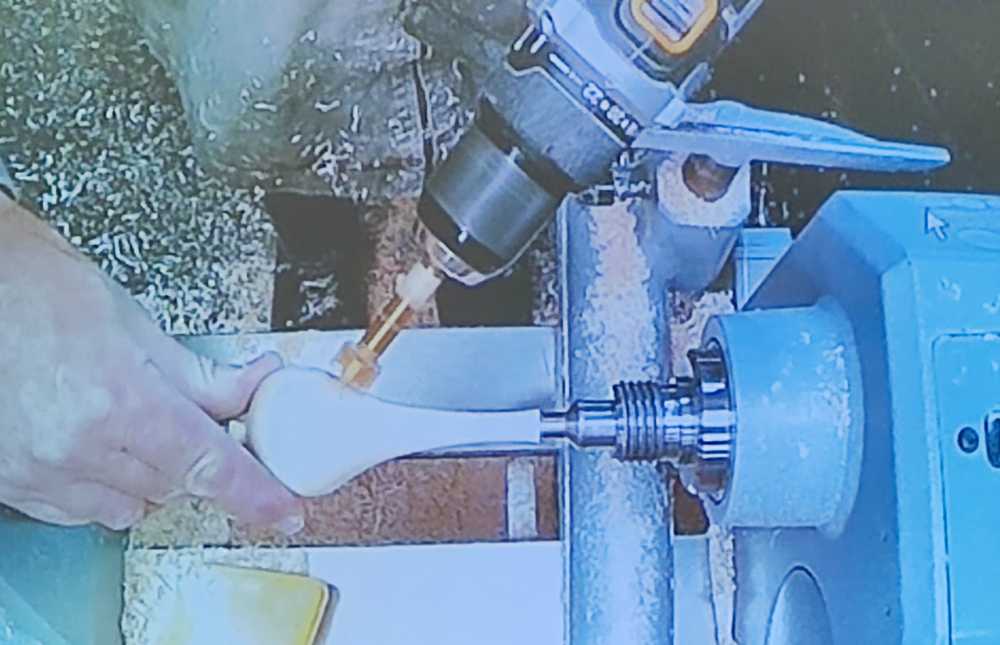
A final sanding, then parted off with a skew.
Ears
These are essentially cupped round discs with tenons turned on the lathe from a blank that had been previously cut to shape with a saw.
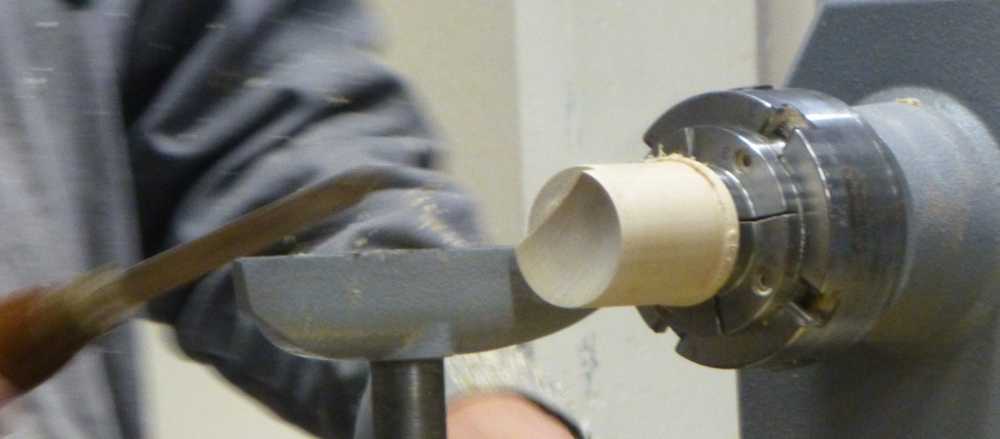
With the blank in the chuck, it was turned to the required diameter and the end cupped, then a tenon put on the back of the ear. This procedure ensures that the wood has support behind it whilst hollowing out.
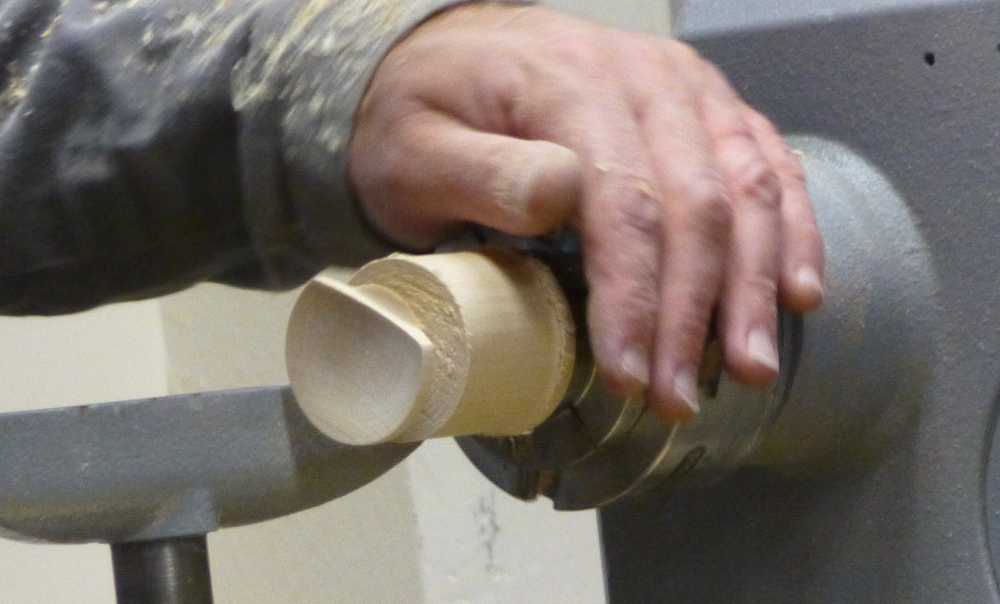
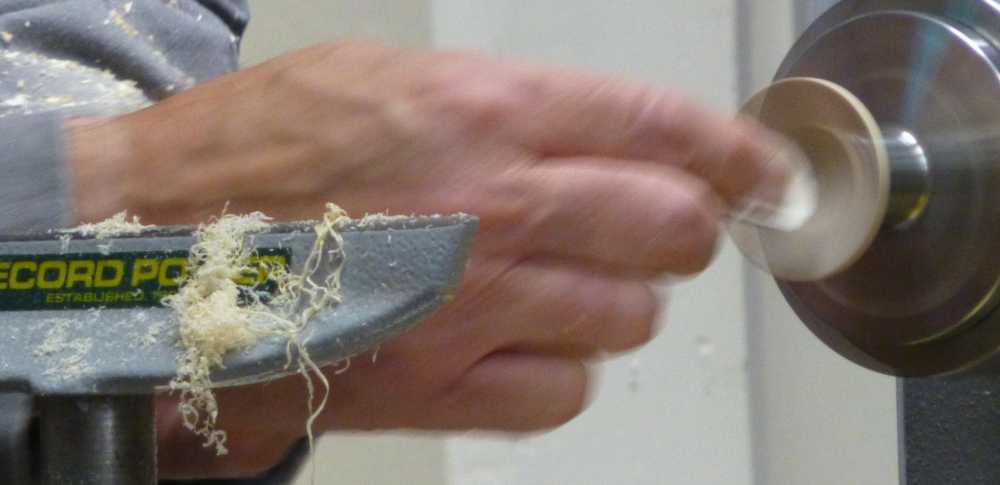
The back of the ear was then curved down to the tenon, sanded (with care to protect fingers!) and parted off.
Tail
A length of small square blank was brought to round and shaped with the bowl gouge, using a shear cut for a good finish beforesanding and parting off.
Legs
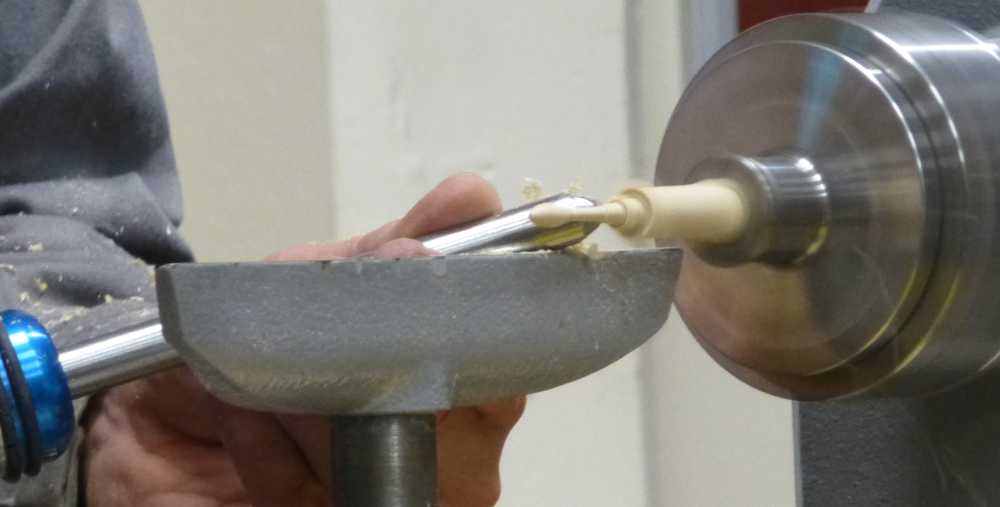
The two rear legs are turned on centre but the two front ones are turned slightly offset in order to point them forwards. He used a home-made three-pin marker for marking out the offsets.
Ian turned the blank to diameter then marked out the legs and tenons along its length before forming the tenons with a parting tool.
The individual legs are made with a slight taper towards the foot, and the foot chamfered slightly. There is also a small undercut at the tenon/shoulder join in order to ensure a snug fit when inserted into the elephant’s body. Each leg was sanded in turn before parting off, and a chamfer applied to the end of the tenon for easy insertion.
Assembly
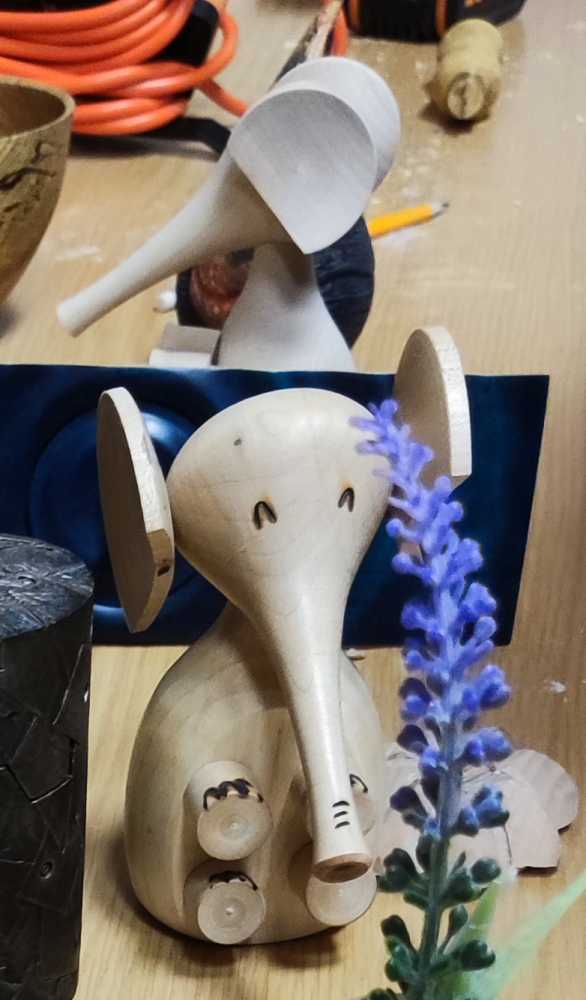
Ian sanded (50mm sanding disc in chuck) small flats on the head for the ears to sit against and dry assembled the elephant, although there was no time to add decoration. The picture below shows a completed elephant, with “features” added.
The competition table had a good selection of entries this month.
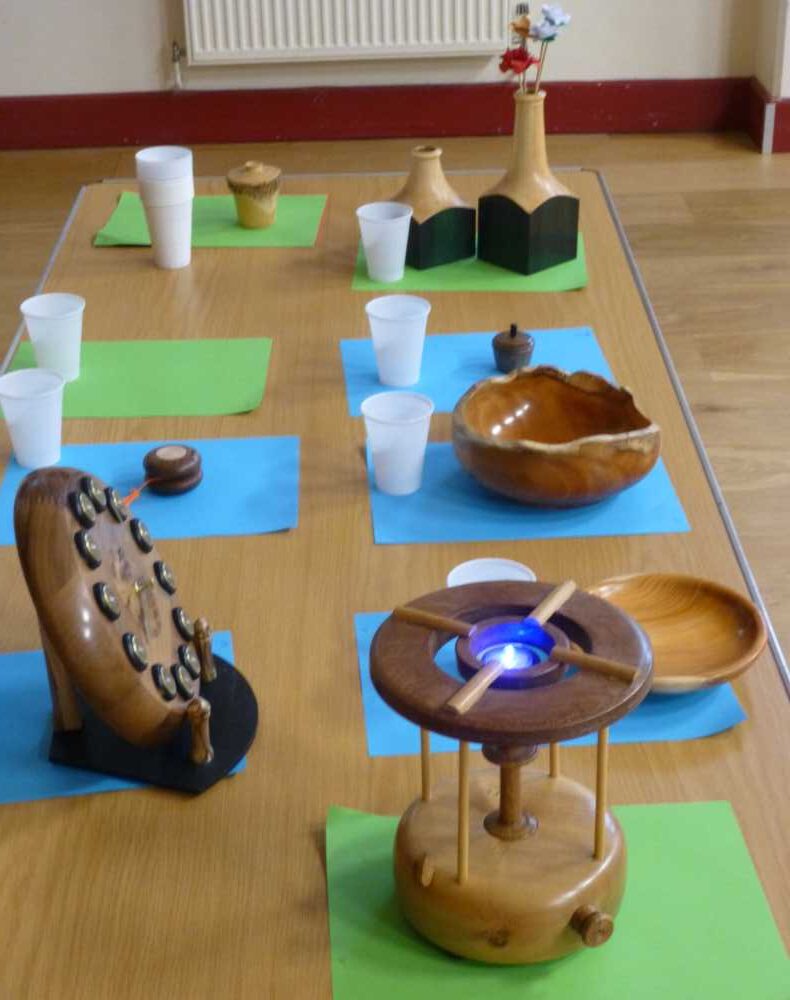
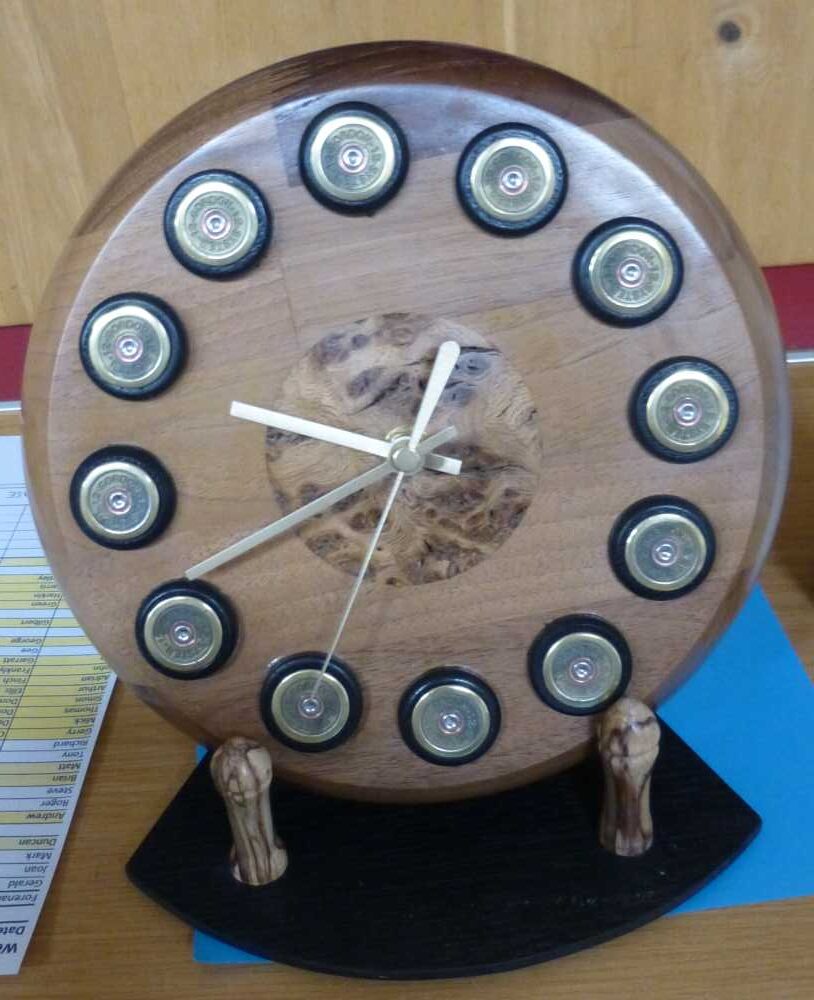
1st place went to Roger Gilbert for a clock inlaid with the ends of shotgun cartridges, and an elegant stand for the clock.
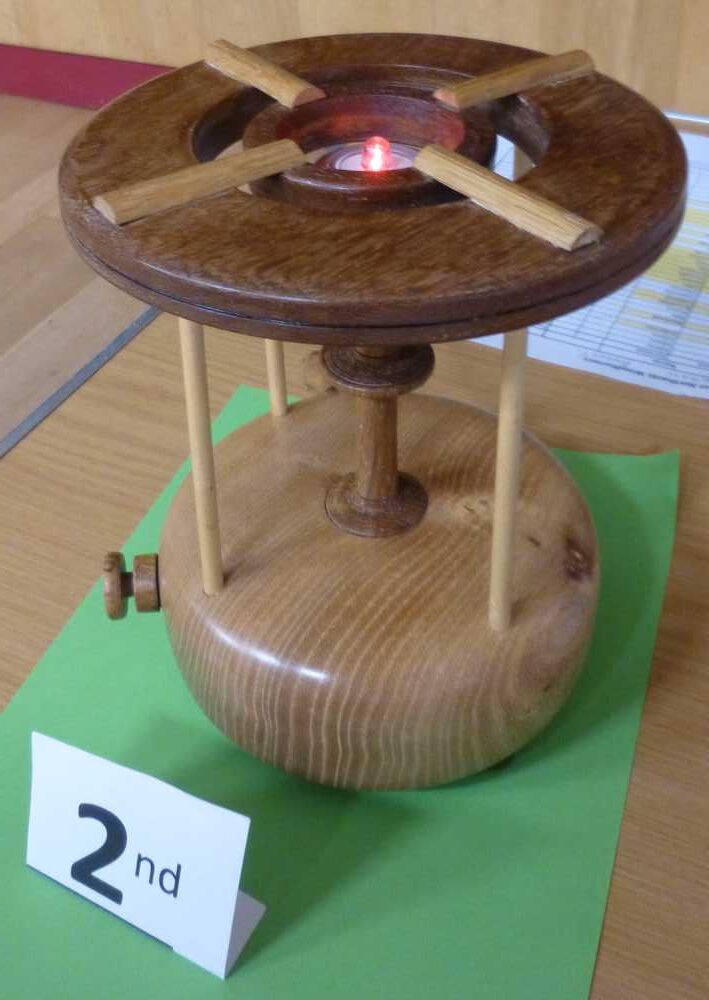
2nd place was for a primus stove by Dave Simms.
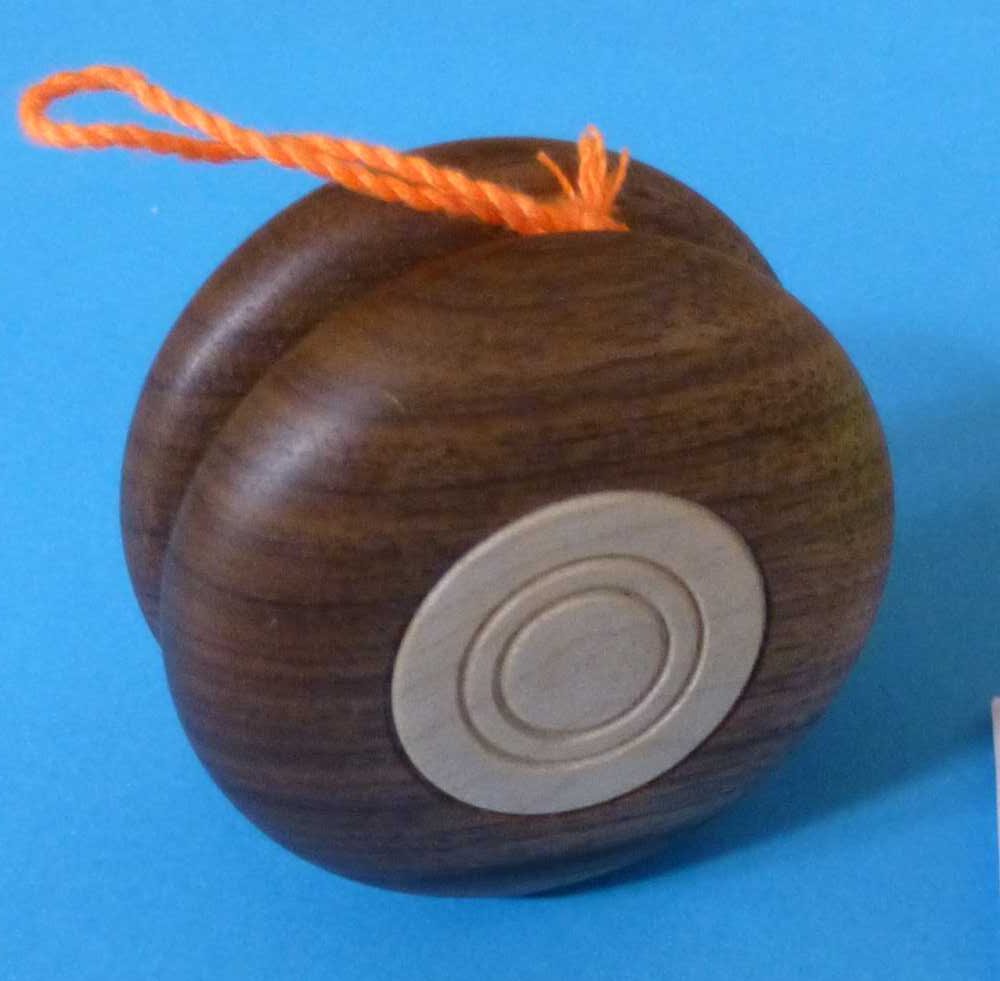
Joint 3rd places were for a yo-yo by Jerry Coles
and a pair of bud vases by Viv Harvey.
