This evening, Viv Harvey had a couple of very different treats in store for us, namely some collet type chucks and a pasta cutter rolling pin.
Collet Chucks
Viv uses these chucks to hold small items securely, such as the tiny goblet shown below, without having to buy a wide variety of expensive scroll chuck jaws and then waste time swapping those jaws around. The wooden chucks have the added benefits that they are far less likely to mark the workpiece and there is no chance of metal-to-metal contact when working very close to the chuck. We’ve all been there!

He mounted a relatively soft sapele blank about 150mm x 80mm square between centres and rounded it before putting a chucking tenon on one end. It was then mounted in the chuck, supported with the tailstock.
The collet needs to have a tenon and shoulder so that it can be held in the scroll chuck, and a groove to locate a piece of elastic holding the four quadrants together. The nose of the chuck will be rounded over for safety.
These operations Viv quickly carried out before drilling an 8mm hole right through the wooden chuck and marked it 8mm for future reference.
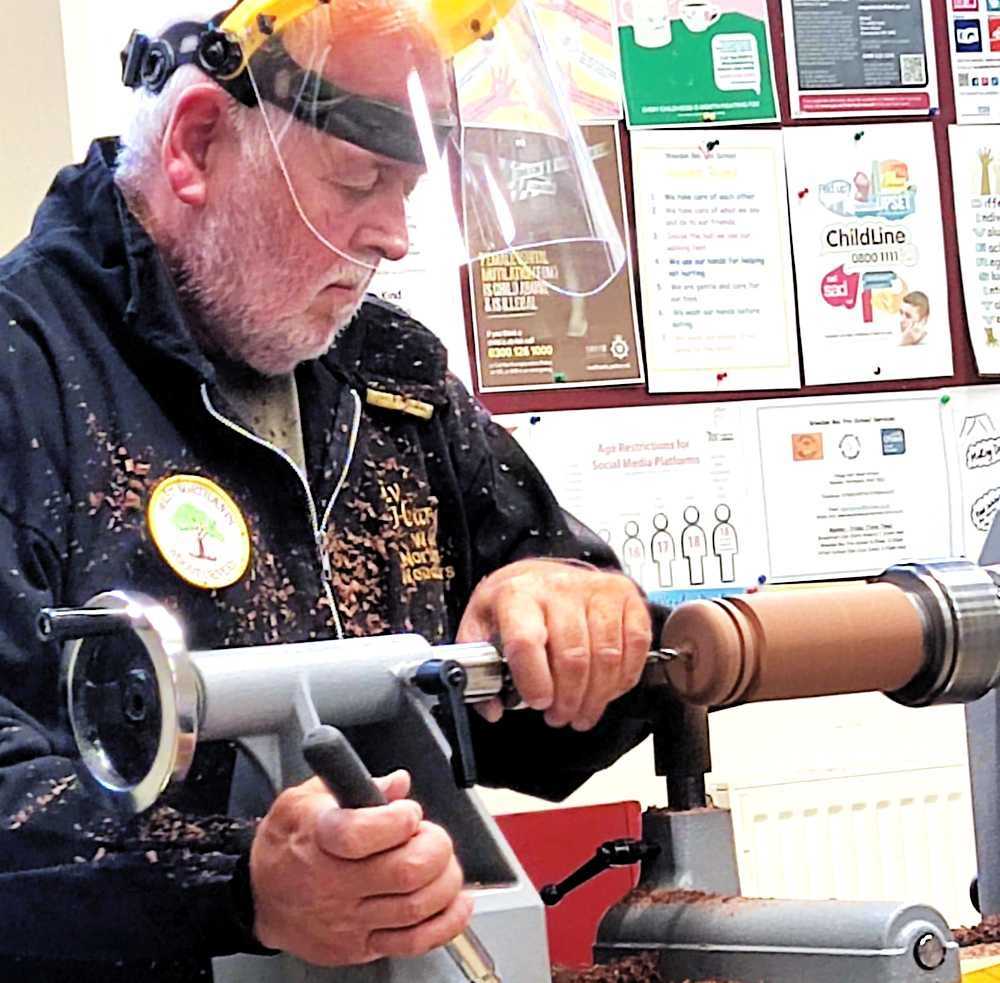
He then parted and sawed off the chuck and put it to one side.
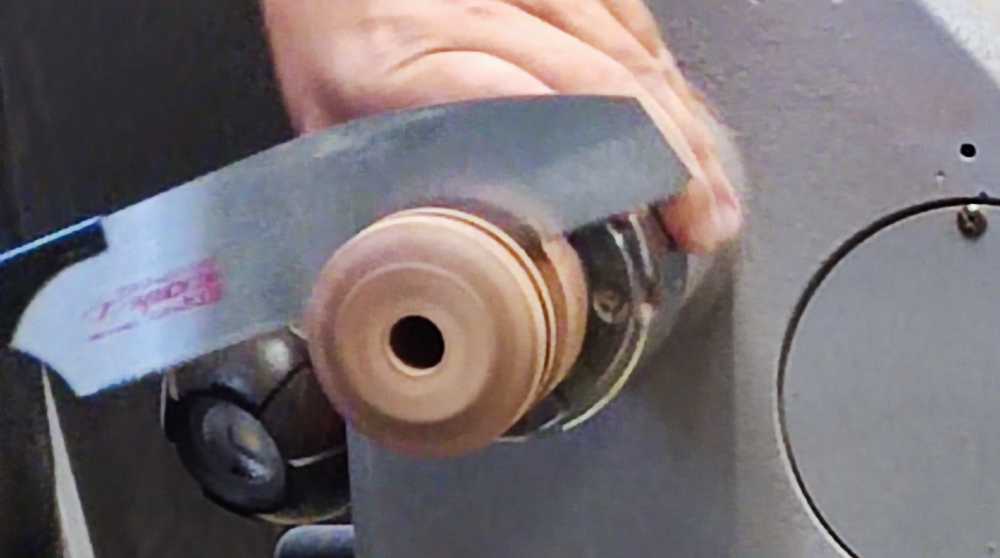
Next, Viv cleaned up the face of the remaining blank and then repeated the process, but with a 10mm drill. He made two more chucks from this blank, with 12mm and 16mm hole diameters.
Note that it is necessary to start with a small drill for the first chuck and then increase the sizes in order to avoid drilling into the next chuck with an oversize drill.
Rather than waste the stub of the blank, Viv cleaned up the face and drilled it out to take a screw – thus producing a screw chuck.
Returning to the collet chucks, Viv cut them into four quadrants on the bandsaw, remarking that he finds four pieces better than three – and easier to cut.
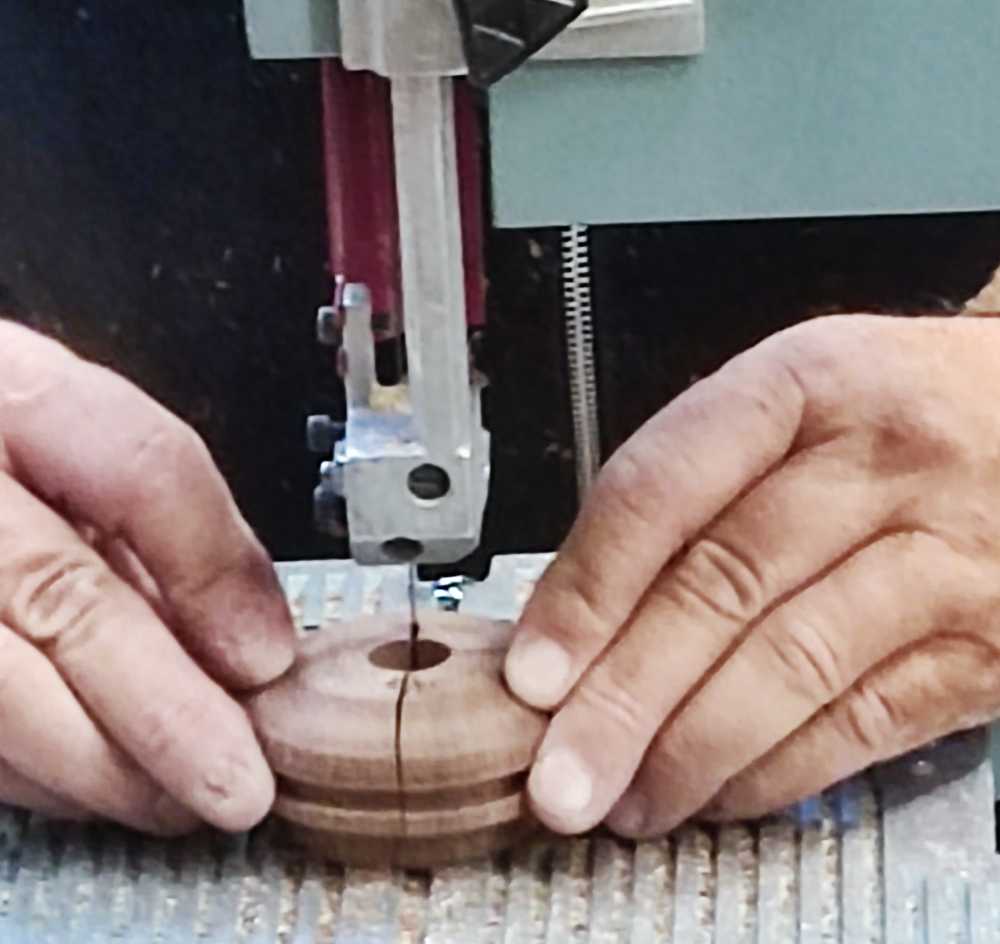
He immediately marked the quadrants of each chuck 1, 2, 3, 4, to keep them in the correct order, and secured them with butcher’s trussing elastic which lasts very well without degrading like ordinary elastic bands.
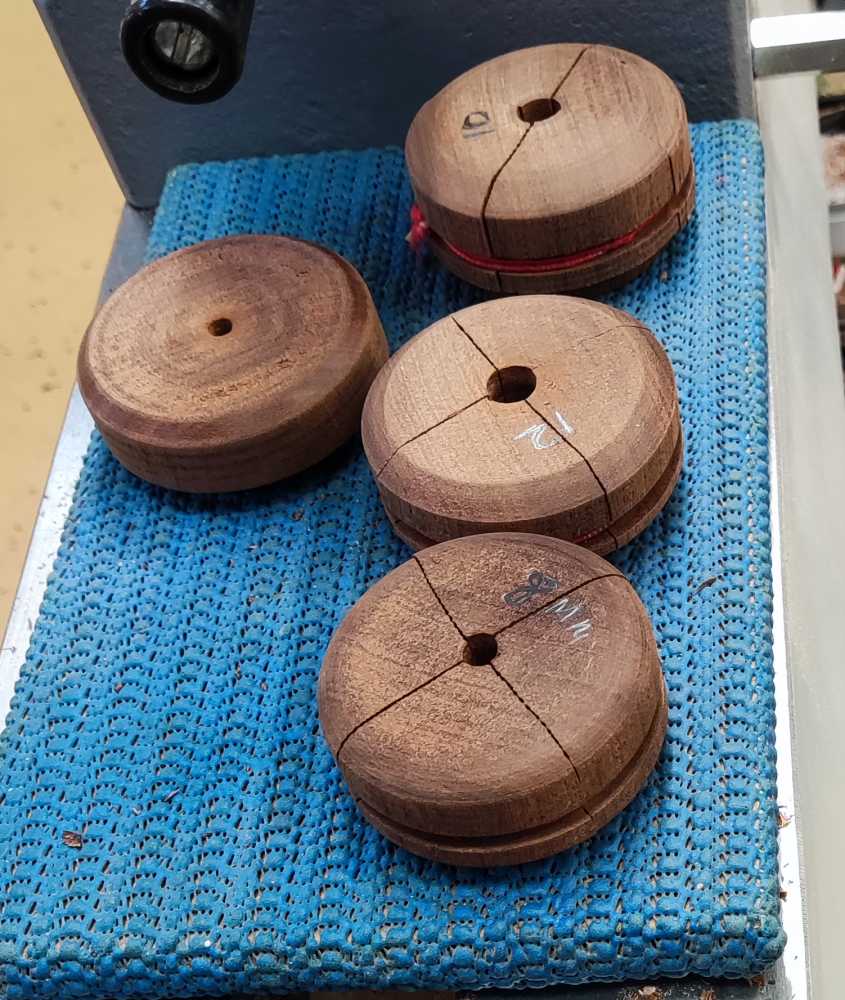
….and Viv kindly donated the four chucks to the club for inclusion in our collection of tools!
Pasta Cutter Rolling Pin
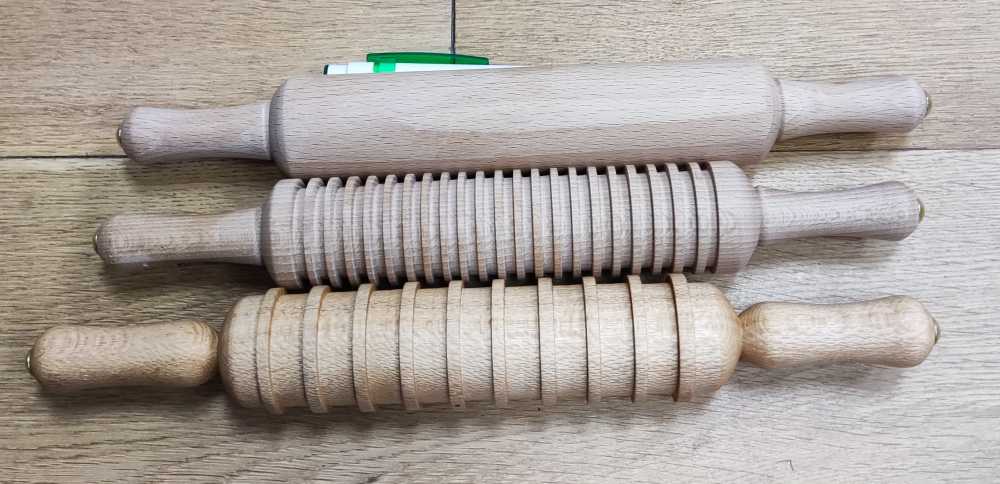
A number of designs are possible, depending upon the type of pasta required e.g. plain for sheet pasta; closely beaded for tagliatelle; wider beaded for ribbon pasta. On this occasion, Viv decided to make a rolling pin to cut ribbon pasta.
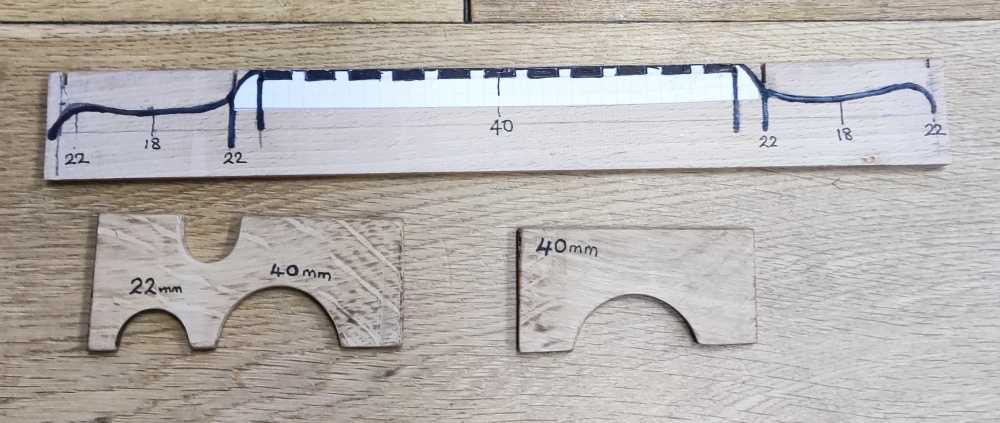
To make life easier, Viv uses a storyboard for the longitudinal dimensions and templates to set the diameters.
The rolling pin started off as a 250mm x 50mm square blank (beech?) mounted between centres, which was turned to round and a chucking tenon cut in order to mount it in the headstock, with support from the tailstock.
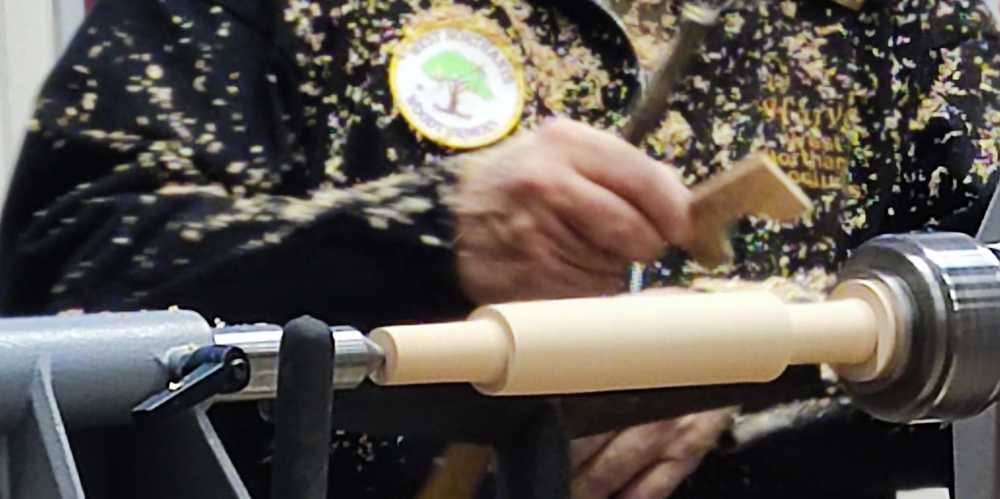
With the help of the story board and templates Viv marked off the handles with a thin parting tool and reduced the blank to the relevant dimensions with a spindle gouge. The rolling pin was sanded and the roller shoulders rounded off before adding v-cuts at the transition between handle and roller – these are aesthetic touches and can be modified to taste.
For the pasta cutting beads, he first marked the middle of the roller and then used the story board to mark the bead positions.

A thin parting tool effectively delineated the beads and the grooves were then widened to suit ribbon pasta, ending up with a depth of about 3mm.
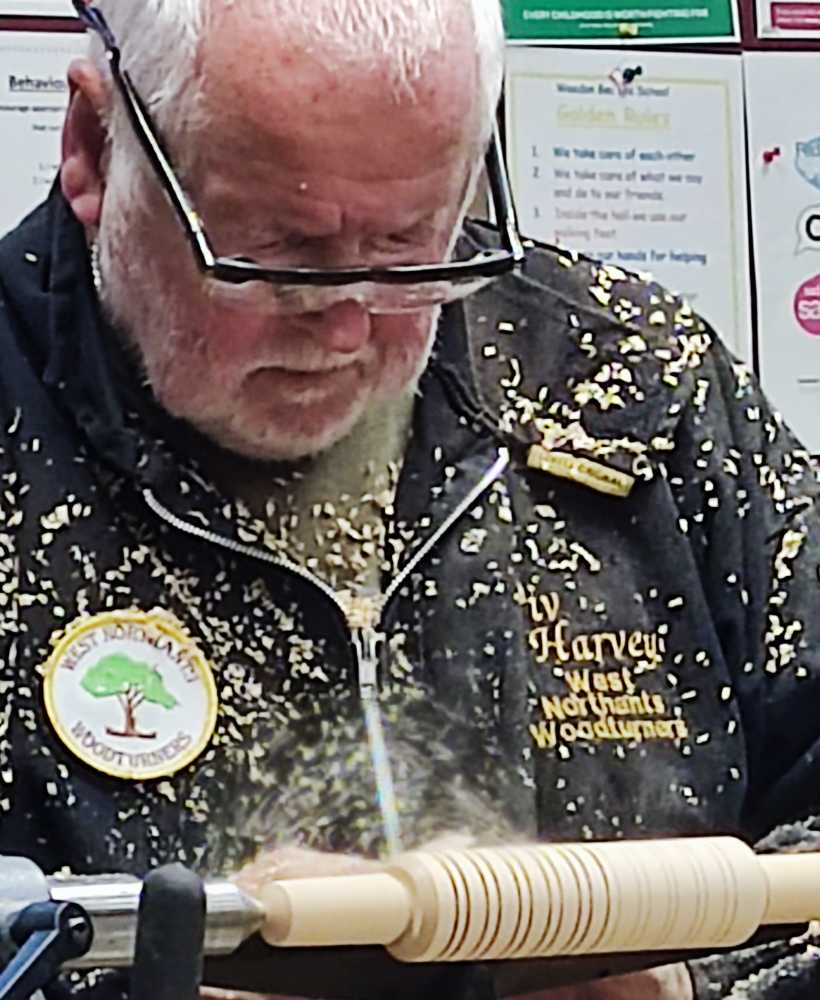
To sand the grooves, Viv used home-made sanding sticks of various grits – sticks coated in PVA glue with sanding grit set into the glue. He finds that this gives consistent depth and sharp sides to the beads.
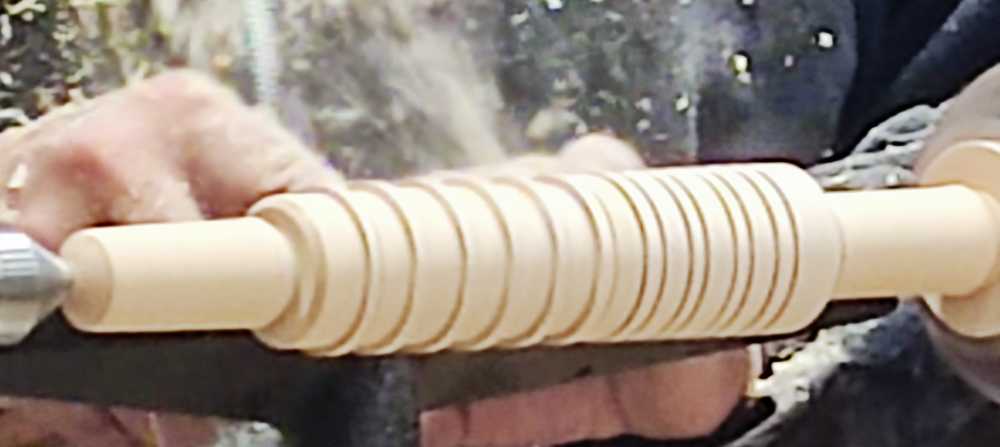
He tidied up the ends of the roller and shaped the handles for aesthetics and comfort and sanded them lightly. A finish is not usually necessary, but if one is applied, it must, of course, be foodsafe. Viv uses sunflower oil and the surplus wiped off with a cloth.
Finally, he parted and sawed the ends off and pushed upholstery pins into the ends of the handles for a nice touch. The picture at the top shows how they look.
