Before the demo started, Mick Denton showed us an example of a t-shirt that can be made for club members at very modest cost. Complete with embroidered club logo and with a choice of conventional t-shirt or polo shirt, a show of hands indicated a healthy interest and Mick said he will progress inquiries with the maker before taking orders.
Tonight we had Dan Smith, proprieter of Taylors Mirfield, as our demonstrator, showing us his technique for making a 3-legged stool.
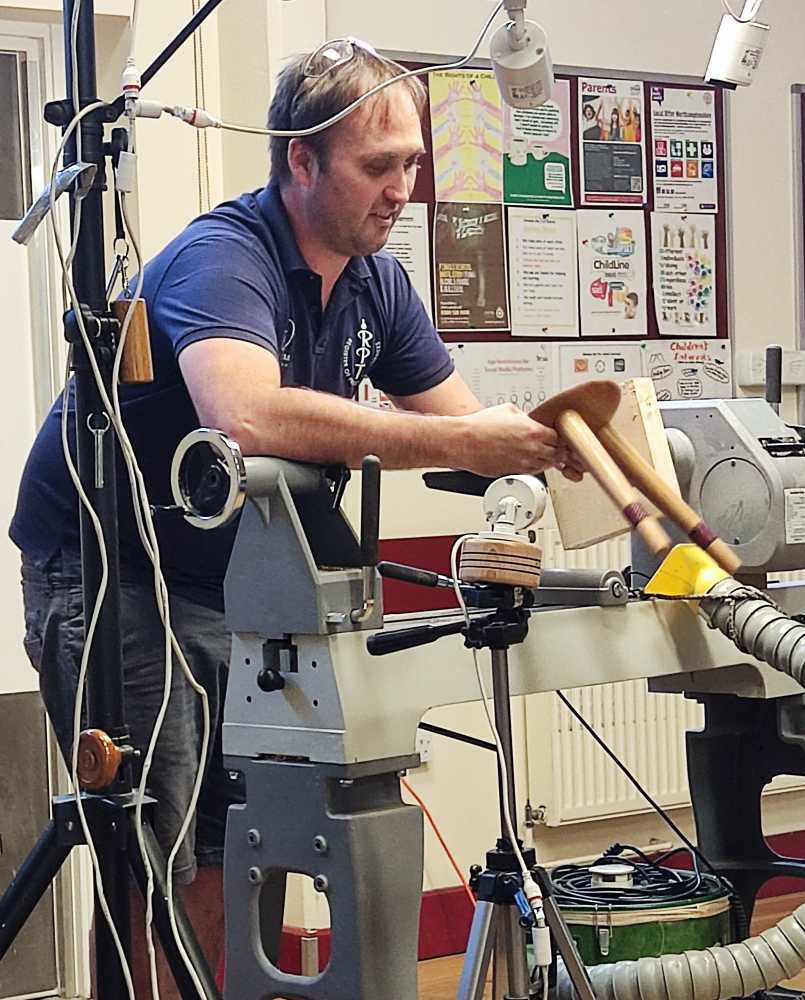
Dan started off with a general background introduction and then mounted the 200mm square sycamore seat pad blank in the chuck, using a faceplate ring with very short screws. He pointed out that, as a Yorkshireman, he was obliged to watch the pennies and that square blanks were cheaper than round ones but watch your knuckles!
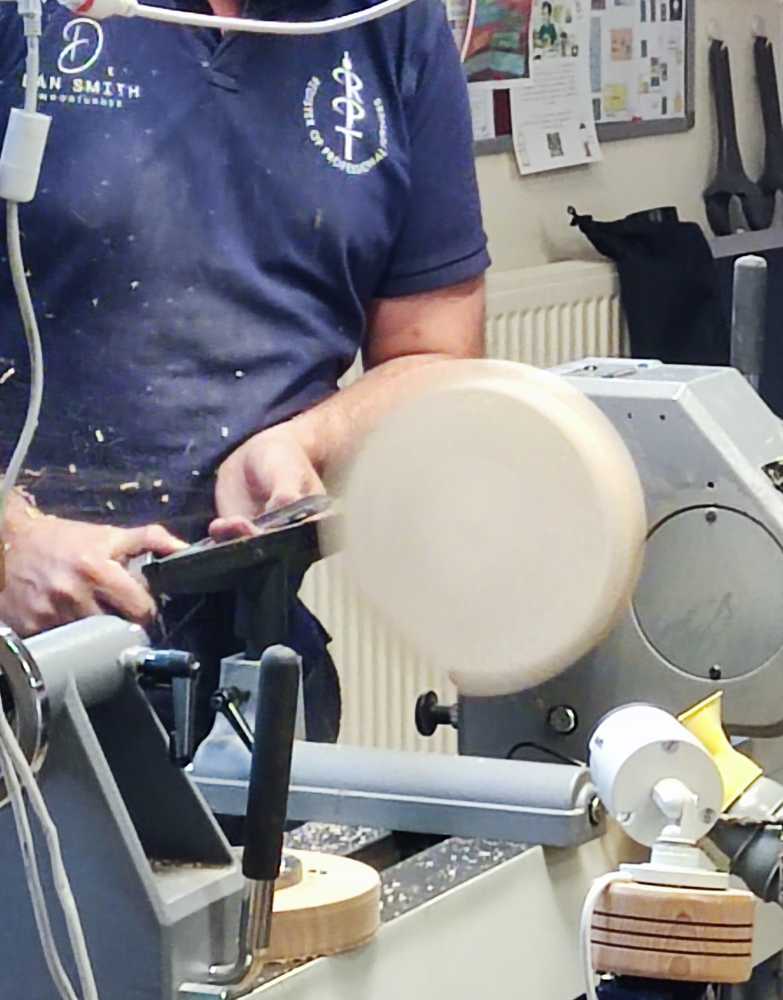
He reduced the blank to round, taking care to avoid the corners and initially keeping the speed down so as not to have any breakout or splinters. Once round, Dan used the lathe indexing and the toolrest to mark out the positions of the three legs.
He did not actually drill out the holes, having a previously prepared blank, but he did show us his home-made jig for drilling the holes on a drill press at the correct angle and distance from the rim. Sorry, I forgot to take a picture of it, but it’s essentially a v-block mounted on a wedge to give the required angle. The exact angle will vary from stool to stool but is set to bring the legs out to roughly the same diameter as the seat – this provides stability without having legs sticking out so far that they become a trip hazard.
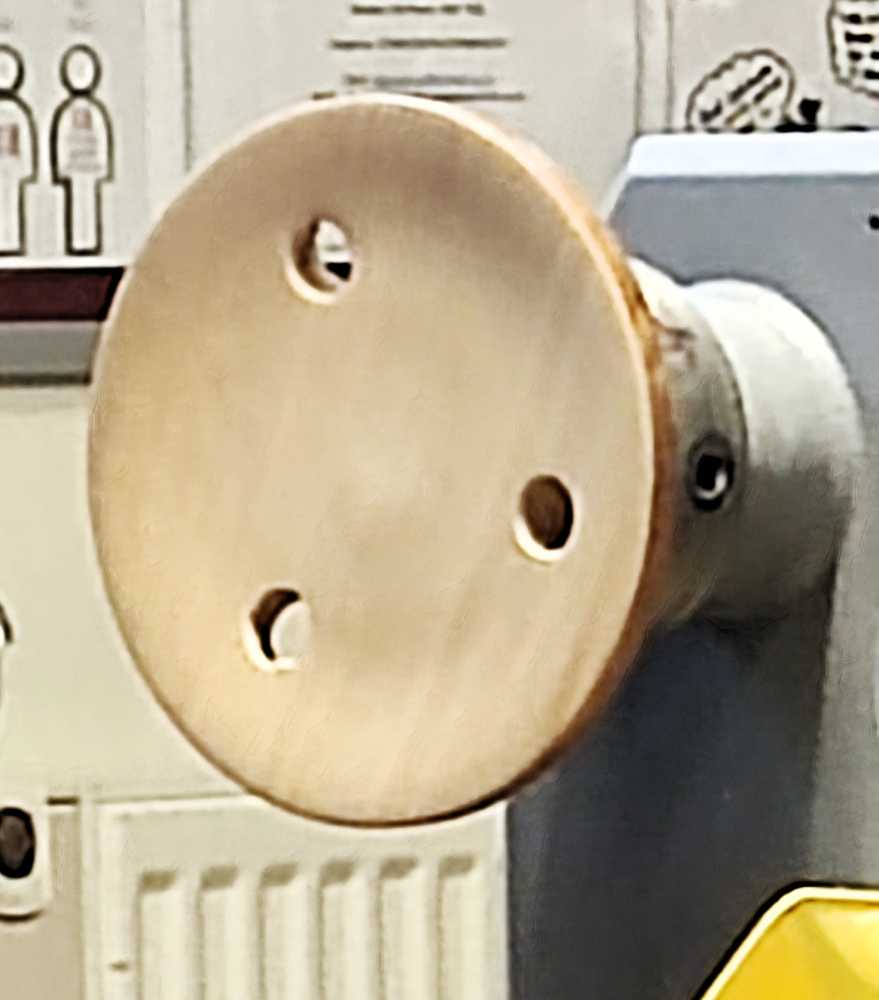
For each leg, a 35mm hole is drilled partway through the seat from the underside, and then a 22mm hole all the way through.
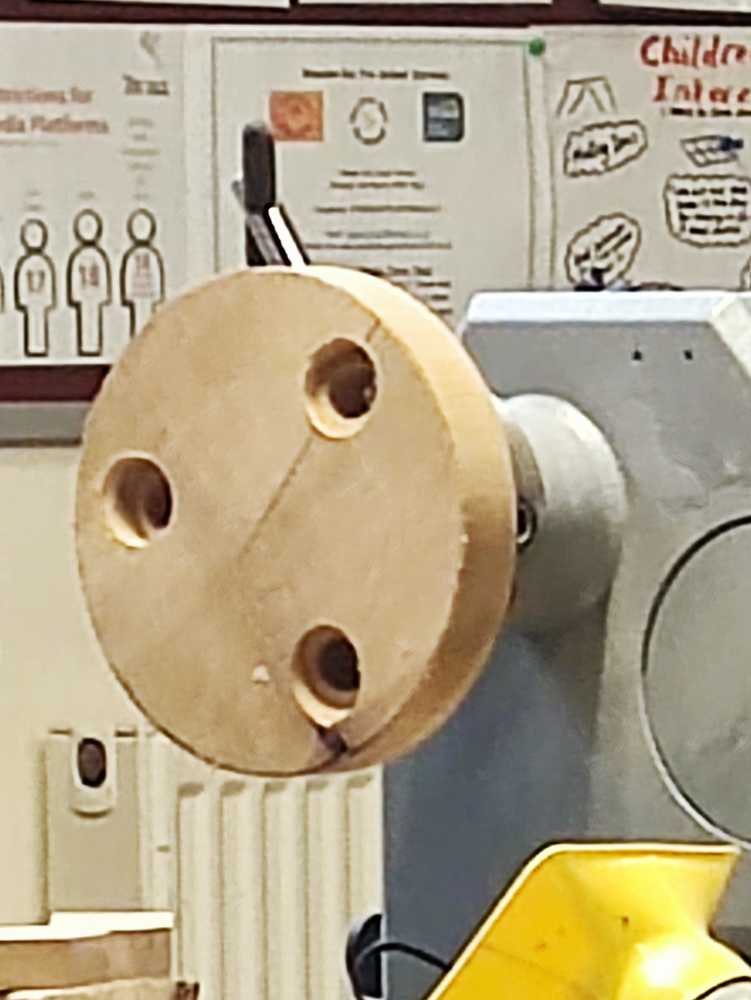
Dan next scooped out the centre of the disc, taking care not to impinge upon the drilled holes, and made a chucking tenon in the recess. Using a mix of pull cuts and push cuts with the bowl gouge he shaped the underside of the seat cutting the profile around the edges so that the angled 35mm holes were the same depth all the way round.
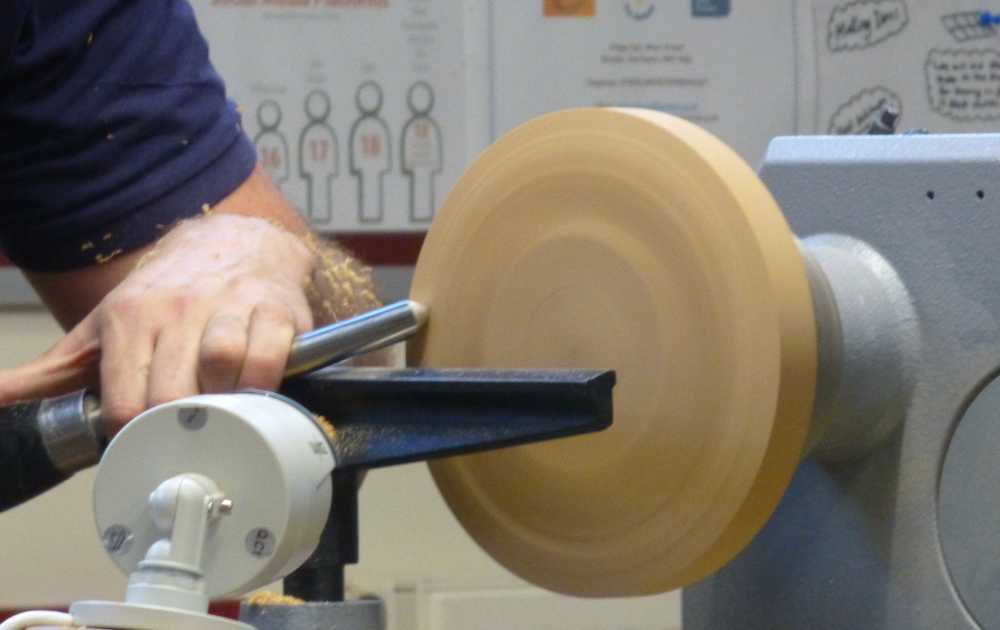
He used a skew chisel as a scraper to tidy up and then power sanded before finishing off with abrasive wax.
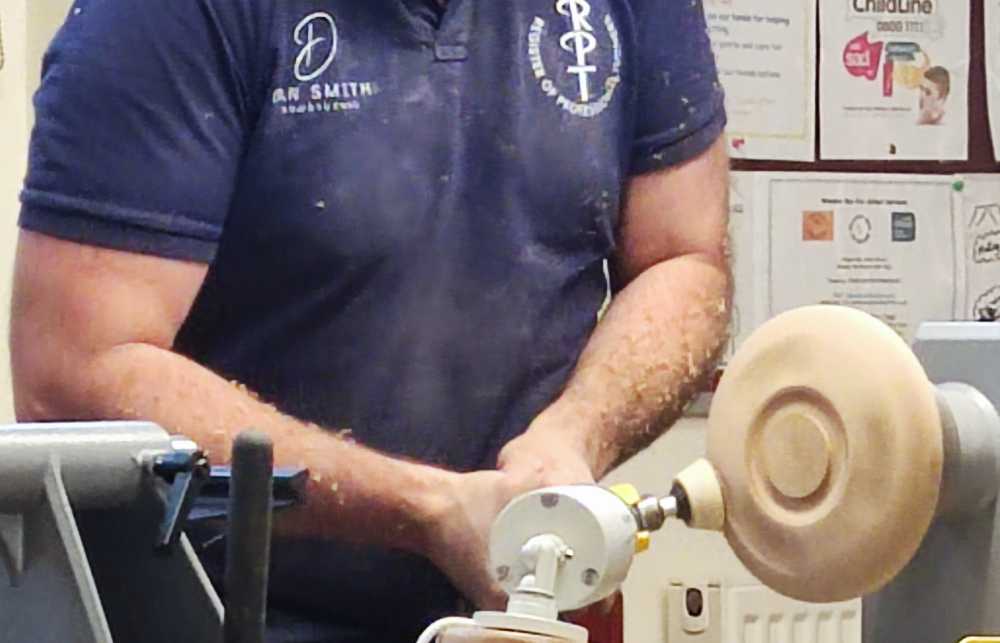
He reversed the seat onto the chucking tenon and then removed the faceplate ring before dishing the seat to shape, ensuring that the screwholes from the faceplate ring were all gone. After sanding, Dan used abrasive wax for the finish – but then admitted that this was unnecessary as the top would need to be tidied up again after the legs were fitted.
For making the legs, Dan uses a story board for the main dimensions (diameters and positions of features) and demonstrated its use on the single leg that he was making for the demo – he had two others with slightly different bands of decoration to illustrate some of the many options.
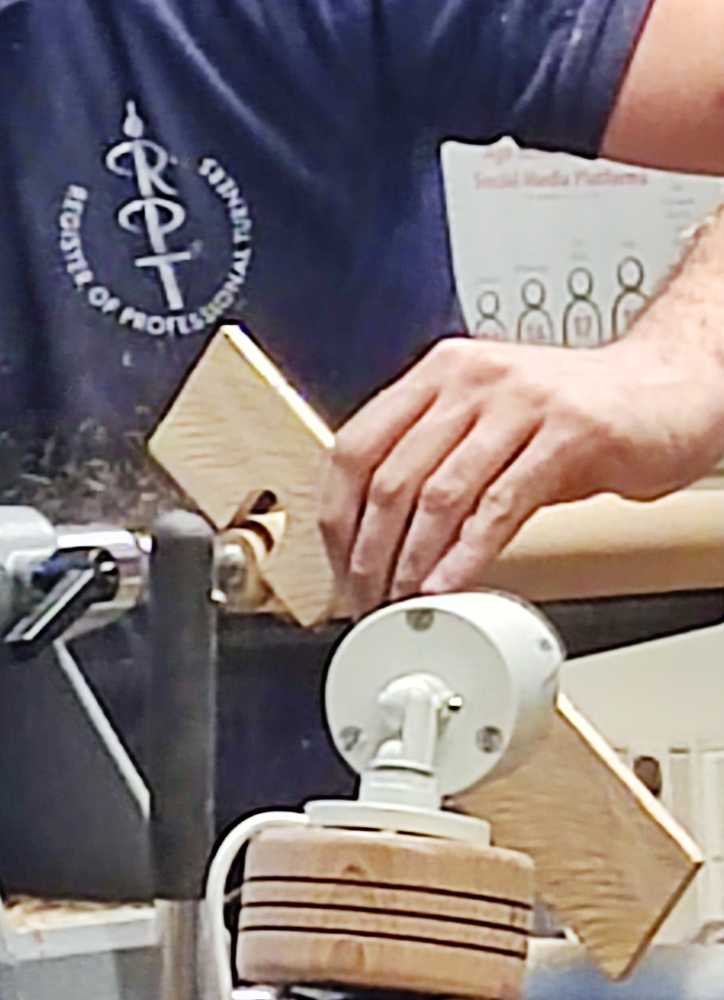
The leg blank was mounted between centres, turned down to the principal dimensions and tapered between max diameter and the tenon on the top end.
At this point Dan showed us that he takes the tenon down to the final diameter by using an open-ended spanner with the top jaw sharpened to shave away any surplus and the edge removed from the bottom jaw.
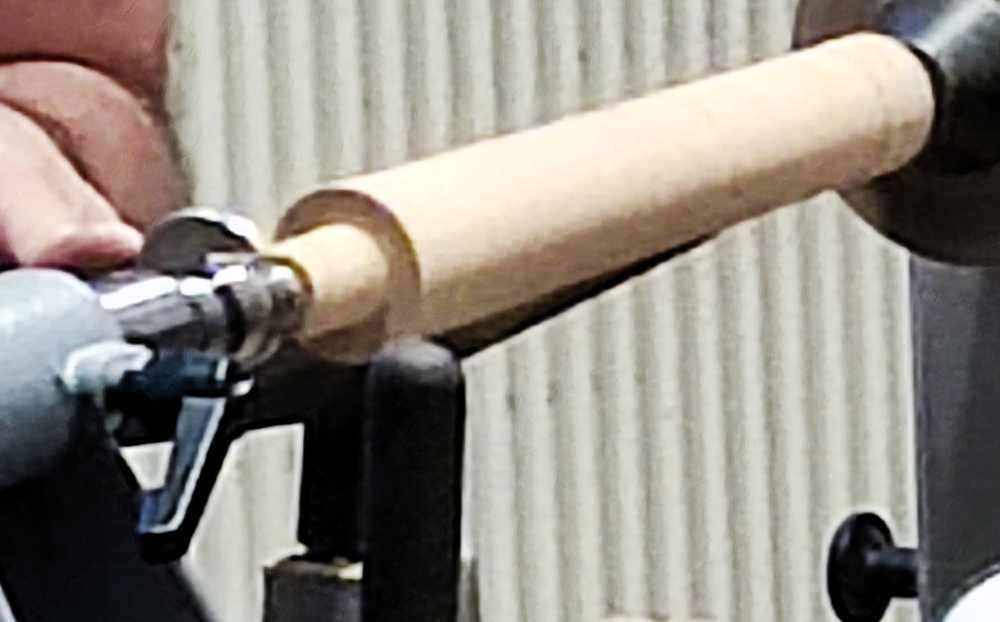
The bottom of the leg was sized with the story board and a parting tool before refining the taper along the length of the leg with a beading/parting tool used as a skew chisel. The story board was used to align on the shoulder at the top of the leg and to mark out the area to be decorated.
With the area marked out, Dan used a small spiralling tool held at about 45 degrees to texture the area. After multiple passes he was satisfied with the result and defined the area by v-cuts with a skew chisel.
The whole leg was then lightly sanded, initially rotating and then stationary along the grain. Masking tape was applied either side of the decorated area before spraying it with ebonising lacquer and leaving it to dry.
While the lacquer was drying, Dan mounted the seat in some Cole jaws and removed the chucking tenon on the underside with a bowl gouge (light cuts to avoid dislodging the seat), finishing off with some power sanding. The wax finish will be applied later when he finishes the top of the seat.

With the leg now dry, he re-mounted it between centres and removed any ebonising lacquer overspray and re-cut the v-grooves. Now to highlight the decorated area. Applying a small amount of acrylic paint on a brush and then brushing it out on a paper towel left a very small amount on the brush which Dan proceeded to lightly run over the texturing. This dry brush technique leaves just a a hint of colour to emphasise the texturing.
As time was now running out, Dan explained that he would allow the paint to dry and then spray melamine lacquer over it before parting off the leg. With the legs in place and protruding through the top of the seat, he would mark around the tenons then remove them and cut to length before final fitting.
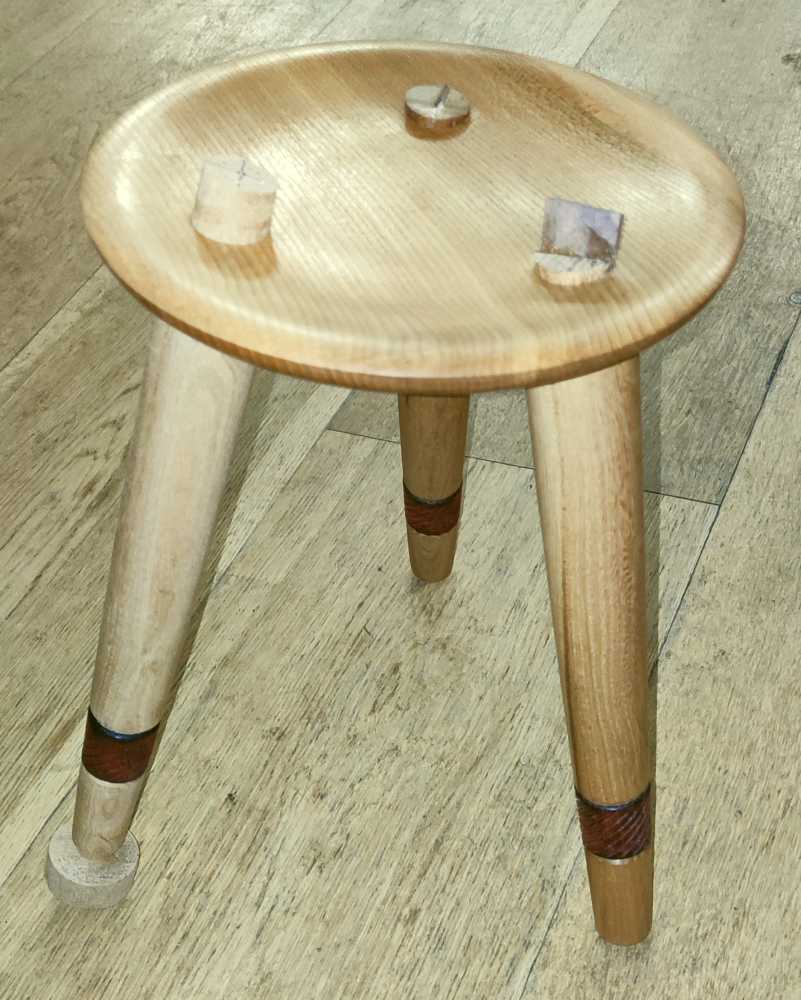
He would then cut a slot in the top of the leg tenons and secure with walnut wedges. Some minor details – he should have relieved the edge of the shoulder a little to ensure a good fit, and the wedges would have some glue applied, but there is no need to glue the tenons themselves.
Finally, sand smooth and apply a finish to the top of the seat.
