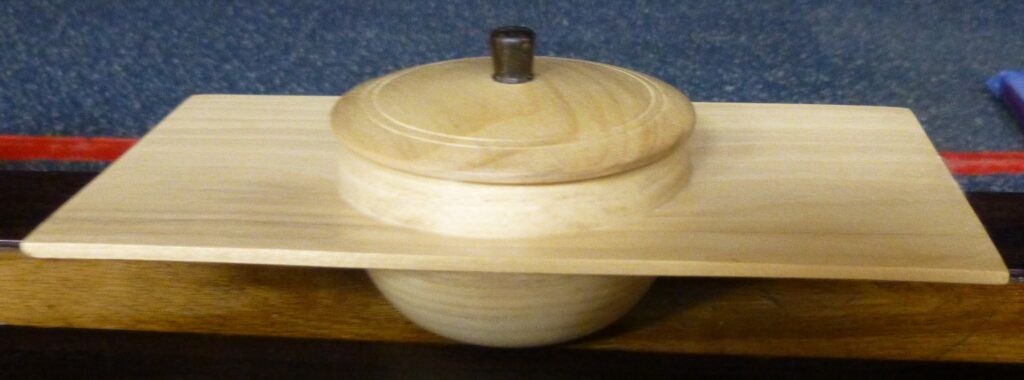
Gerald Hubbard was our demonstrator this evening, starting off with a brief introduction during which he passed around some books by the sadly departed masters of threadcutting, John Berkeley and Bill Jones. Bill was known as the last of the ivory turners and Mick Denton showed us pictures of some superb chess pieces produced by him. This certainly whet our appetite for what was to follow!
By the way, there is a wonderful video of Bill Jones on YouTube for those who are interested: https://www.youtube.com/watch?v=l2G3LHZNiuU
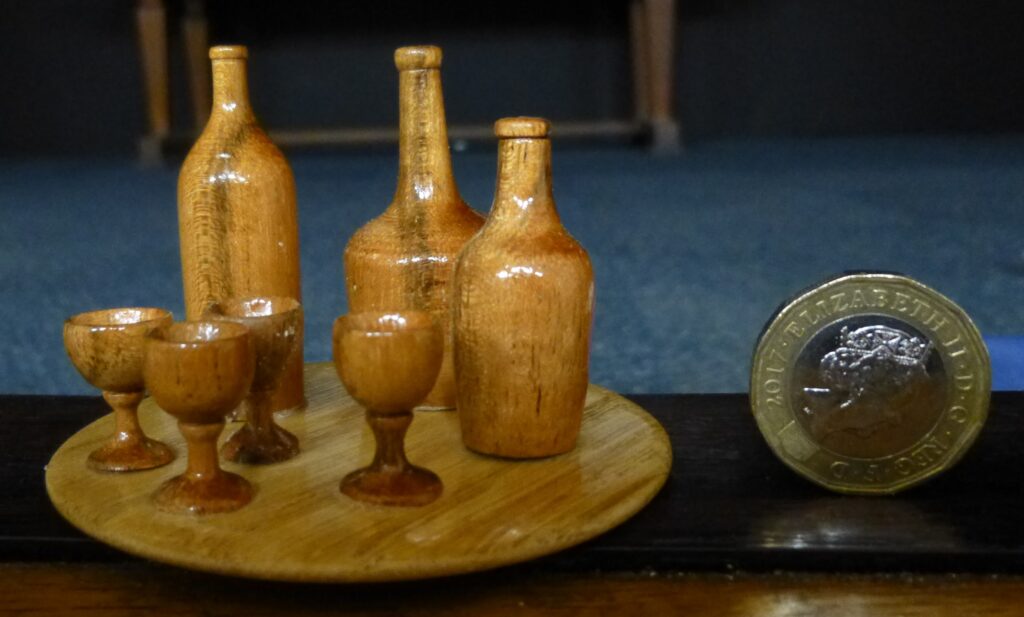
Back in the present, Gerald explained that he would be making a small box to hold five £1 coins, demonstrating thread cutting (aka thread chasing) to screw together the top and bottom halves. In total, three threads would need to be cut, two for the box itself, and one for a screw chuck to hold the top whilst shaping the outside. To start, he used a small blank of boxwood about 30mm square x 100mm long, held securely in a chuck and centred with a revolving steb centre.
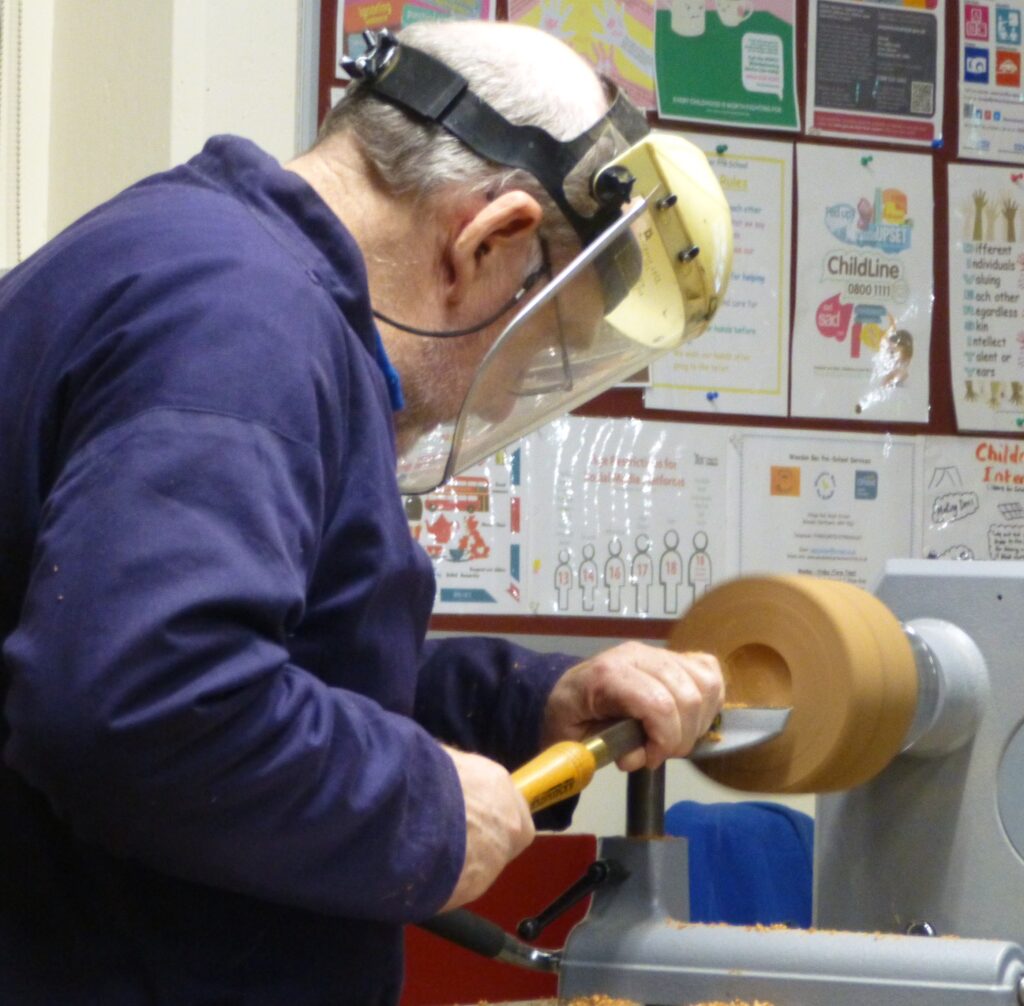
Base – male thread. He reduced it to a cylinder and then bored out the end with a 7/8” Forstner bit, to a depth that allowed 15mm for the five coins.
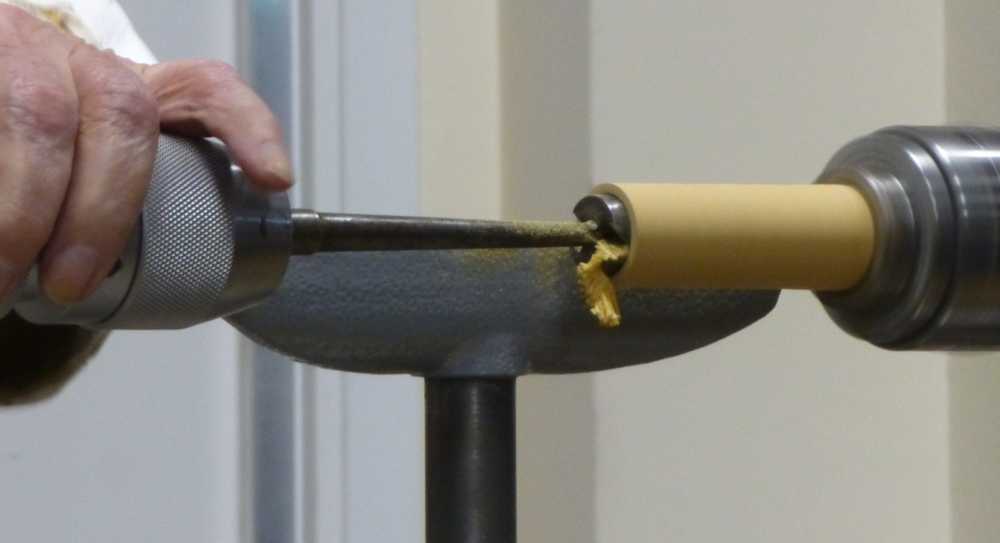
7/8” is just a bit too small for the coins so he increased the diameter with a scraper supported by a thread cutter support tool (commonly called a Bill Jones arm rest) resting on the tool rest.
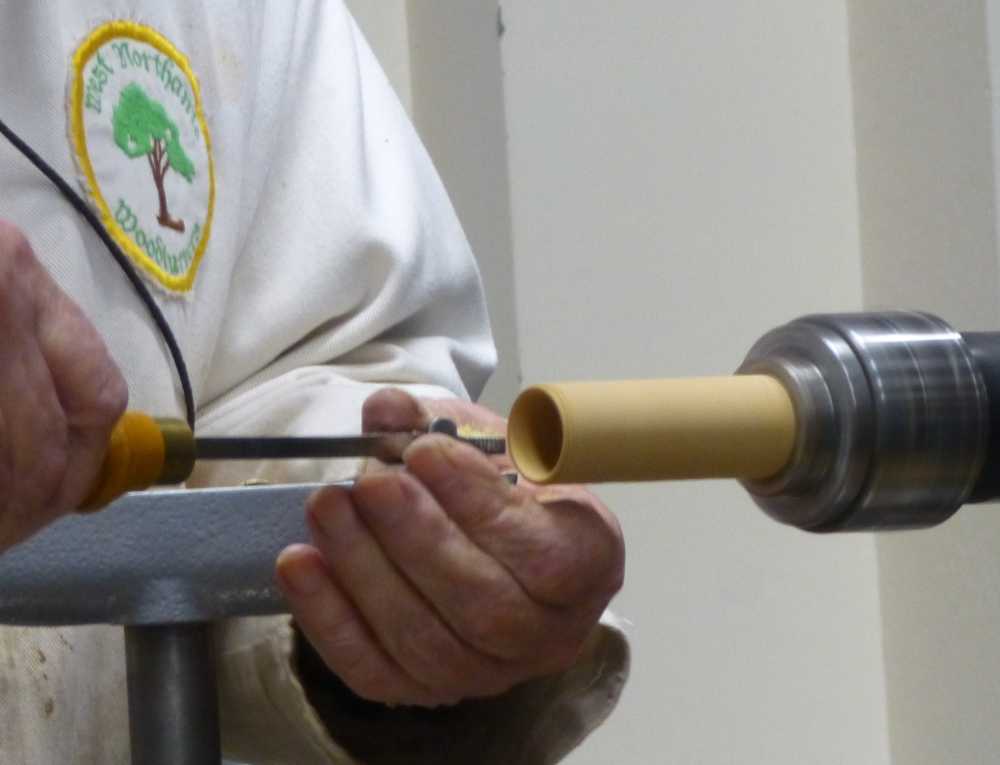
Once this was done, Gerald chamfered the outside edge of the blank and made a small undercut a few mm back from the edge – this is to act as a relief at the end of the thread and to stop the tool from running on.
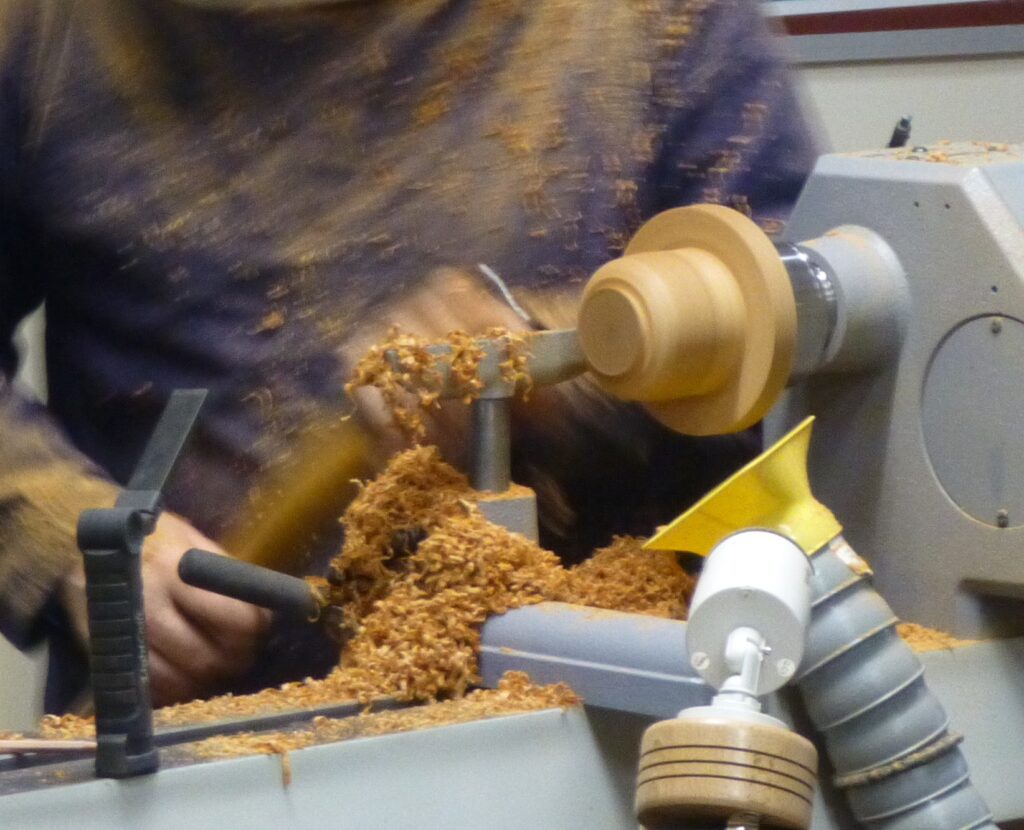
With a 16tpi cutter, he placed the arm rest and started the outside thread using only about three threads on the cutter. Once the thread was established, he started using more threads on subsequent passes. Gerald then shifted to a very light grip with just a few fingers on the end of the tool handle as he found that this produced a parallel thread rather than slightly tapered as tends to happen with a fuller grip. Lathe speed depends upon many factors (type of wood, size of workpiece etc) but Gerald usually has it running at around 300rpm for thread cutting.
To ensure a clean thread profile, he cleaned the threads with a waxed toothbrush before making the final pass with the threading tool and parting it off.
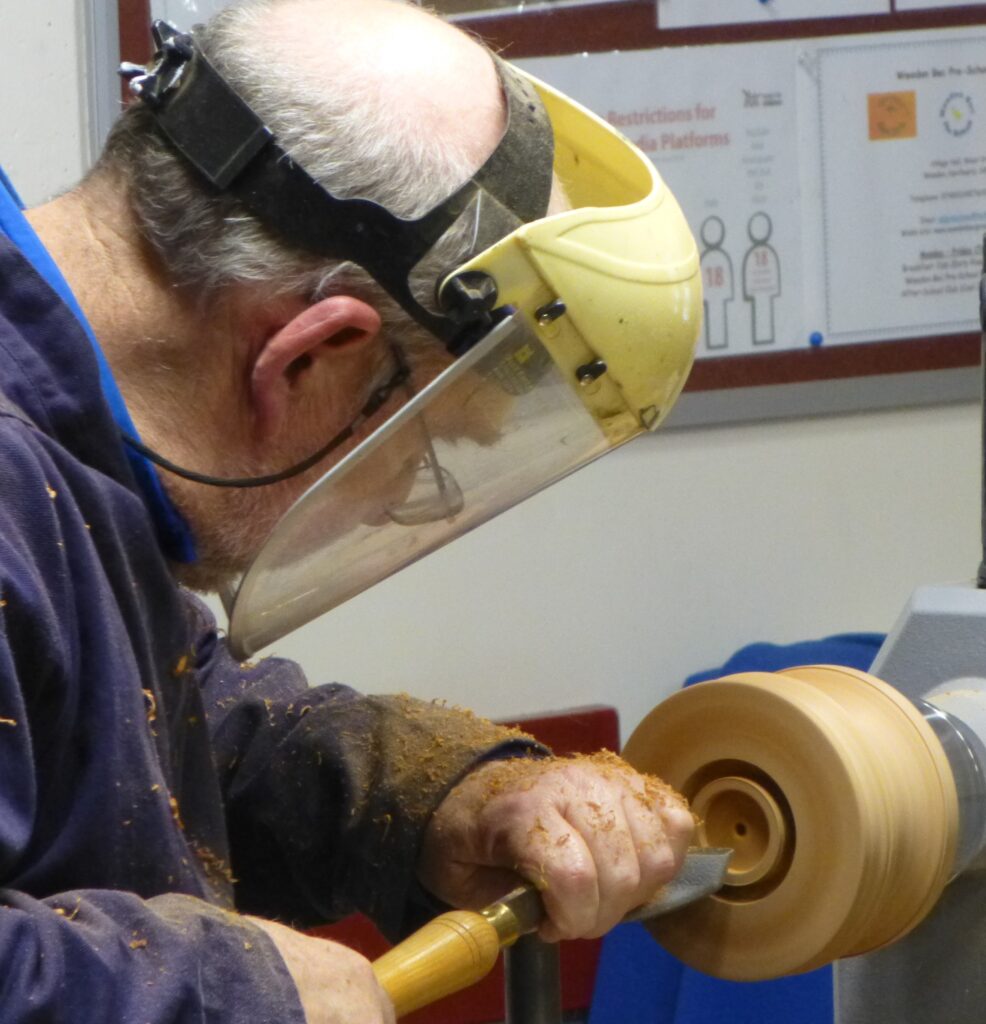
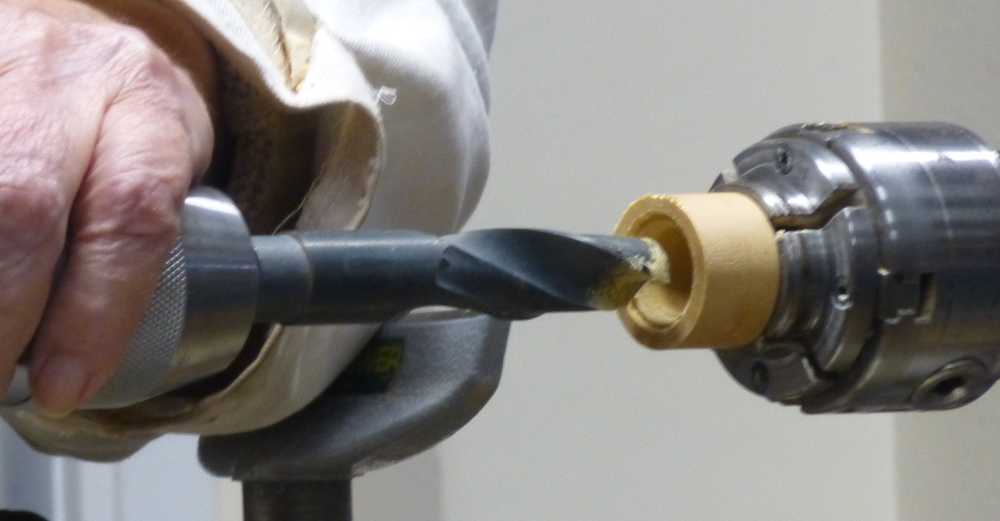
Lid – female thread. Another piece of boxwood was mounted in the chuck and hollowed out using a drill bit ground with a rounded profile and then the hole widened with a scraper before cutting a female thread to suit the male thread of the bottom part of the box.
Gerald repeatedly tried the fit until he was happy with it; a little Cut ‘n Polish wax may help with this. Once he was satisfied with the thread and the inside of the lid, it was parted off.
Screw chuck – male thread. A male thread was cut in order to make a screw chuck mount for the lid to allow for the external shaping. It doesn’t need to be a perfect lid but it does need to hold securely.
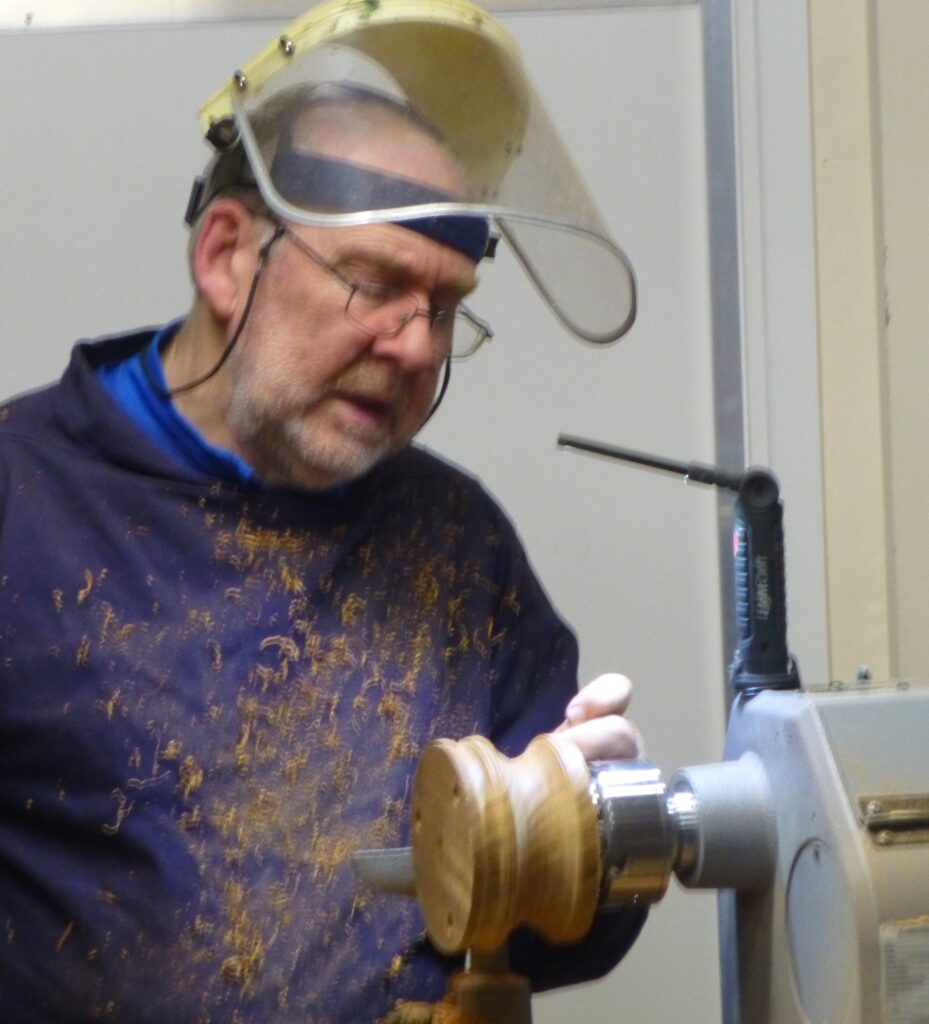
With the lid mounted, Gerald set about the shaping of it, but made a mistake from which he was unable to recover so, unfortunately, this very interesting demo came to an end. By now however, we had all learned something of the techniques, tools and materials required for thread cutting, which was the main purpose of the demo, so there was little lost from that point of view. Fortunately, Gerald had brought along a similar box to pass around, so we could see the more complete article, with a textured lid.
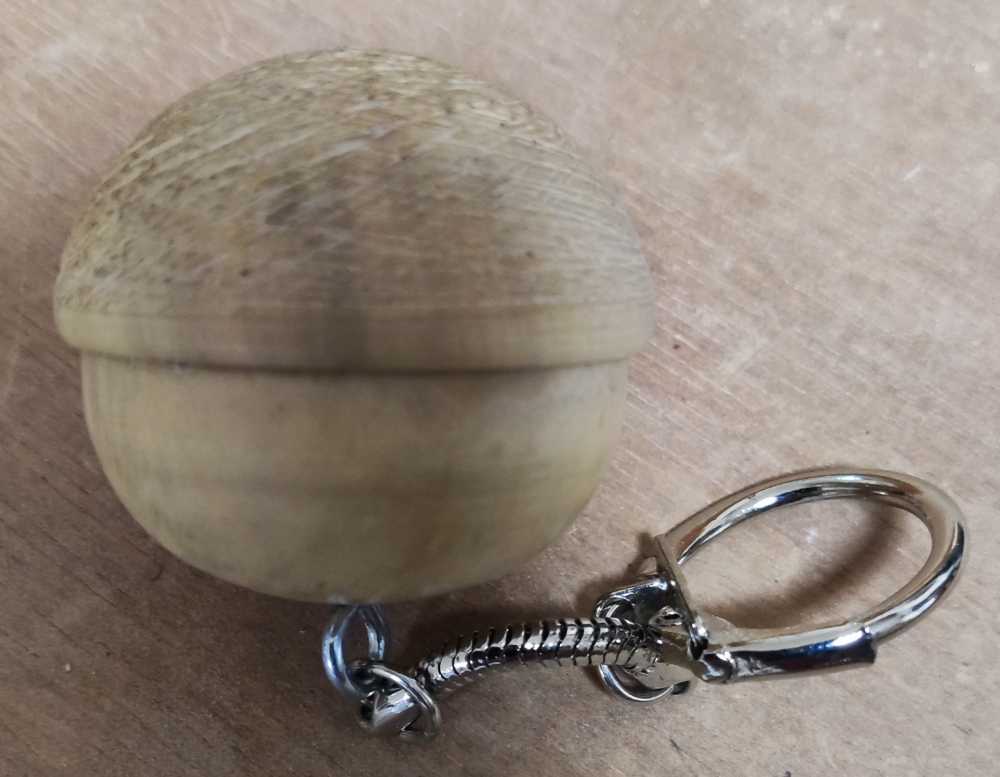

In order to fill in the remaining time, Gerald discussed the use of other materials for this type of work. He pointed out that threads cut well on polyester and resin blanks although the streamers of static-charged material were a bit of a nuisance. Resin can be prone to chipping, but warming it up in water reduces this.
He also showed us a Go-No Go gauge which had ends of different diameters for quick sizing of spigots from which to cut threads. The gauge was made of plastic casein, a product derived from milk and very widely used in the past. It is commonly used as an ivory alternative as it has a grain similar to that of ivory.
Finally, he passed around a thread cutting box for larger threads, typically 0.5” to 1.5”, very handy on occasion, and sometimes used in association with metal-working taps.
All in all this was a very interesting demo, with a good number of tips and tricks passed on to us. Thank you Gerald!

