Chairman Roger Gilbert opened the meeting with a few words of welcome and an outline of the plans for our Christmas meeting on 20th December. It will be a social meet, with two lathes set up for Mick and Roger to demonstrate on, and with snacks and food available. Club members were asked to bring along food on the night so that we have a good variety of Christmas goodies to tuck into.
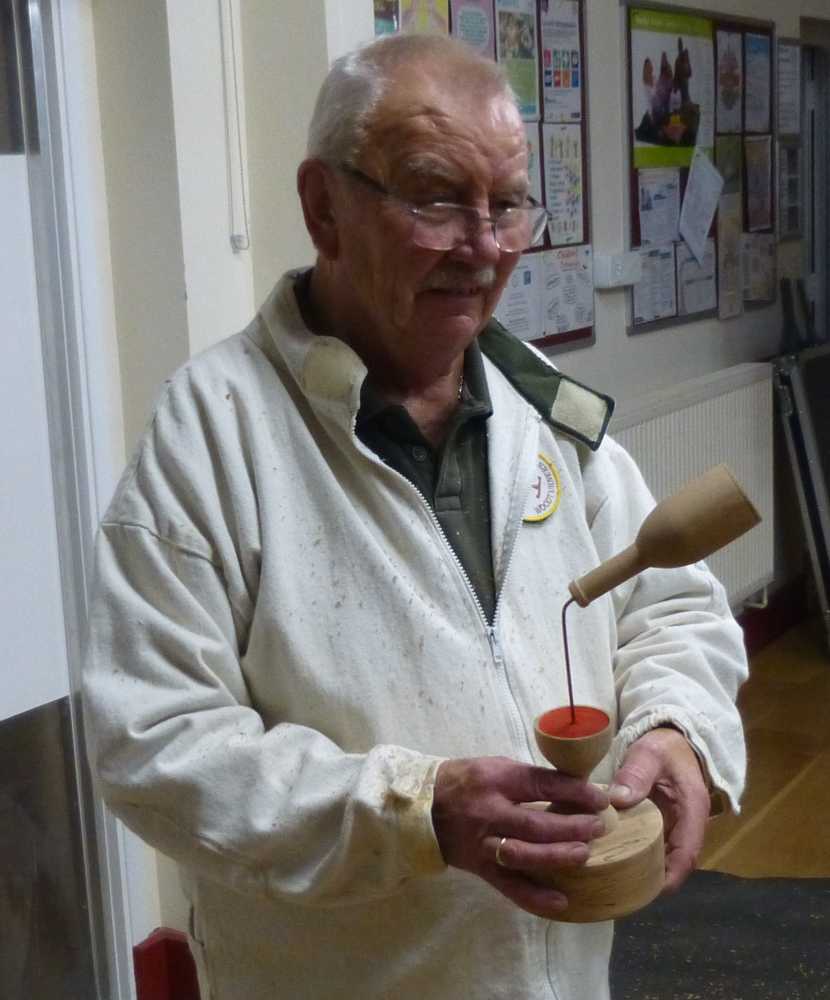
Our demonstrator for this evening, club member Dave Simms, explained that he’d be making a wine-pouring ensemble for us (red wine of course) using oak for the goblet and bottle, and spalted beech for the base.
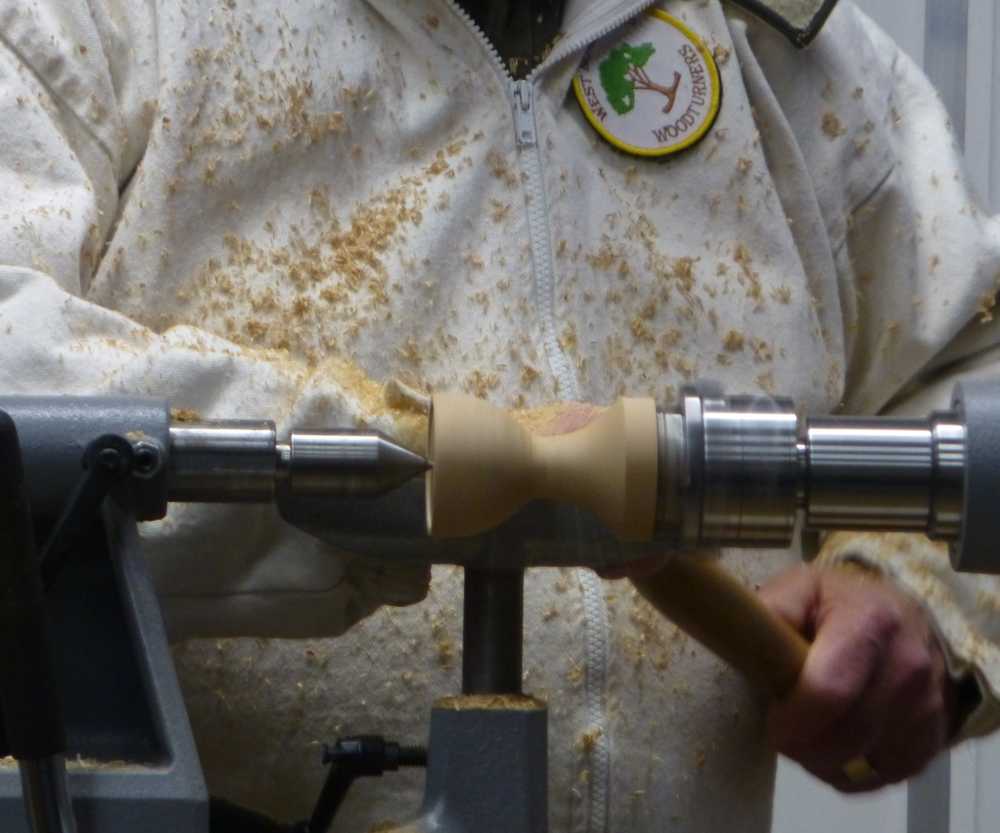
Starting with the goblet, Dave mounted the blank between centres, made a tenon on one end and mounted it in the chuck. He then squared the end before forming a recess to establish the “wine” level. Bringing up the tailstock for suppport, he shaped the outside and sanded overall. The “wine” was then applied with an acrylic pen to impart a nice beaujolais colour.

Dave had prepared the base earlier so he now parted off the goblet and mounted the base in the chuck. He cut a recess to suit the foot of the goblet and checked its fit before removing the base.
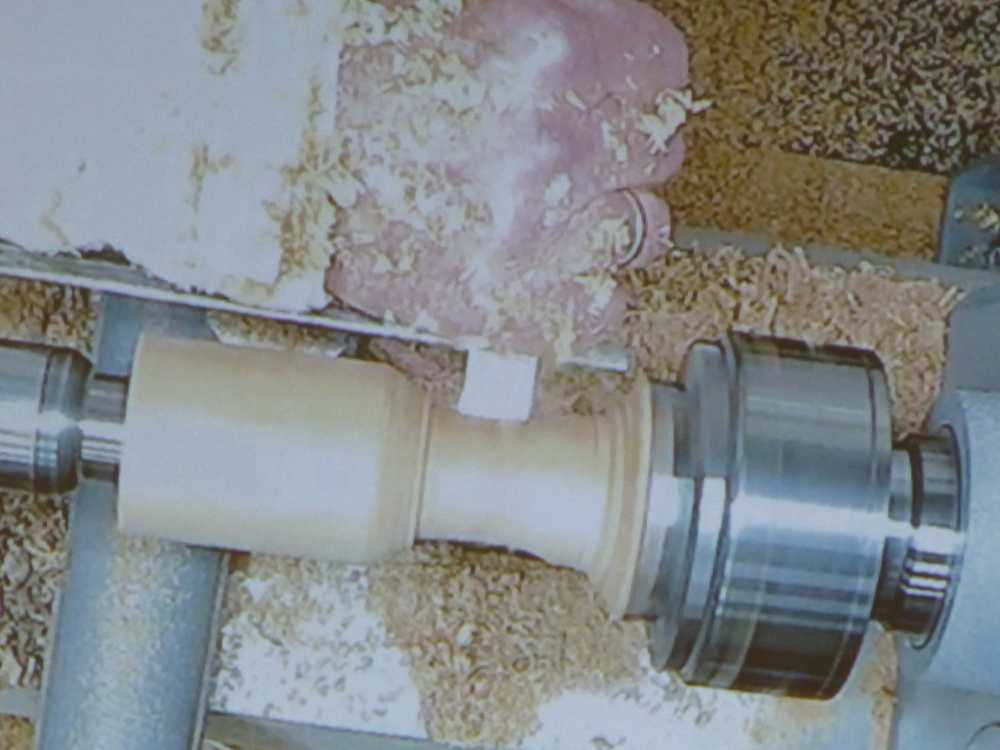
He now mounted the bottle blank between centres, rounded it, made a tenon on one end and mounted it in the chuck. Next, he parted off a slice from the end – this will form the bottom of the bottle later on. Using a forstner drill in the tailstock, he bored out much of the bottle in order to reduce its weight and prevent the completed assembly from toppling over.

The tailstock was brought up for support, and the outside of the bottle shaped and the bottom re-attached. A quick sanding and parting off, and everything was ready for assembling.
The top of the bottle and the top of the goblet were drilled to suit the piece of wire which was to represent the wine “flow” and then bent to shape before inserting in the holes. Finally, Dave painted the wire with his acrylic pen so that it matched the contents of the goblet.

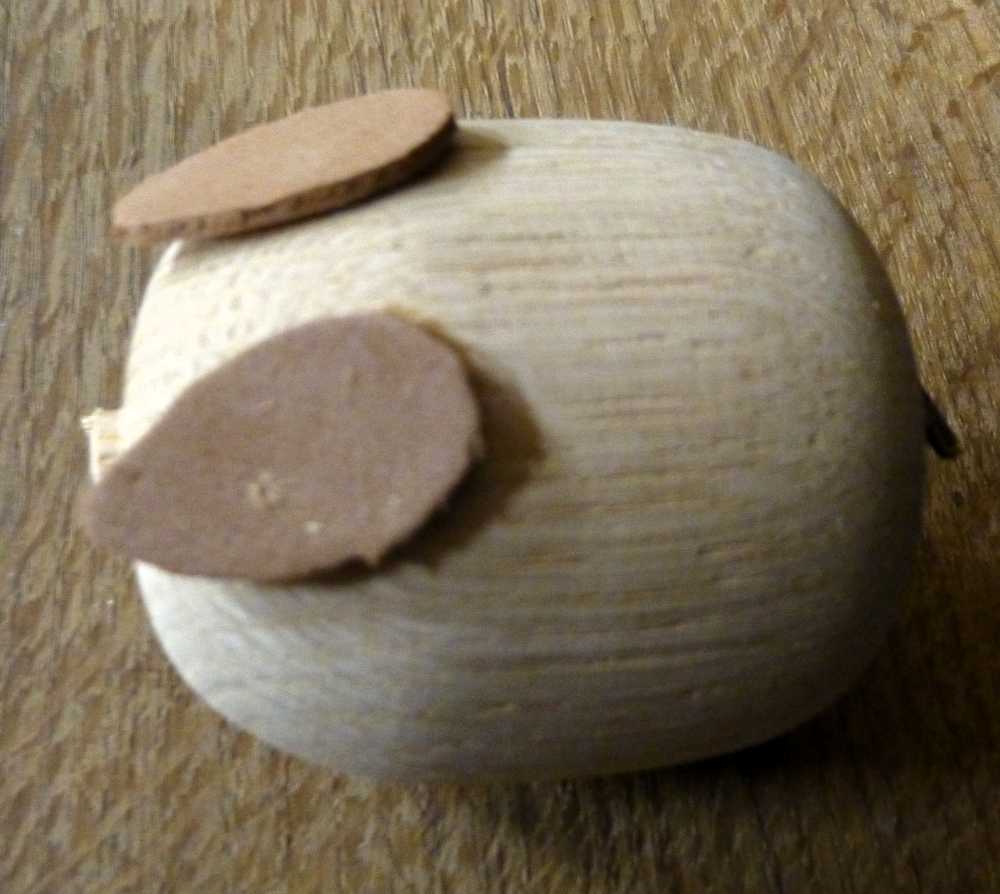
With a little time to spare, Dave started making a simple mystery item, shaping the wood and then applying a few craft shop items to make – a pig! For completion, he would later sand a flat on the underside so that the pig stands upright.

