Club Night – 15th November 2023

Chairman Roger Gilbert opened the meeting with a few words of welcome and an outline of the plans for our Christmas meeting on 20th December. It will be a social meet, with two lathes set up for Mick and Roger to demonstrate on, and with snacks and food available. Club members were asked to bring along food on the night so that we have a good variety of Christmas goodies to tuck into.

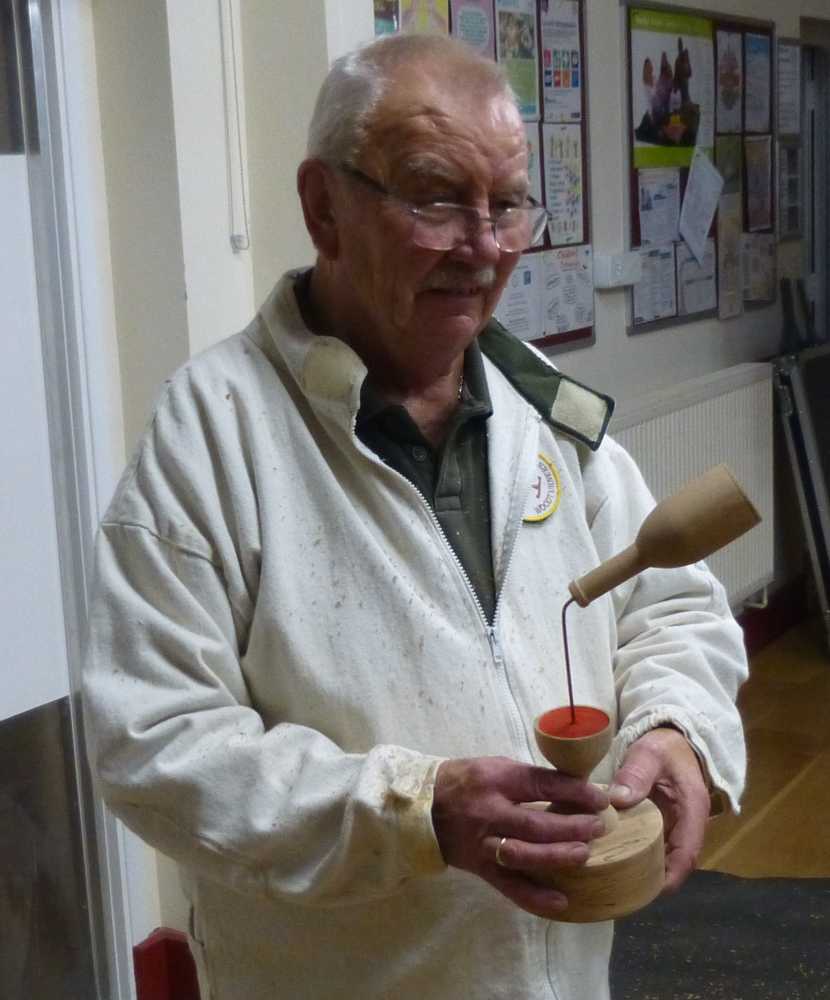
Our demonstrator for this evening, club member Dave Simms, explained that he’d be making a wine-pouring ensemble for us (red wine of course) using oak for the goblet and bottle, and spalted beech for the base.

Starting with the goblet, Dave mounted the blank between centres, made a tenon on one end and mounted it in the chuck. He then squared the end before forming a recess to establish the “wine” level. Bringing up the tailstock for suppport, he shaped the outside and sanded overall. The “wine” was then applied with an acrylic pen to impart a nice beaujolais colour.
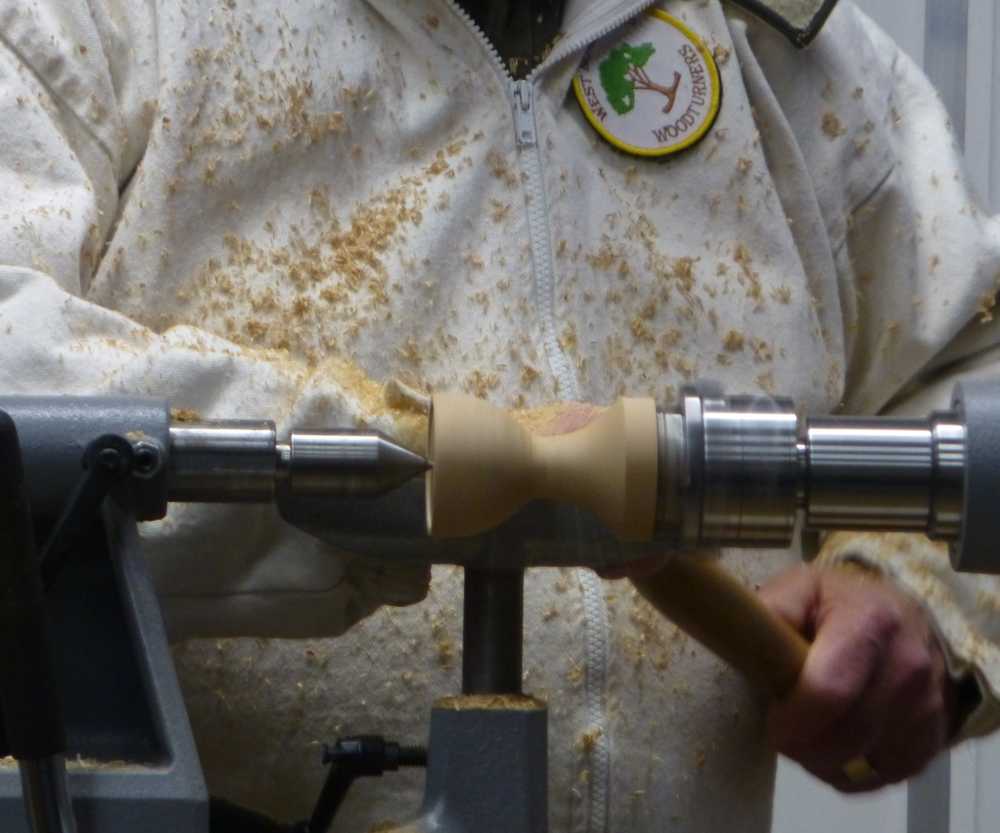
Dave had prepared the base earlier so he now parted off the goblet and mounted the base in the chuck. He cut a recess to suit the foot of the goblet and checked its fit before removing the base.

He now mounted the bottle blank between centres, rounded it, made a tenon on one end and mounted it in the chuck. Next, he parted off a slice from the end – this will form the bottom of the bottle later on. Using a forstner drill in the tailstock, he bored out much of the bottle in order to reduce its weight and prevent the completed assembly from toppling over.
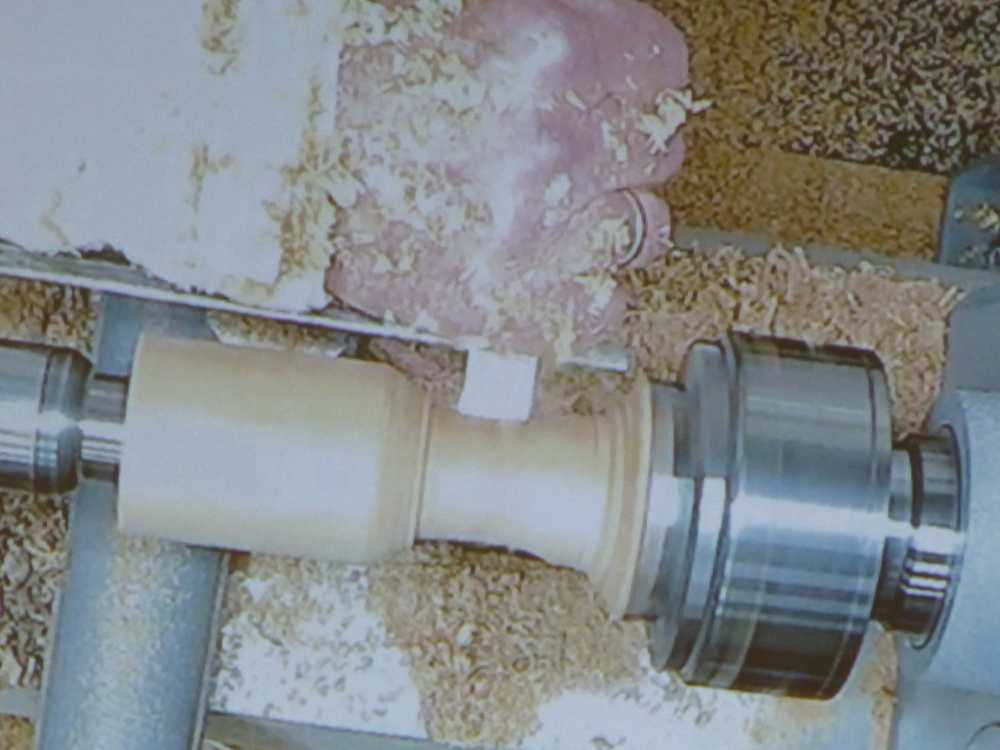
The tailstock was brought up for support, and the outside of the bottle shaped and the bottom re-attached. A quick sanding and parting off, and everything was ready for assembling.

The top of the bottle and the top of the goblet were drilled to suit the piece of wire which was to represent the wine “flow” and then bent to shape before inserting in the holes. Finally, Dave painted the wire with his acrylic pen so that it matched the contents of the goblet.
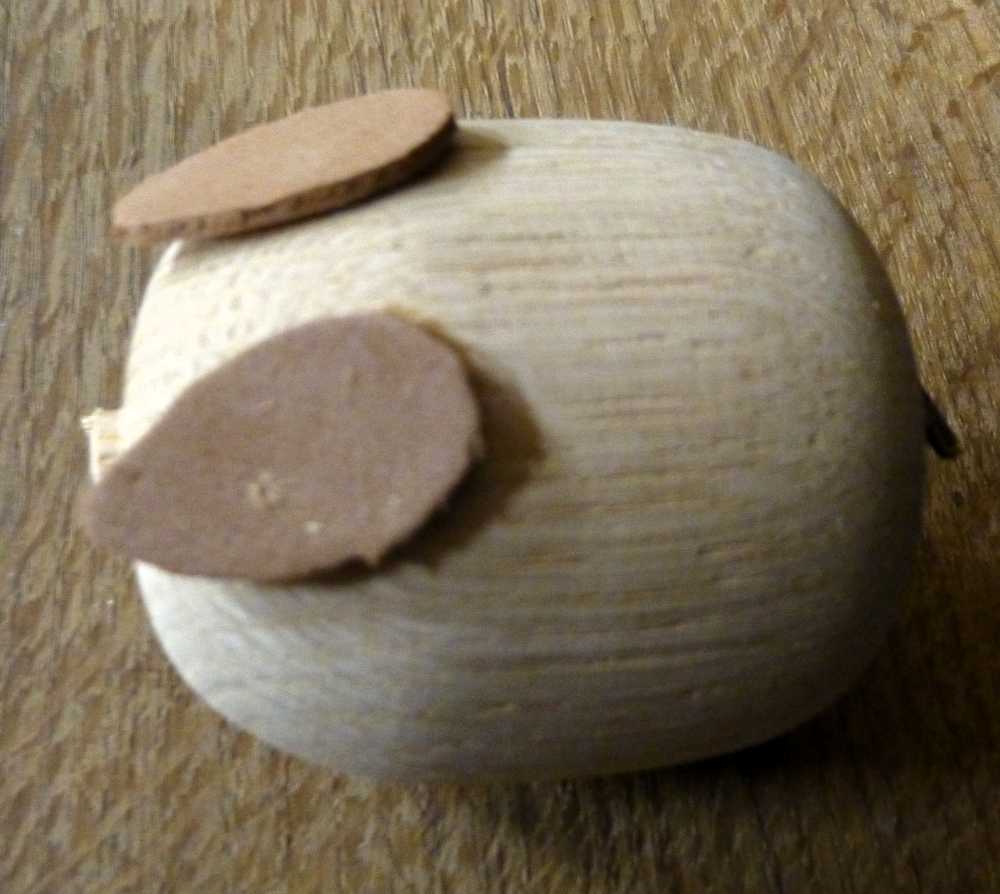
With a little time to spare, Dave started making a simple mystery item, shaping the wood and then applying a few craft shop items to make – a pig! For completion, he would later sand a flat on the underside so that the pig stands upright.
Club Night – 1st November 2023

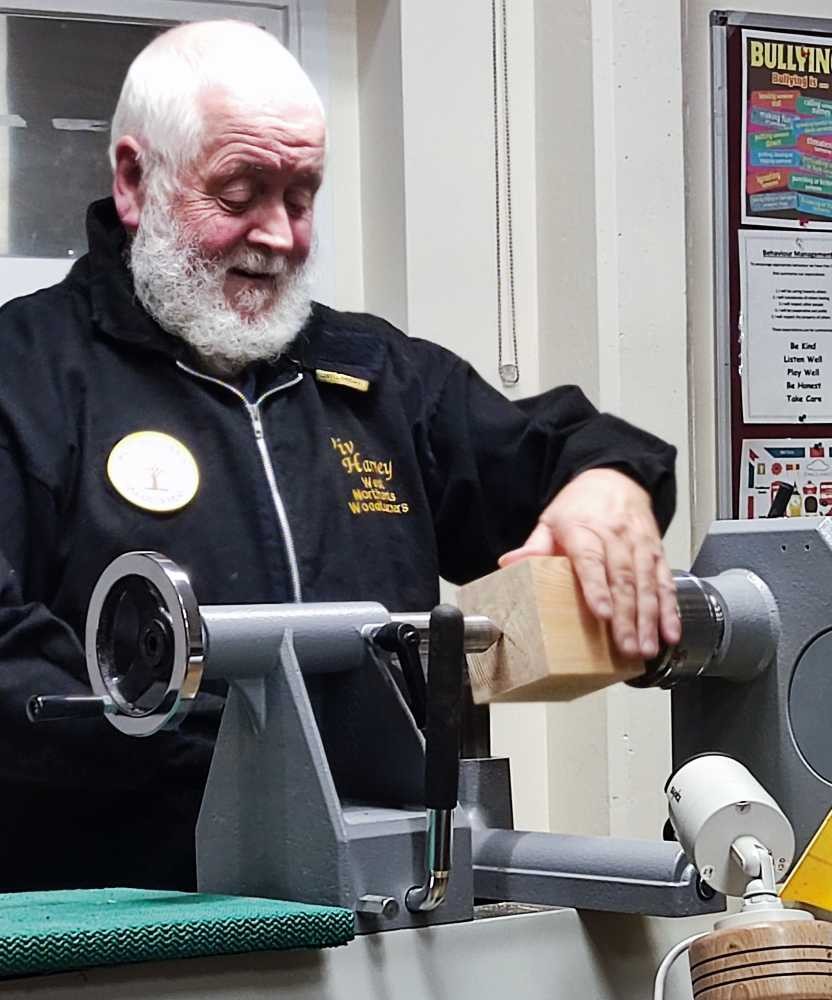
The meeting was opened with a few words of welcome from Chairman Roger Gilbert and our demonstrator tonight, club member Viv Harvey, then took over and explained that he’d be making a number of straightforward items for us, with a Christmas theme.

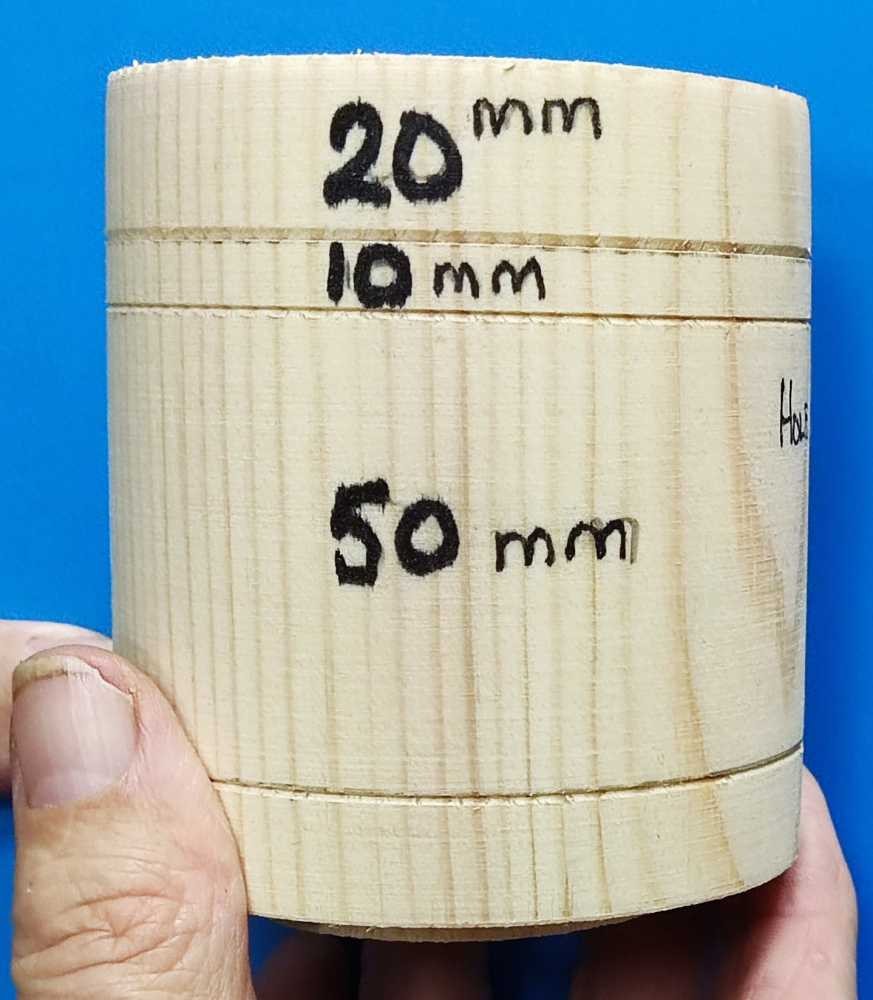
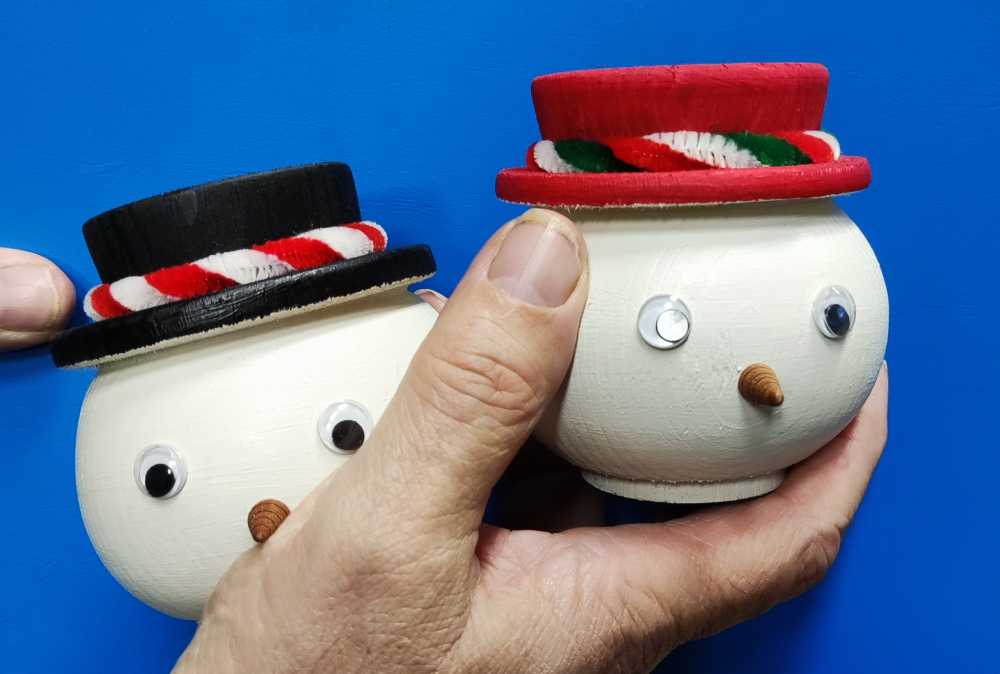
The first item was a snowman LED tea light holder, made from a 94mm cube of redwood.

After a brief discussion of different methods of marking the centres, the blank was mounted between centres with a steb centre driving the blank as this is better on the soft wood.

Quickly rounded using a spindle roughing gouge, a tenon was put on one end and the blank reversed onto a chuck. Viv next marked out the blank and then drilled a hole about 15mm deep on the end with a forstner bit to suit the LED tea light.

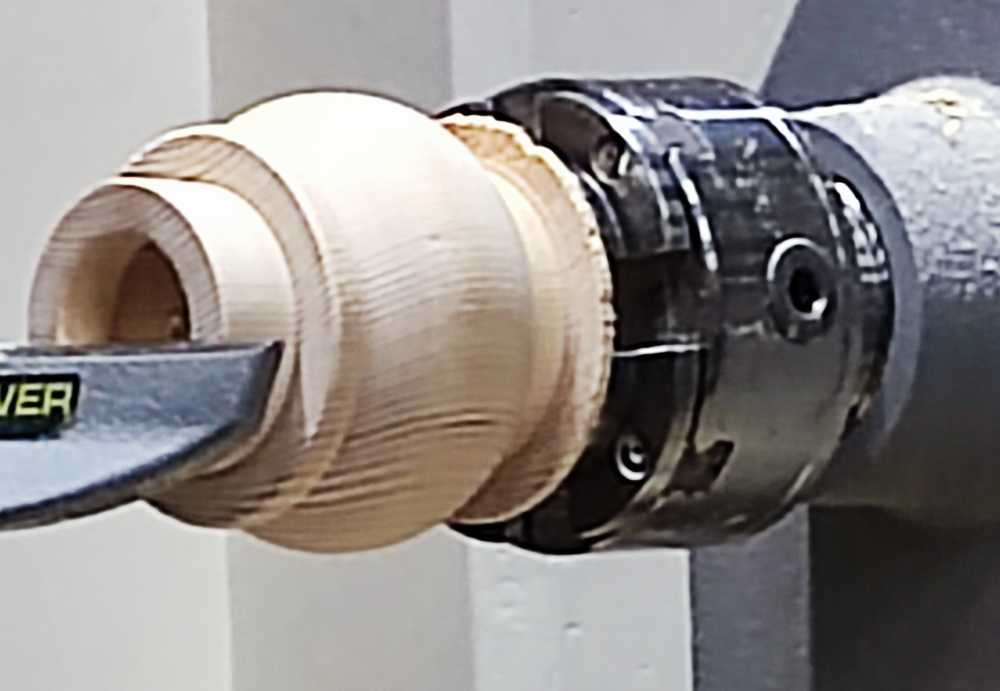
With the prep work completed, he squared off the end and started shaping the hat (tea light holder), next moving onto the brim of the hat which he pointed out looked better if the diameter is a bit less than that of the head. Closer to the chuck now, Viv turned the neck, leaving a thin disc of wood to protect against contact with the chuck. Moving back to the mid-section, he shaped the head with an all-rounder gouge and finished it off with skew chisel used as a scraper.

With the shape now well defined he cleaned up a few chips on the hat brim and took off any sharp edges then opened up the tea light recess a little with a spindle gouge because it was a slightly tight fit. This type of apparently identical tea lights do vary a little in size so a specific drill size rarely fits them all.

It was quickly sanded all over and parted off, and the base sanded on a disc in the lathe chuck. Viv also demonstrated the use of the parted-off chuck tenon with a suitable disc for making a sanding disc with hook and loop for attaching the abrasive sheets.

He uses cheap acrylic paint for colouring the hat, with emulsion for the head, and adhesive eyes and hat band from any craft shop. He didn’t have time to demonstrate making the nose but any small piece of wood could be used for this.


Continuing the Christmas theme, Viv then made a number of items from a broom handle of bamboo(?). Such handles are cheap and usually turn well, so ideal for small items such as these. He cut a number of lengths off the handle, ranging from about 125mm to 250mm long and followed a similar procedure for all of them, i.e. held in a small chuck and steadied with a live centre.

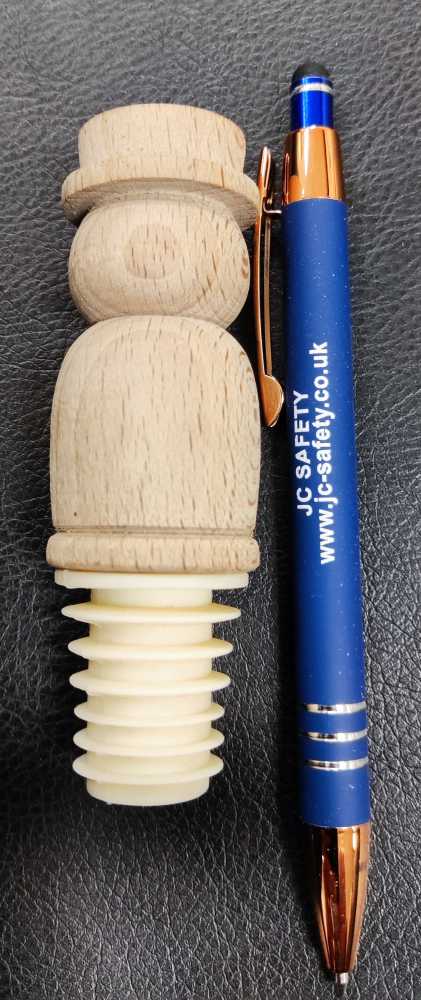
Snowman bottle stopper: Mount on lathe, mark out; only critical length is the part upon which the rubber stopper is mounted – turn this first then move on to the body and hat. Sand and part off. The pen is just to give an idea of size, not for advertising!

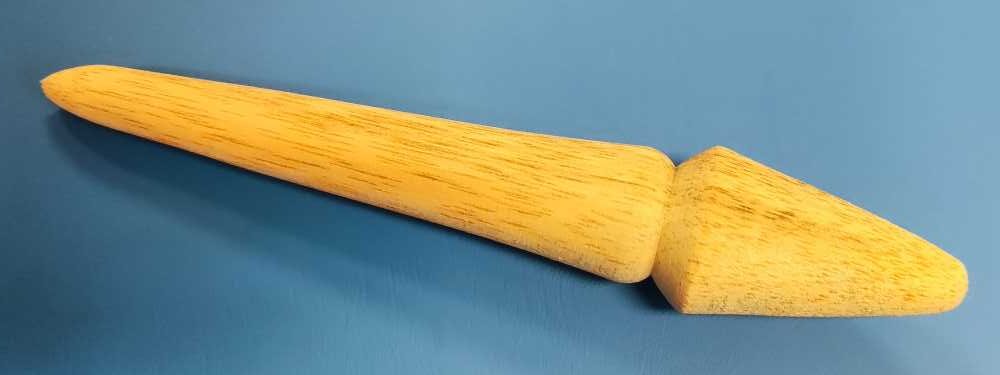
Honey dipper: Mount on lathe, mark out; no critical dimensions. Turn the handle first and shape the end. Use a parting tool to put the loading grooves in the pickup end, on this occasion, about 6mm deep). Sand and part off.

Potting dibber: Mount on lathe, mark out; no critical dimensions. The dibber has two different end shapes; one for pricking out, and one for potting. Turn both ends, sand and part off.

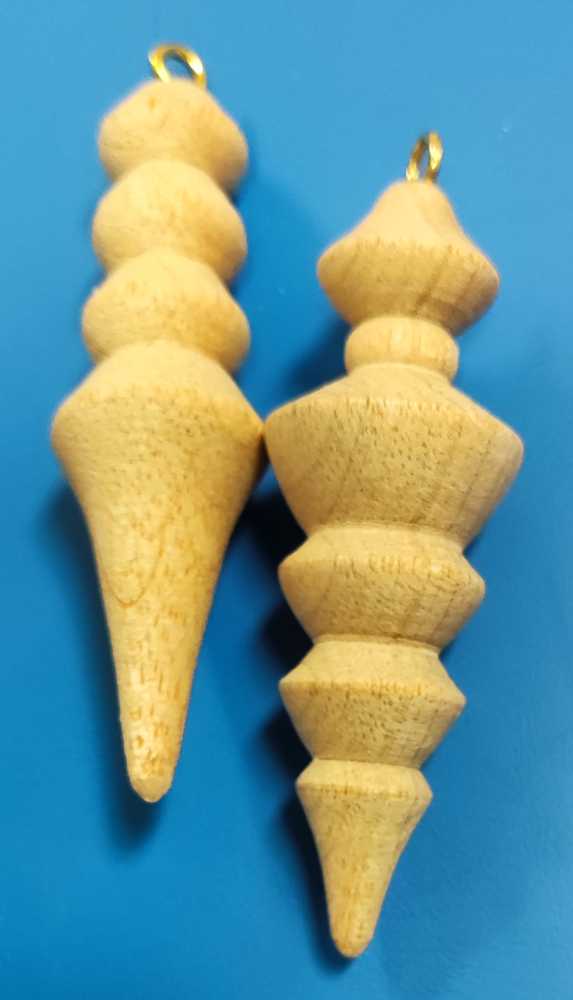
Christmas tree decorations: Mount on lathe, mark out if necessary and make whatever is desired. With a Christmas theme this could be a tree, a bell or – as Viv did – just a decoration to hang from the tree. He turned them to taste, then sanded and parted them off before fixing small brass eyes on them.

Finally, a completely different (not Christmassy) turning, using up small waste pieces from the earlier projects.

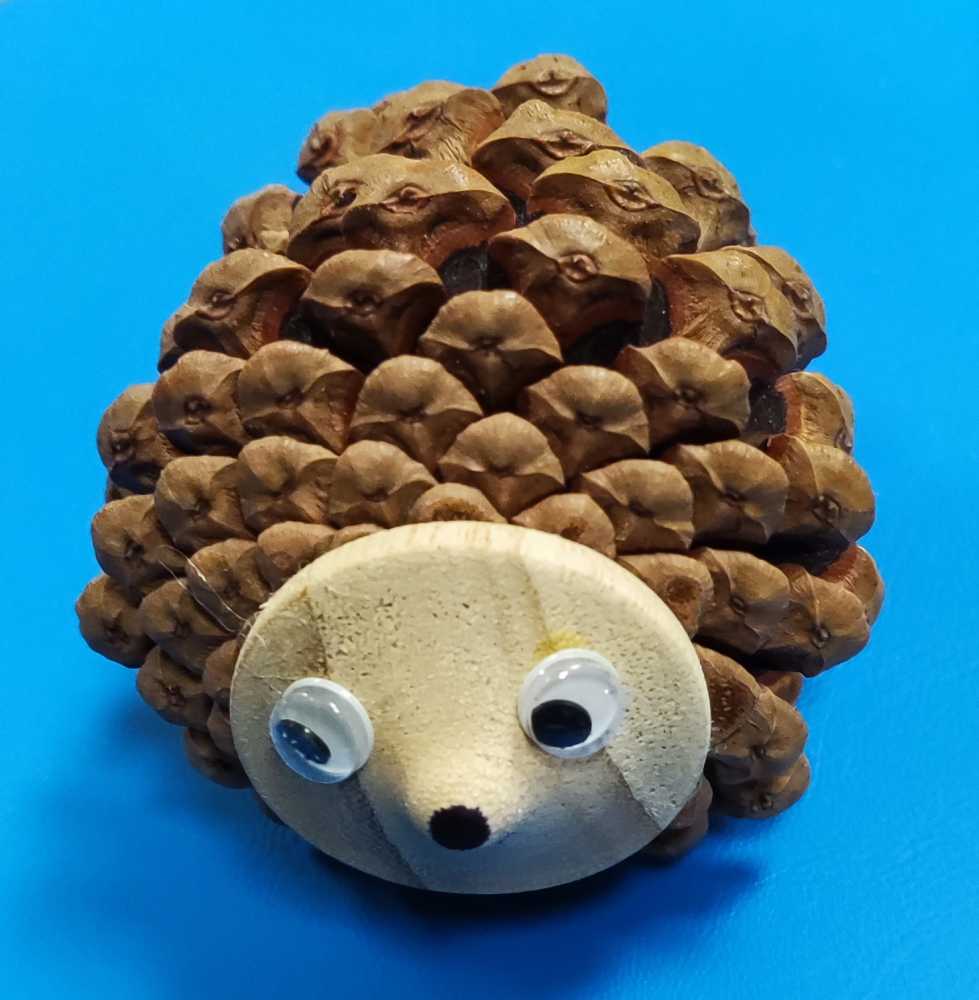
Hedgehog: Mounted in the chuck, he turned a conical shape and parted it off, and then repeated as there was still a small piece of wood protruding from the chuck. No wastage of wood here! Viv then produced a pine cone hedgehog and explained that all was needed was to put one flat on the end of a pine cone and another on the side and then to glue the small piece of wood into place – he uses hot melt glue. Add eyes and nose to your liking to complete the job.

This was a great demo by Viv with lots of ideas for small Christmas gifts, greatly enjoyed by everyone – thank you Viv!

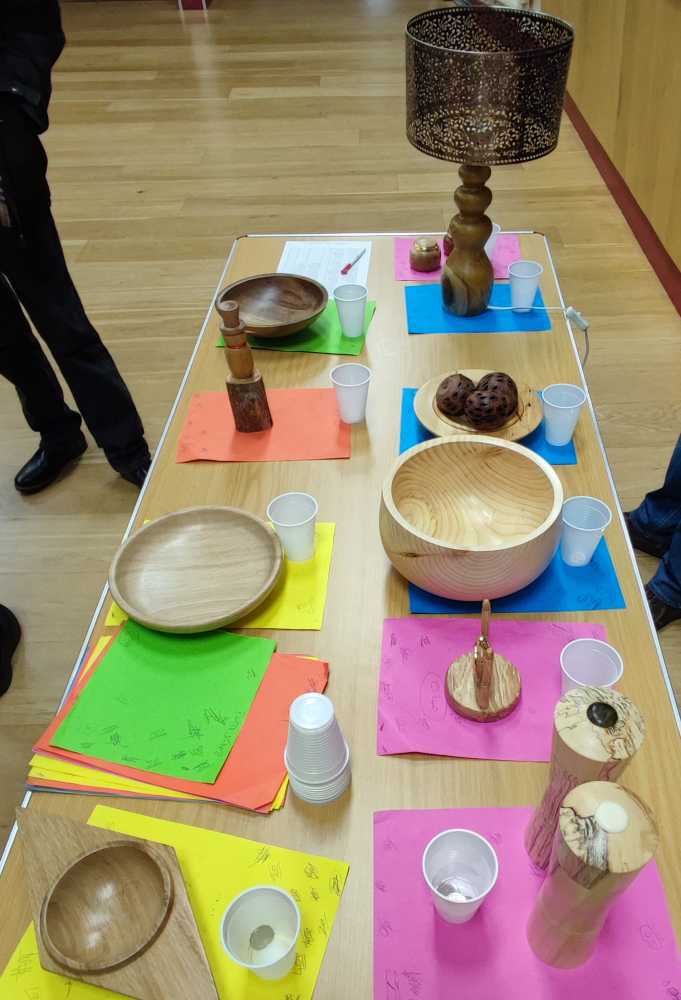
The competition table had a good collection of items this month.

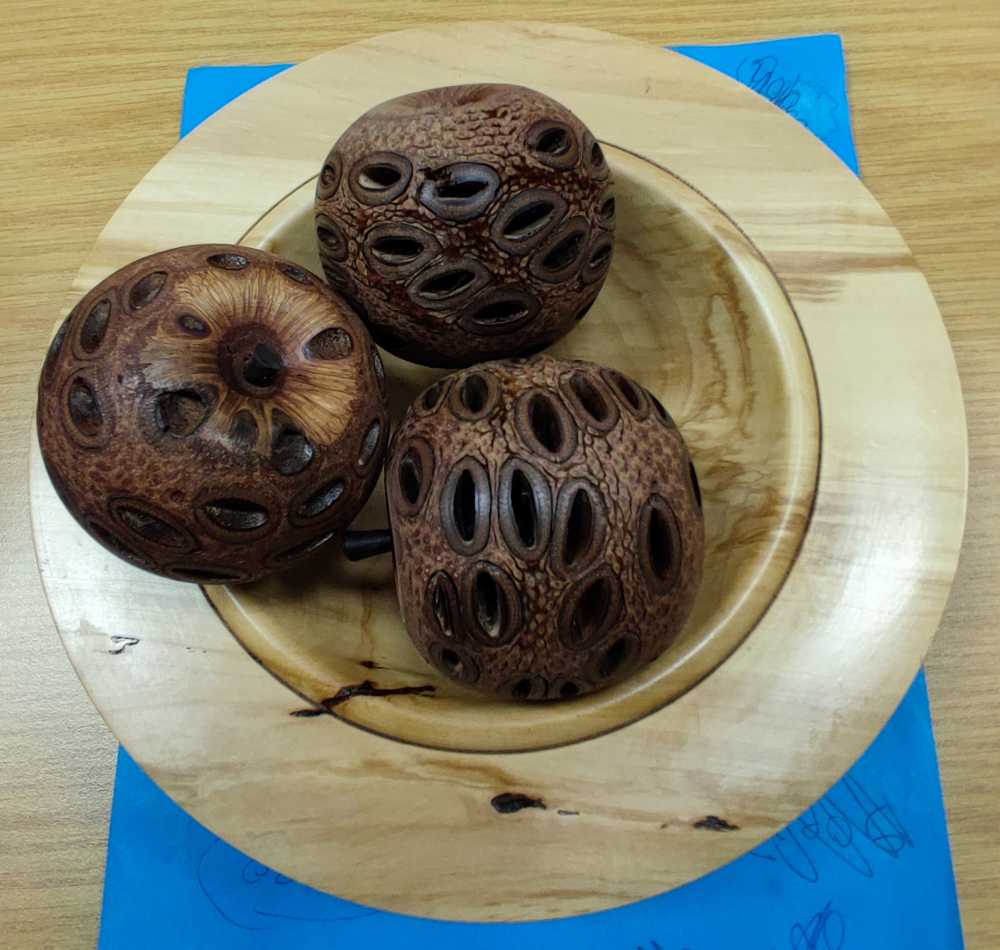
1st place was by Gerald Hubbard with a collection of banksia seed pod apples displayed in a nice bowl.

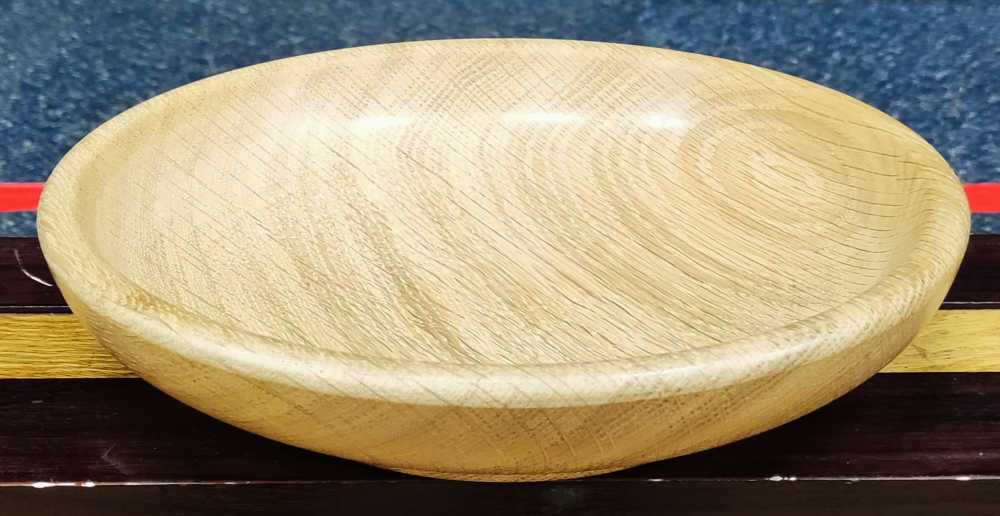
2nd place was an oak dish by Dave Rostance.

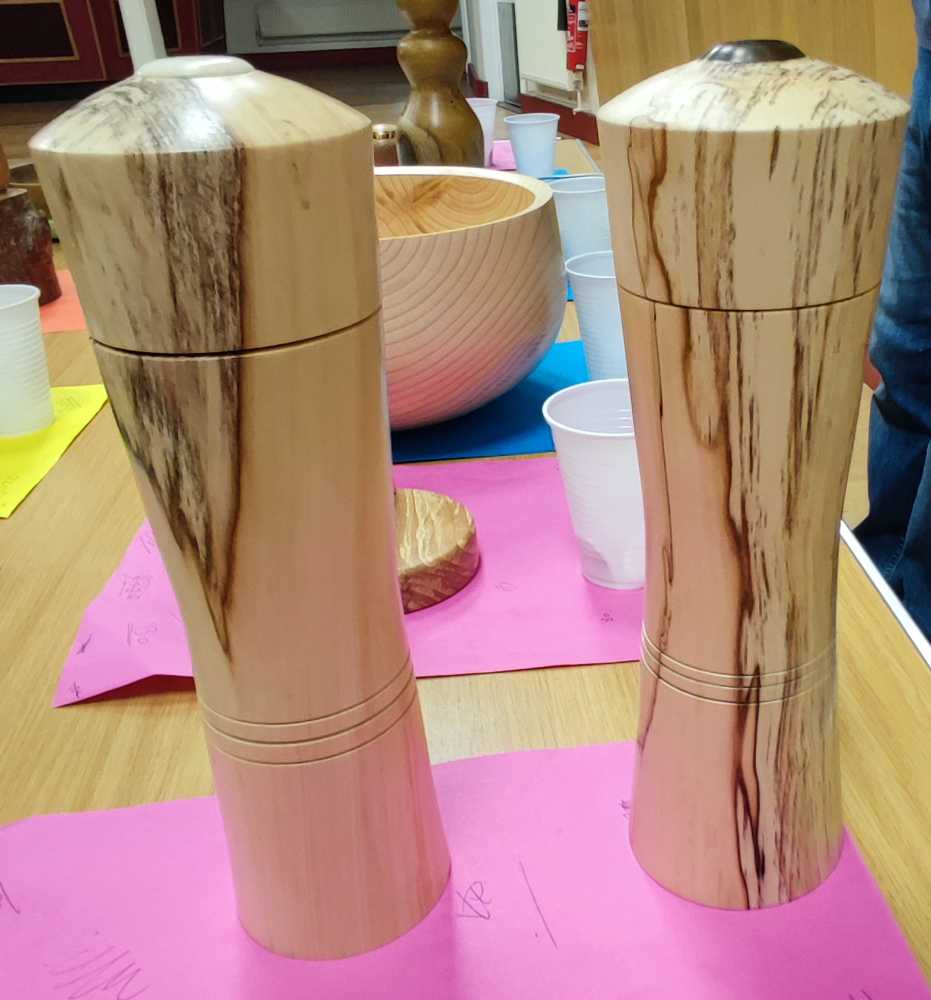
3rd place went to a pair of spalted salt and pepper grinders by Roger Gilbert.