Club Night – 18th October 2023

The meeting opened with some introductory words from Chairman Roger Gilbert and a welcome to our demonstrator this evening, Ian Ethell.

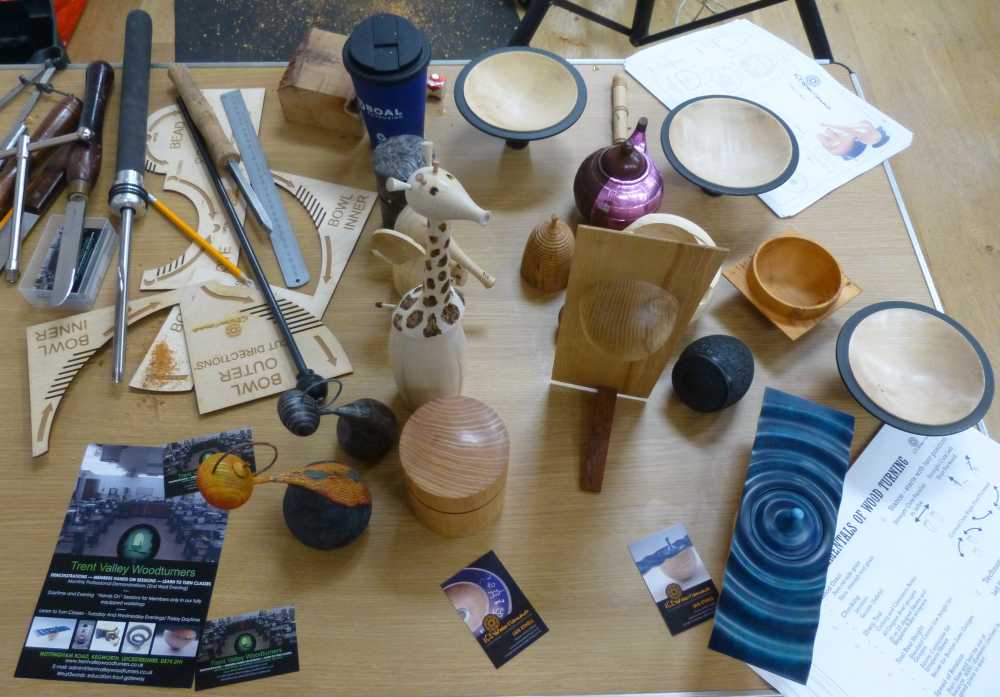
Ian brought along some examples of his work for us to see and explained that he would show us the making of a winged bowl, of which there were several examples on display.

He quickly ran through the seven fundamentals of woodturning – Wood grain; Chucking; Sharp Tool; Tool Rest Height, Rotation Speed; Stance; Technique – and said that much of his turning would be done using a bowl gouge with a 40/40 grind as espoused by Stuart Batty, and the heel ground off. He later provided a handout explaining the seven fundamentals in some detail – useful.
The bowl would be made from a yew blank of (my estimate) about 200 x 100 x 50mm in size. The blank was mounted between centres and a groove cut to suit the chuck jaws, and the blank then reversed.
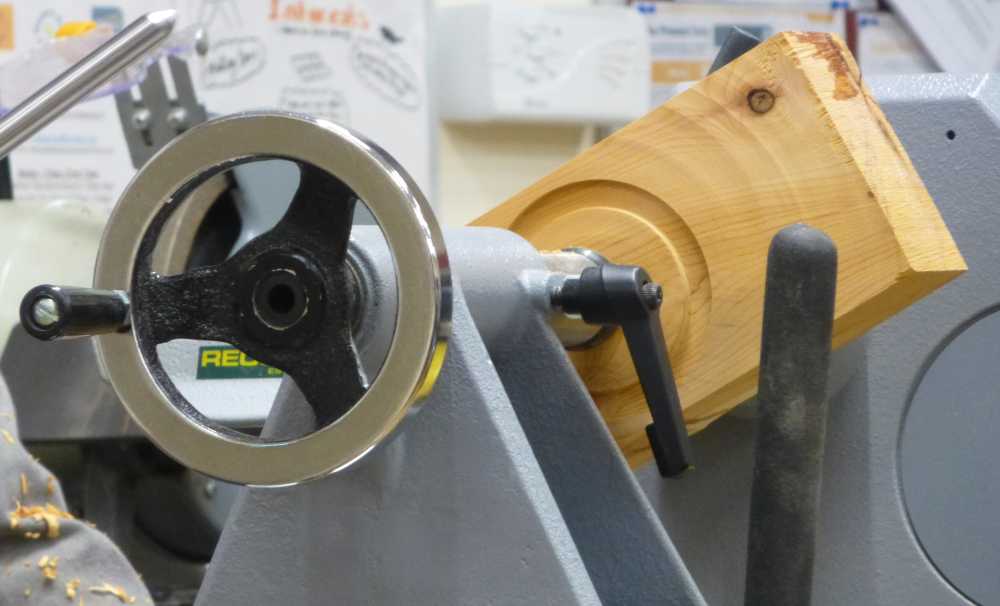
Next, the waste in way of the wings was removed, taking care to keep clear of sharp edges. The bulk of the wing waste was removed with a bowl gouge, starting on the outside, and moving in in steps, and then squared off with a negative rake scraper. There is a lot of air when turning a bowl of this type, so Ian held the lathe speed down to about 800rpm. As it is the burr on the scraper that does the work, trips to the grinder after every 20 or 30 seconds of scraping were required to restore the burr.
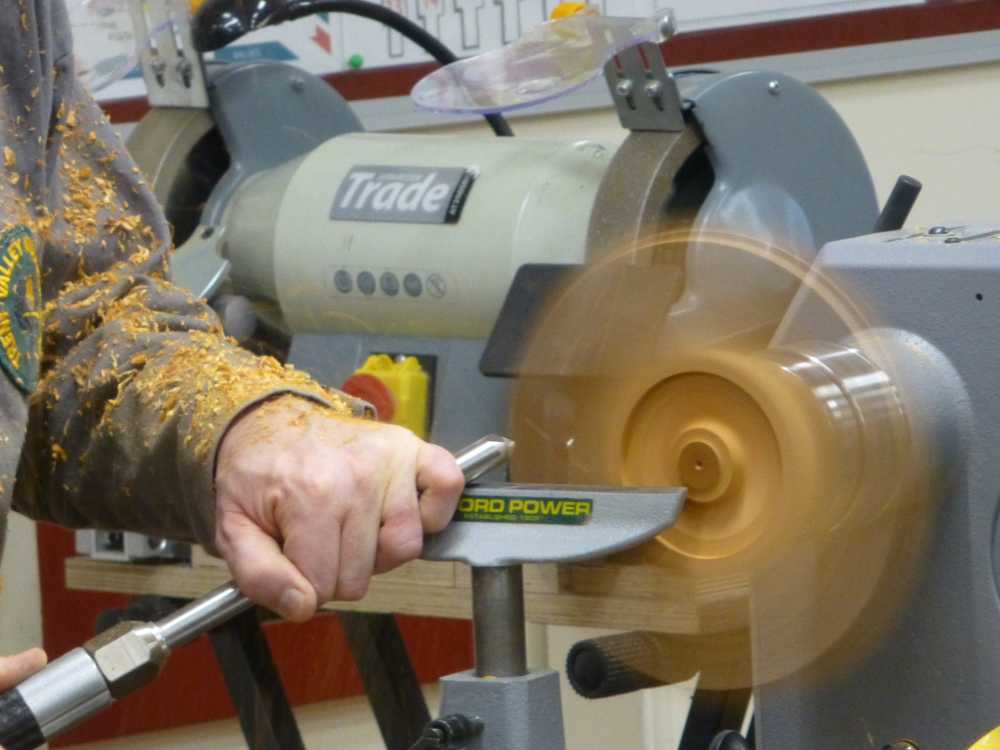
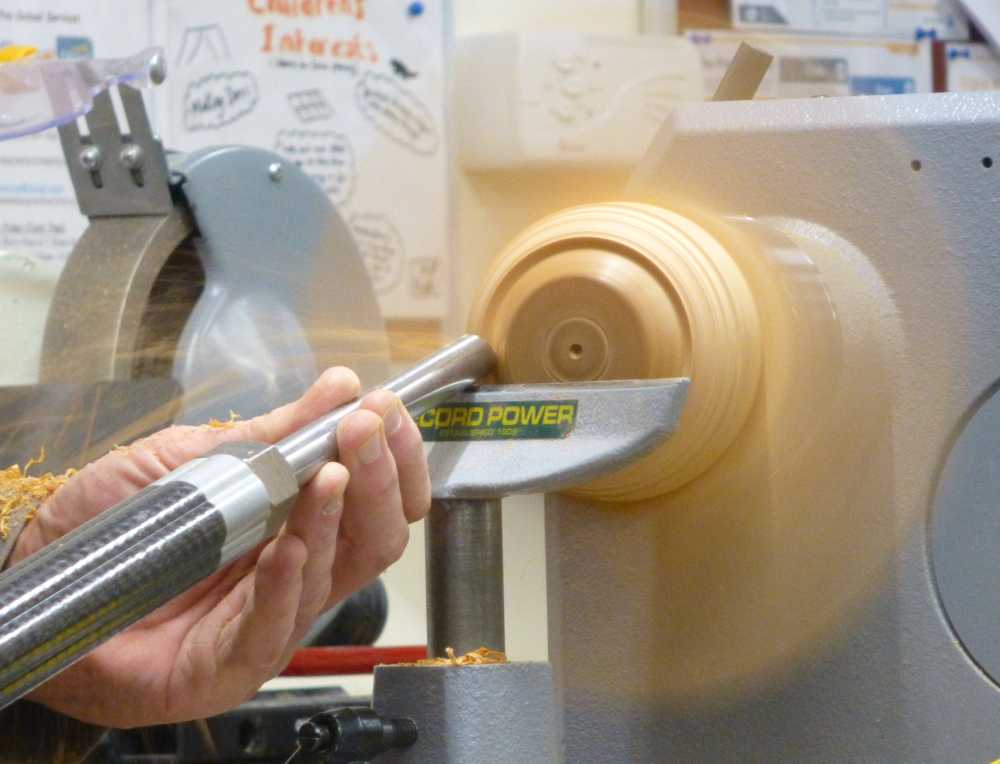
This step process was repeated until the mass of wood remaining in the centre was ready for shaping into the bowl. With the tailstock removed to improve access, he made a series of cuts from the tenon to the wings in single fluid movements. Once satisfied with the shape, Ian made a tenon on the bottom of the bowl (bowl gouge: included angle 80 degrees – ideal) and then reverse mounted it in the chuck.

He then started thinning the wings in stages on the top side of the bowl, using the same process as for the underside. As the edge of the bowl was approached, he started looking closely at the shape so that the bowl curve followed through the wings.
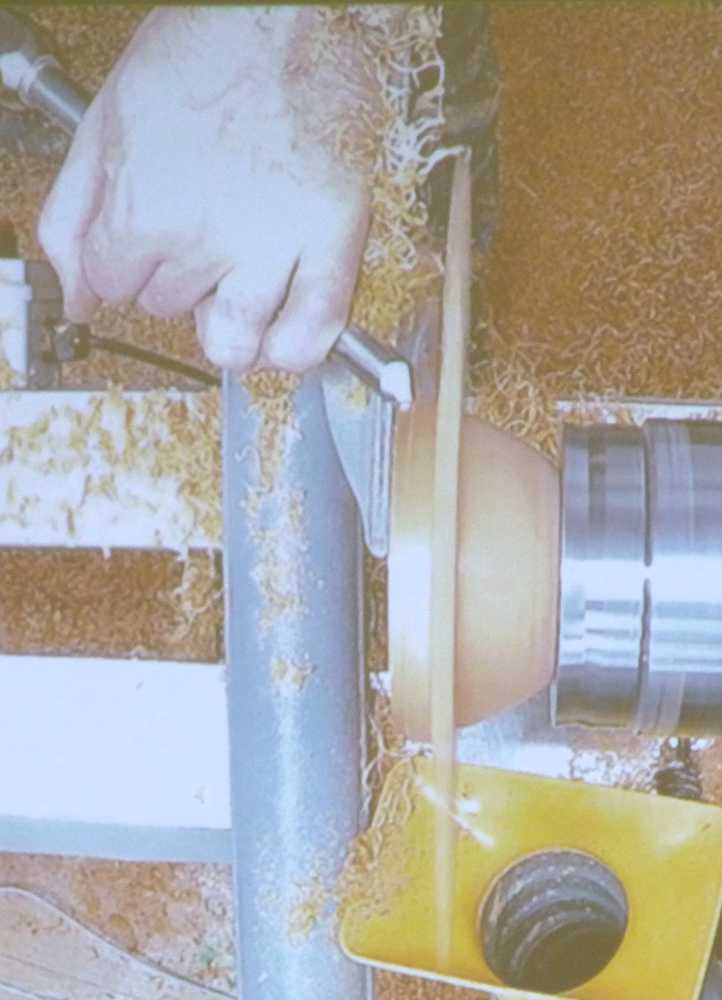
For the final clean-up at the bowl/wing junction he used a beading and parting tool, ground with a burr on all edges.
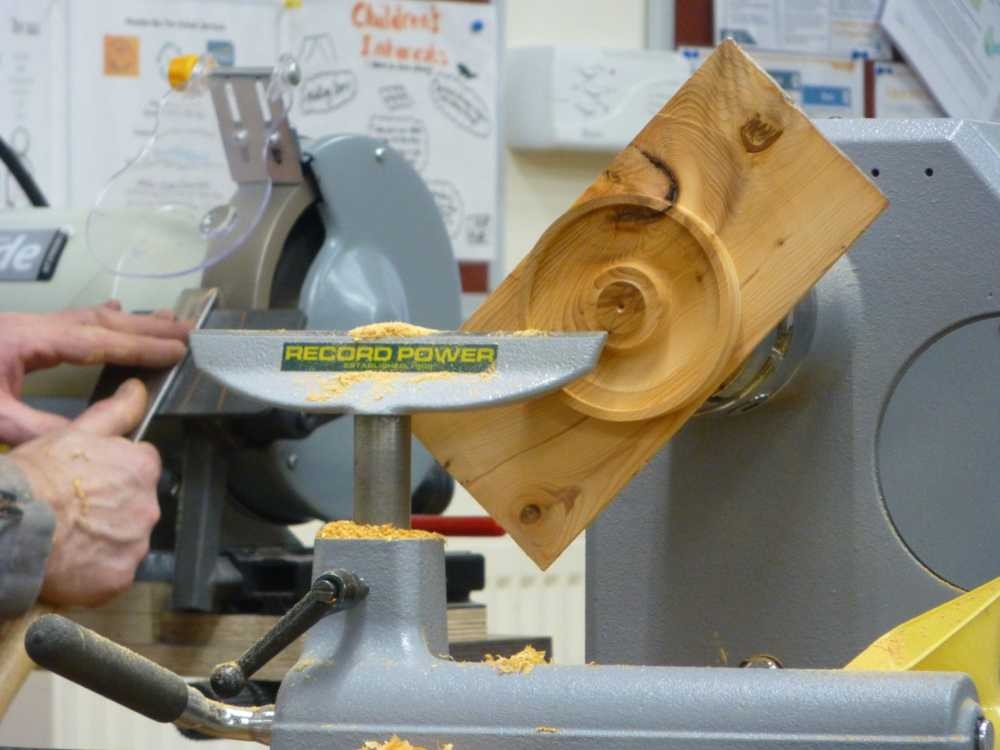
Next, Ian hollowed out the bowl with his 40/40 bowl gouge, switching to a gouge with a steeper grind to finish the bottom of the bowl. This was followed up with a scraper to remove the central pimple and clean up.
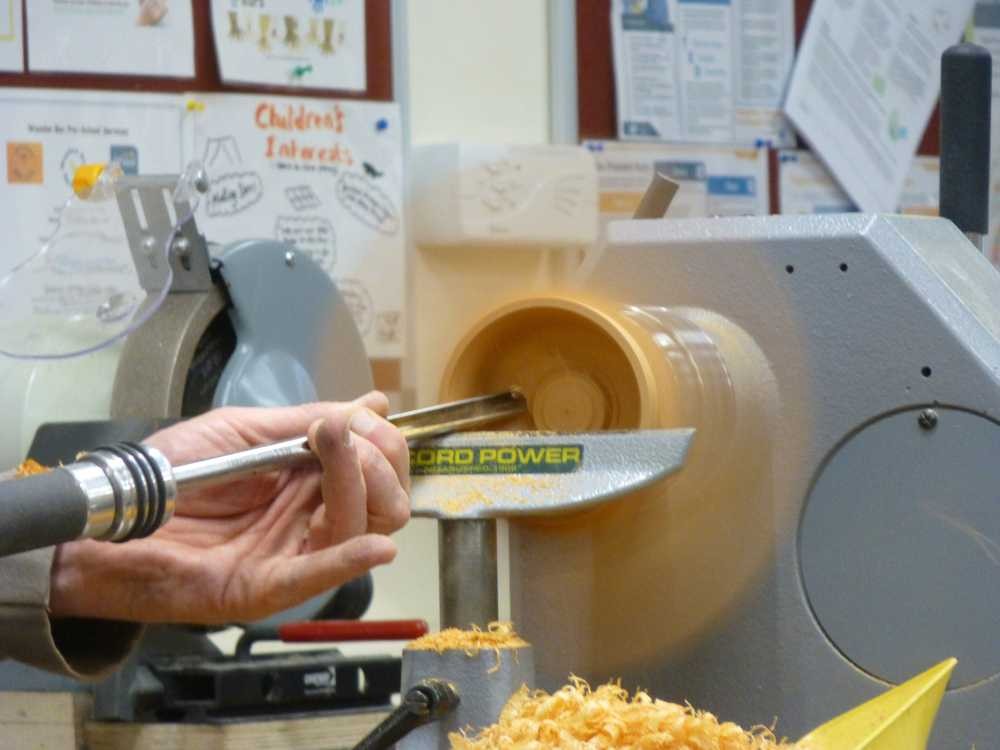
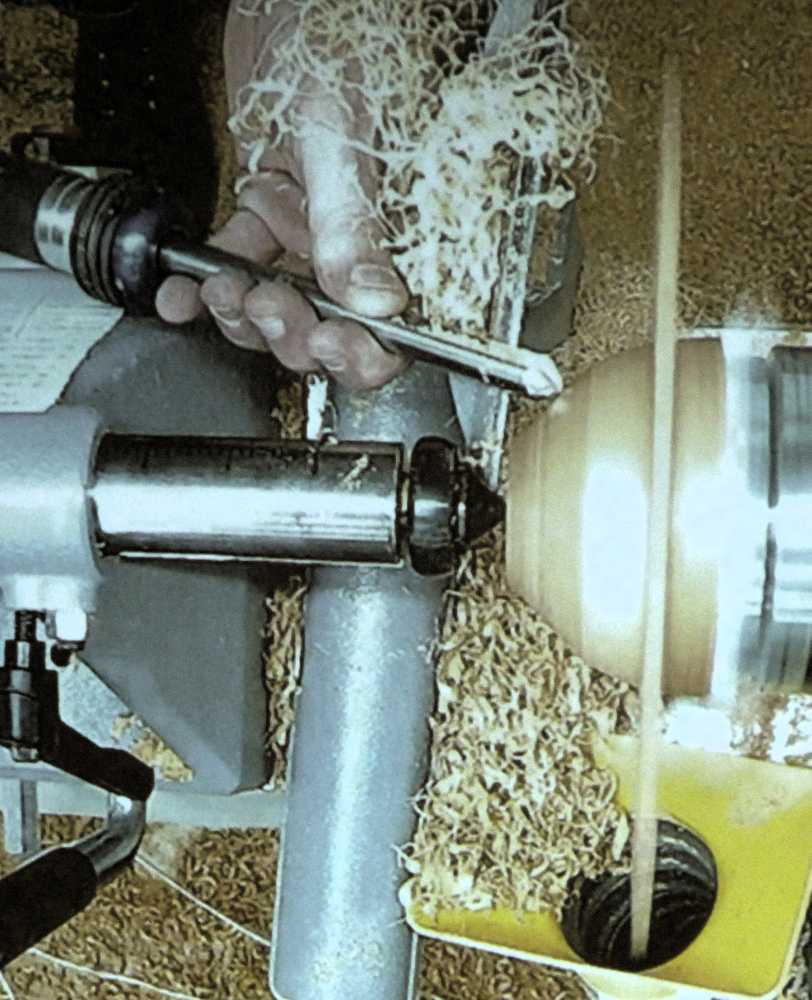
Next, the bowl was reversed and held by the tailstock onto the jaws of the chuck, suitably protected by tissues – a jam chuck. Finding it difficult to gain access to the foot of the bowl with the tailstock in place, he ground his bowl gouge bevel to 60 degrees-ish and proceeded to refine the foot and underside of the bowl, finishing off with a skew chisel used as a negative rake scraper.
There was no time for a finish to be applied but the bowl looked pretty good as it was, although Ian did explain that a significant flaw running through both the wing and the wall of the bowl meant that he couldn’t go as thin as he would have liked. There was already plenty of air without separating into multiple pieces!
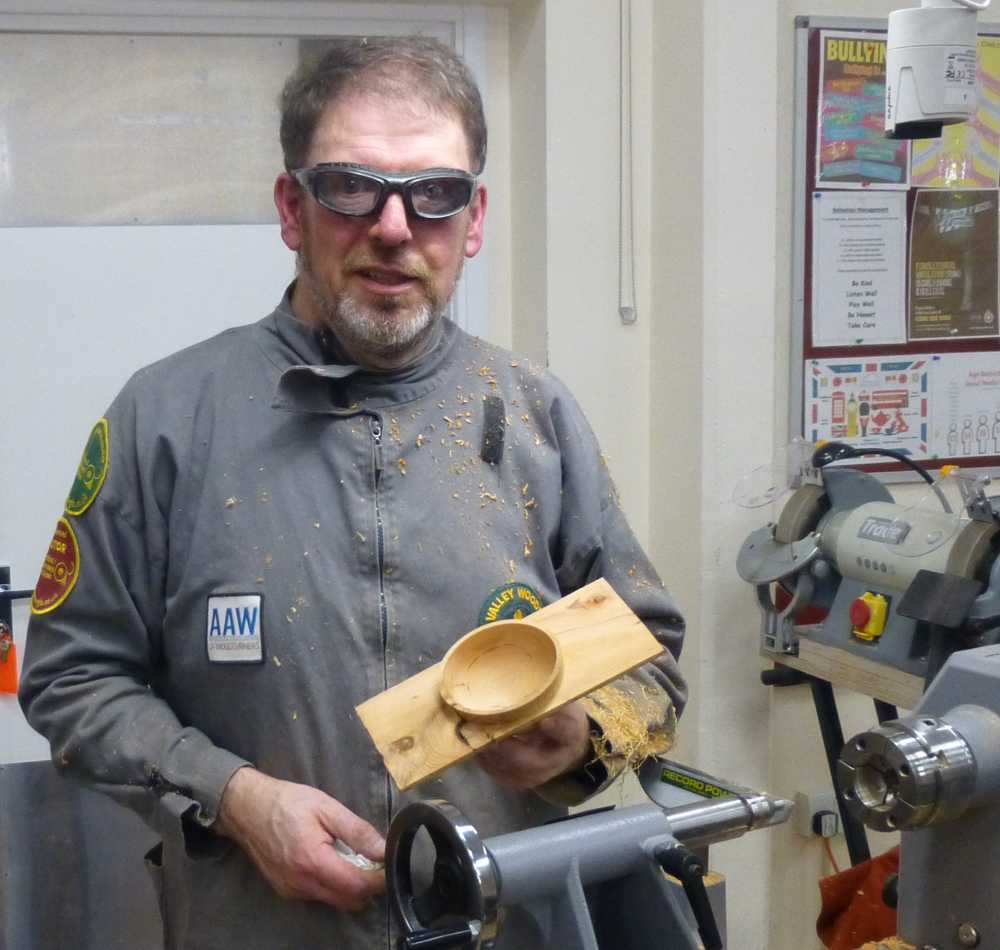
This was an interesting demo with plenty of explanation by Ian on how and why he was doing things in a particular way, and quite a lot of interest was shown in his sharpening grinder setup – Christmas is coming after all!

Club Night – 4th October 2023

The meeting opened with a welcome from Mick Denton and an introduction to our demonstrator this evening, Paul Hannaby (https://www.hannaby.com/).

Paul brought along a selection of black poplar bowl blanks and a variety of woodturning consumables for members to buy.

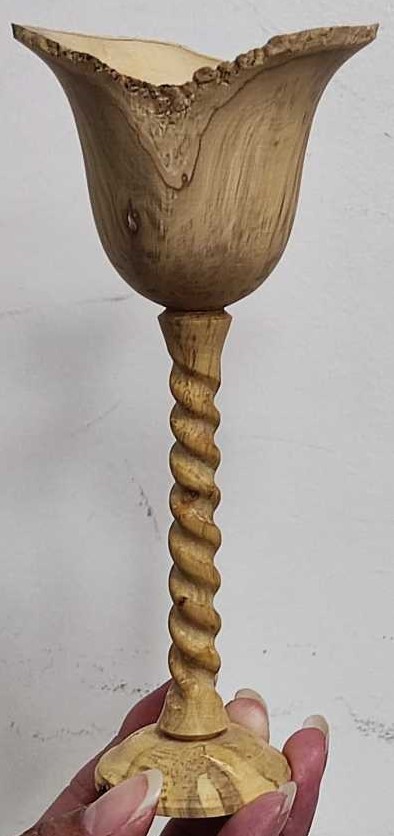
He had previously asked us what we would like to see demonstrated and it had been agreed that it would be a goblet with barley twist stem, so he brought along some suitable blanks and selected a somewhat knotty piece of box, explaining that he was not using yew because of the toxicity under demo conditions.

He discussed options for ensuring that knots and the (weak) pith did not affect the finished goblet – although not a major issue with box – and then mounted the piece between centres such that the knots would not be in the cup portion of the goblet.

A spindle roughing gouge took the worst of the lumps off before making a tenon on one end with a parting tool. The blank was then mounted in the chuck and the end squared off before he removed the tailstock.

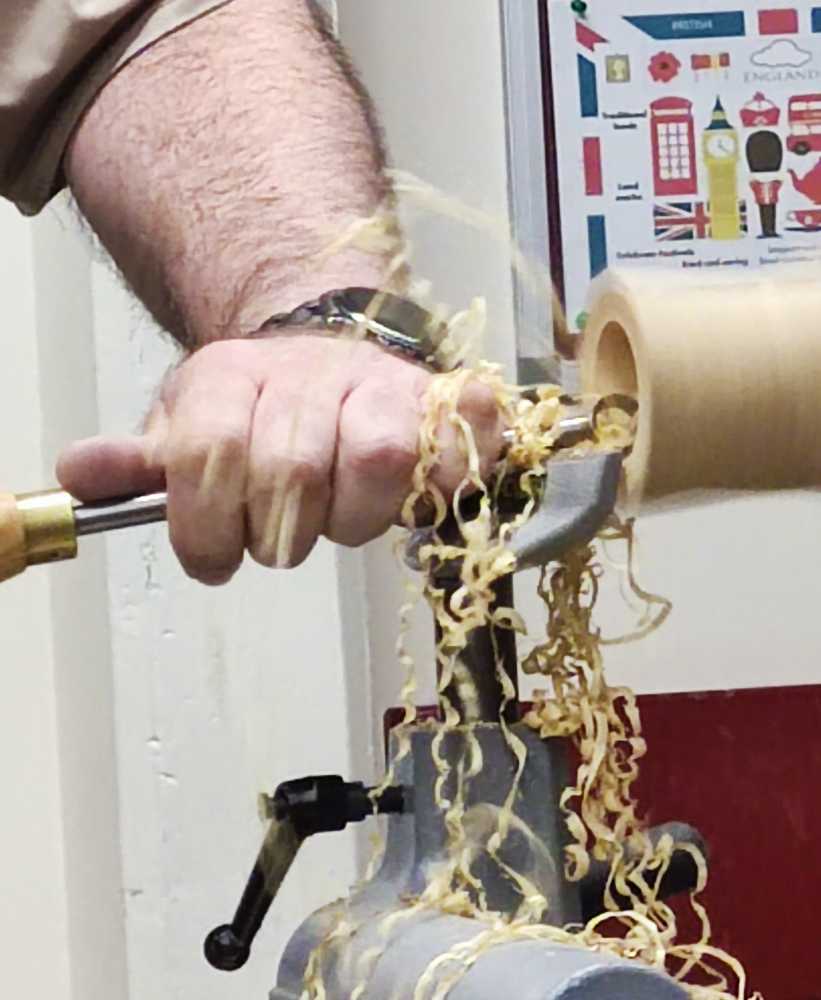
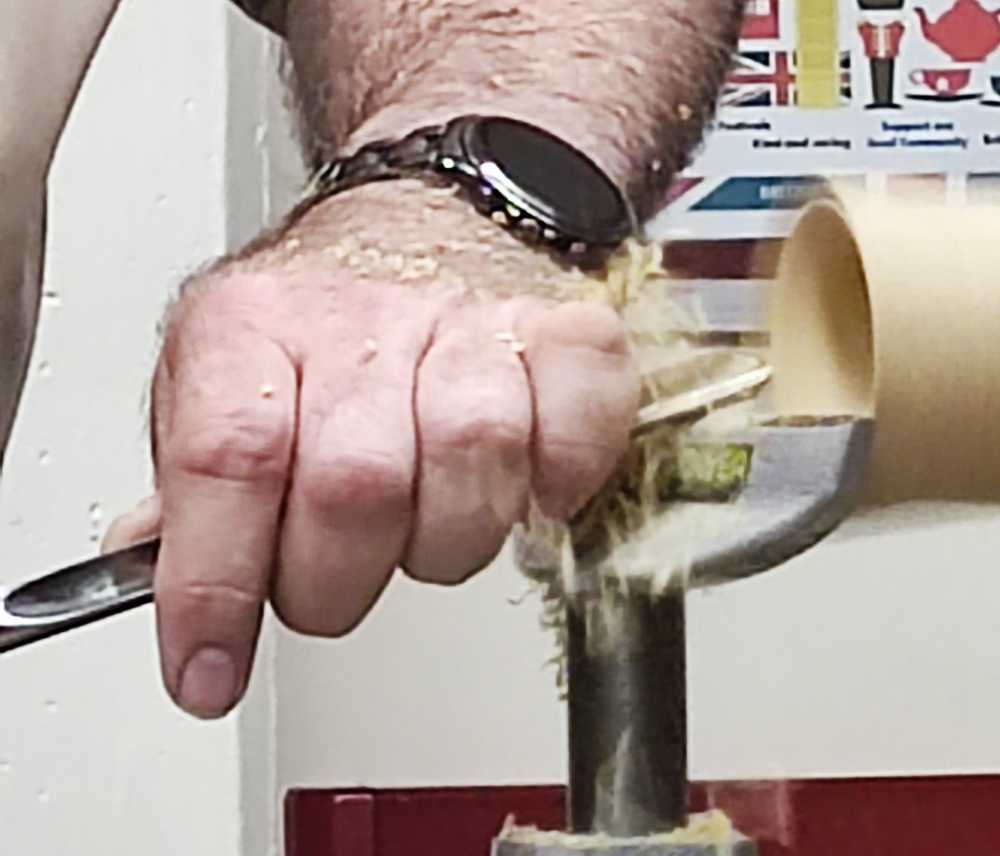
Using a spindle gouge with a fingernail grind, Paul then bored out and commenced hollowing the cup. At this point he pointed out that a half round scraper could be used instead of the spindle gouge or, once the opening is wide enough, a ring tool. The ring tool is his favourite and he proceeded to demonstrate its use at the bottom of the opening to ensure proper bevel support. He said that his website has a description of how to modify a shielded cutter to work in a similar fashion.

Finally he shaped the rim of the goblet with a spindle gouge and the ring tool and sanded the inside, working through the grits in the usual way.

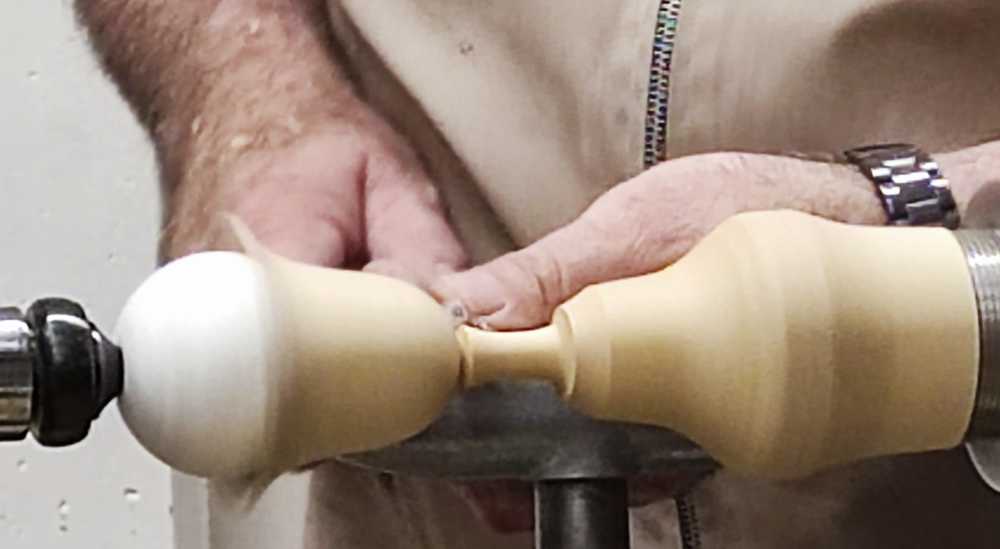
Paul next turned his attention to the outside of the cup with a spindle roughing gouge and spindle gouge, taking care to leave plenty of wood lower down to keep it from vibrating too much. However, as the cup walls become thinner, vibration does become a problem so he used the tailstock and a live centre to hold a polystyrene ball in the cup for support.

Once down to about 4mm wall thickness, Paul sanded the outside of the cup, taking care to avoid rounding over the crisp edges.

The spindle gauge was used to turn the stem (in stages to maintain its strength) with a skew to add V cuts marking the transition from stem to cup and stem to foot. To finish off the main turning operations, the foot was shaped ready for parting off later on.

Before commencing the barley twist, Paul explained that he generally uses a selection of small round files of varying sizes and degrees of coarseness and also sometimes uses a microplane file.

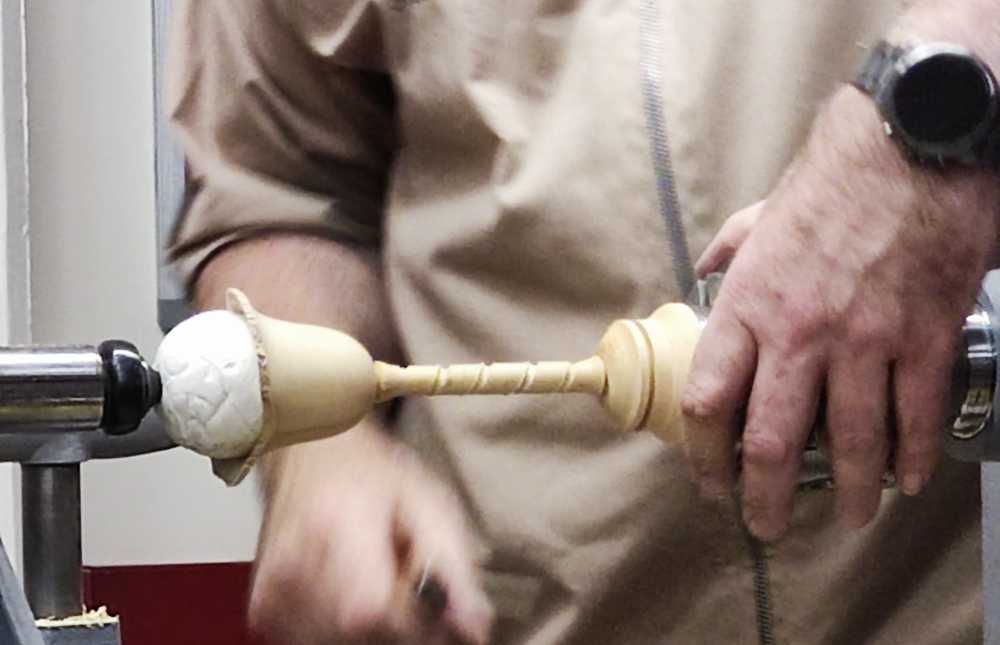
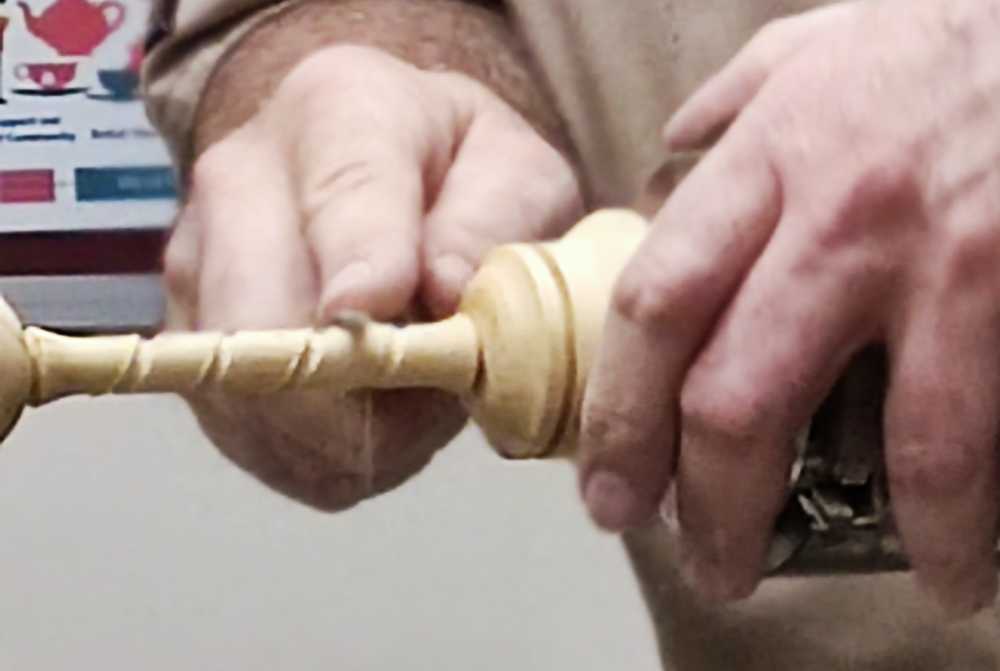
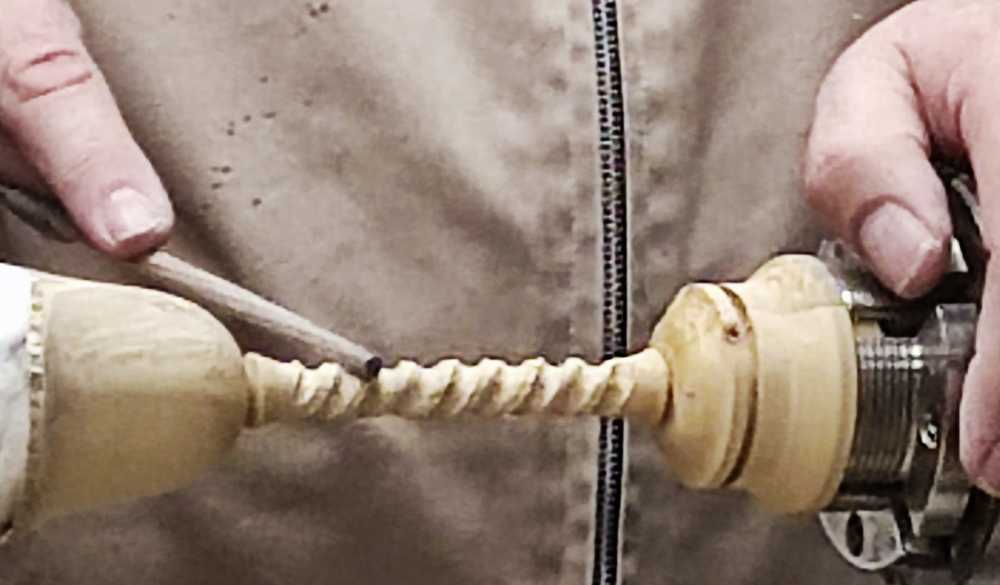
With the lathe turned off, and starting at the foot, he held the file at around 45 degrees across the stem and turned the chuck by hand whilst filing the wood, until a spiral groove was formed along the stem to the cup. Note that tailstock support was still in place as the stem becomes weaker as grooves were filed into it, and some co-ordination is required to ensure constant spacing between the grooves.

As this was to be a two-start twist, Paul then repeated the process, starting the second groove equidistant between the turns. Once complete, both grooves were deepened to about half the diameter of the file – this usually takes him two iterations but with the hard boxwood, he needed three. The spiral grooves were then widened somewhat with a larger diameter file.

This left grooves with a square edge so he went lightly across the grooves with a file at 45 degrees in the other direction (90 degrees to the spiral direction), then again at 22 degrees to knock any remaining corners off. The resulting grooves were than cleaned up with his finest file, first in the grooves and then across them as before.

Now the lathe was restarted and the grooves sanded with a piece of abrasive wrapped around a piece of dowel sized to match the grooves, moved back and forth along the stem in the same direction as the grooves.

Finally the tailstock was pulled back and the goblet parted off, holding it by the stem, not the cup.

Paul said that starting the grooves at the cup end of the stem would result in an opposite spiral on a goblet, left hand and right hand spirals being particularly effective if making a pair of goblets.

Throughout the demo, Paul explained clearly what he was doing, and why, which was especially interesting when he came to demonstrating the ring tool, something that many people shy away from.


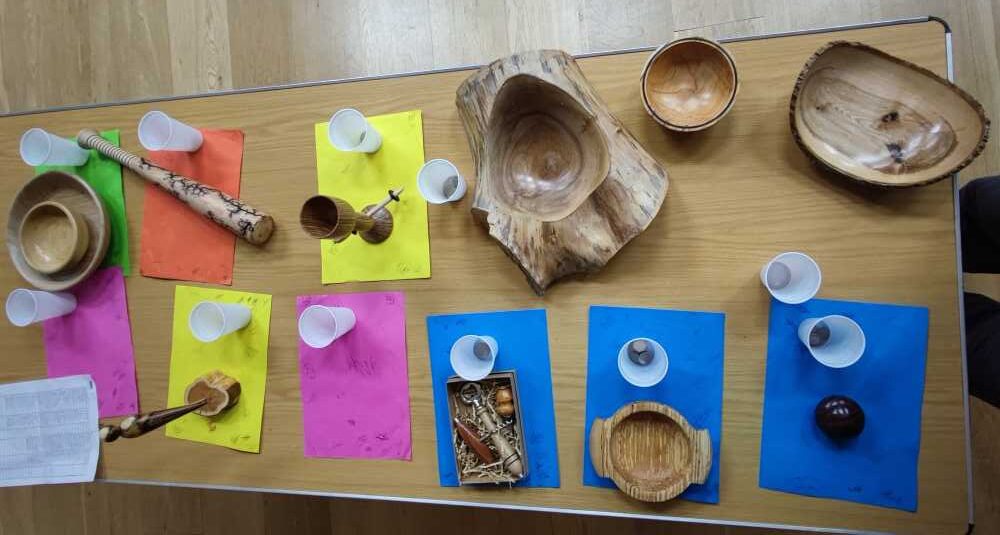
The competiton table this month had a good collection of items.

1st place was a rounders bat with fractal burning patterns by Chris Harkin.

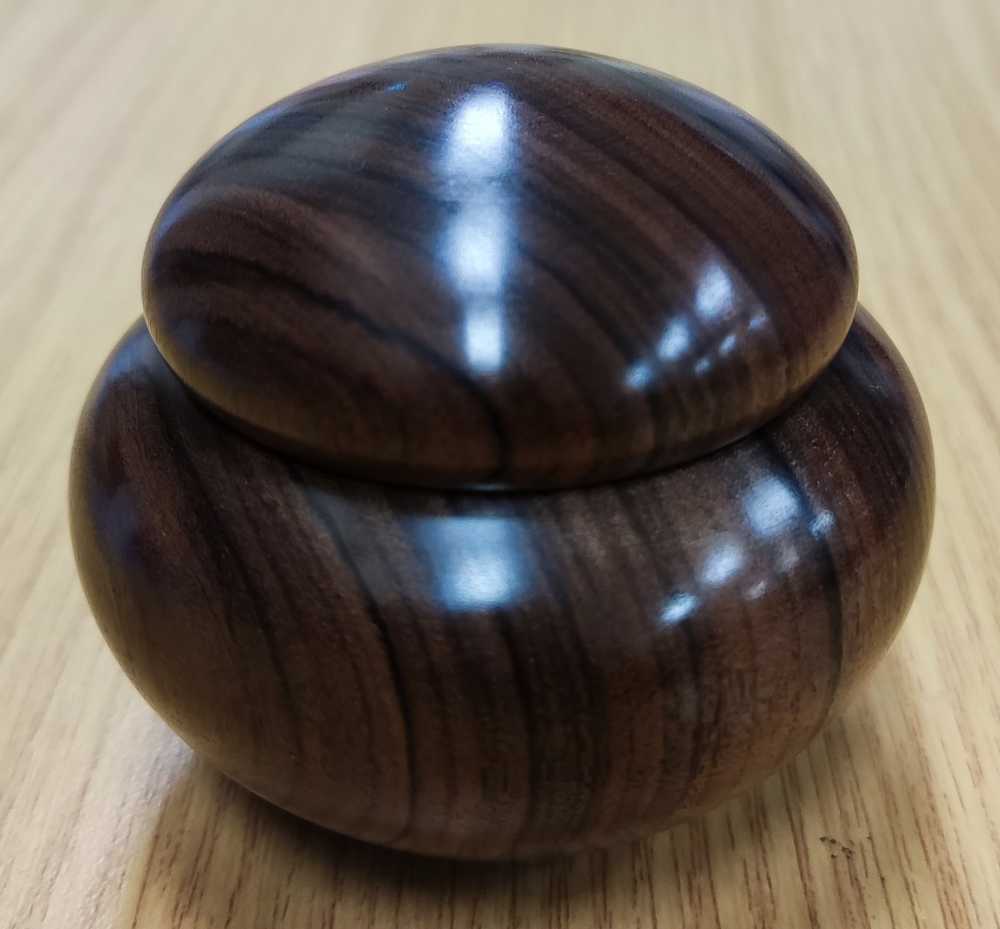
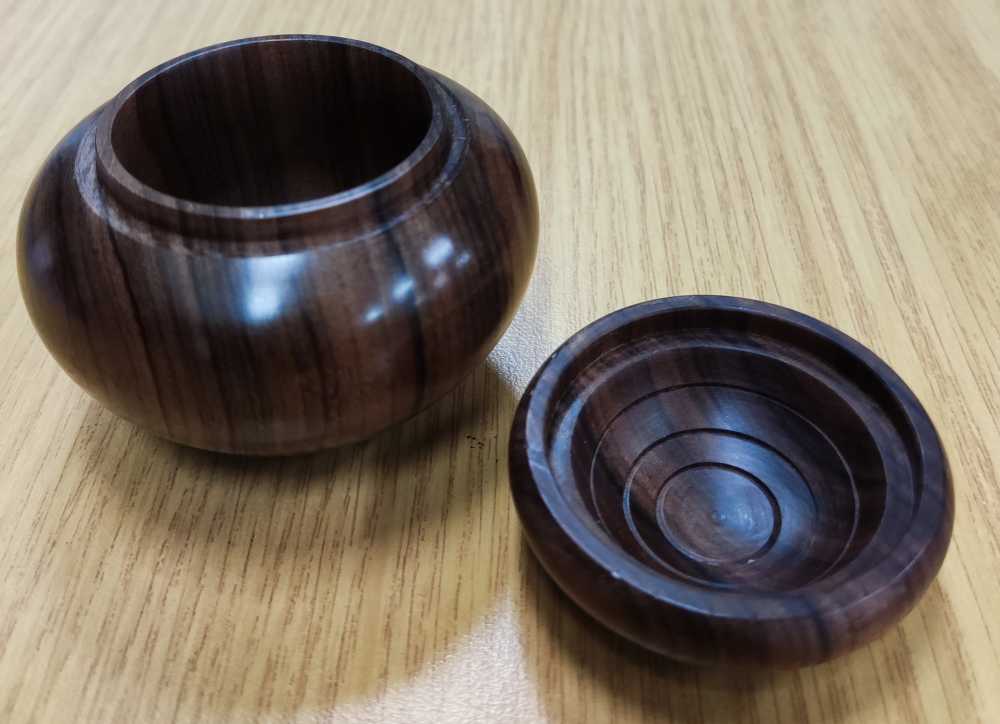
2nd place was small box (walnut?) by Ken Garratt.

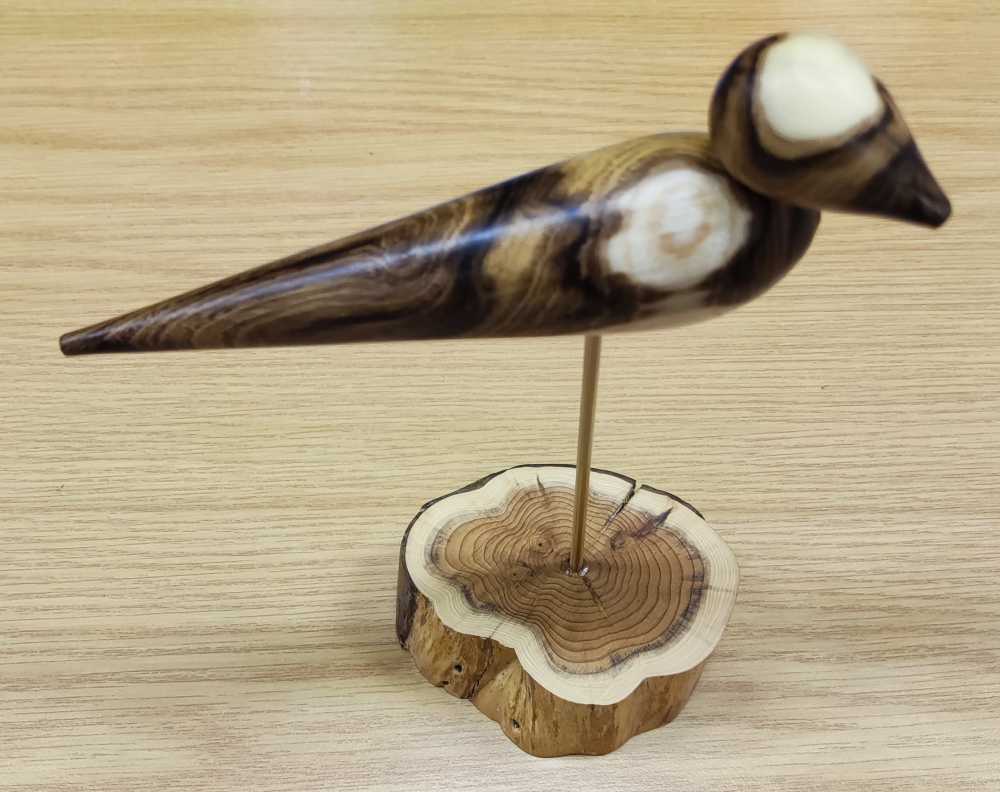
3rd place went to Dave Simms with a laburnum bird on a yew base.