The meeting opened with a welcome from Roger Gilbert, the Chairman, and a reminder that membership annual subscriptions are now due.
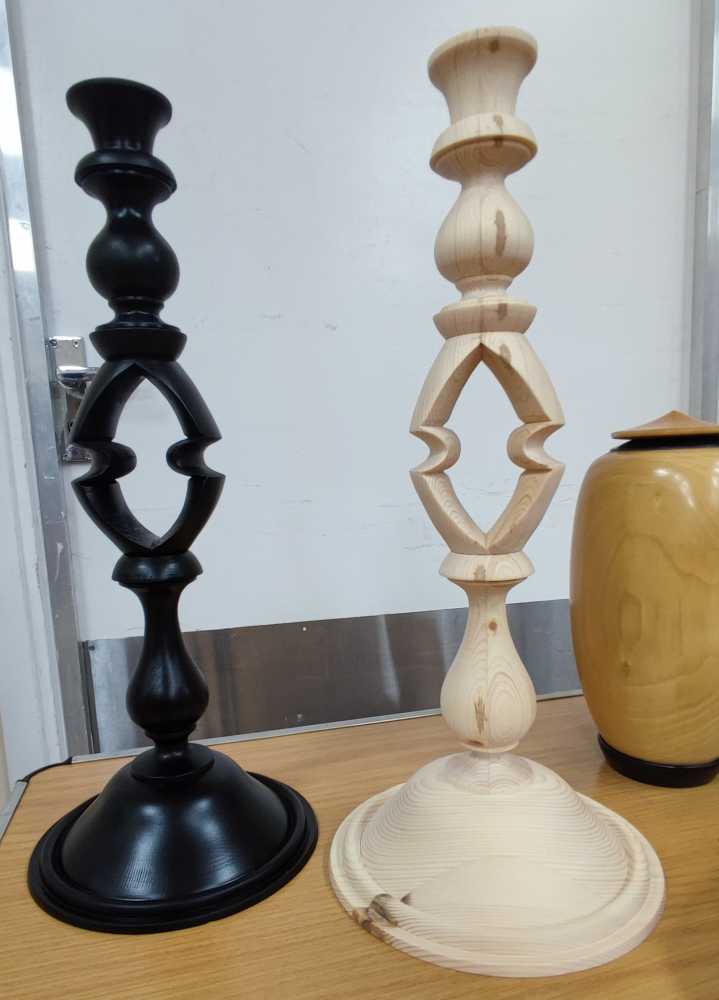
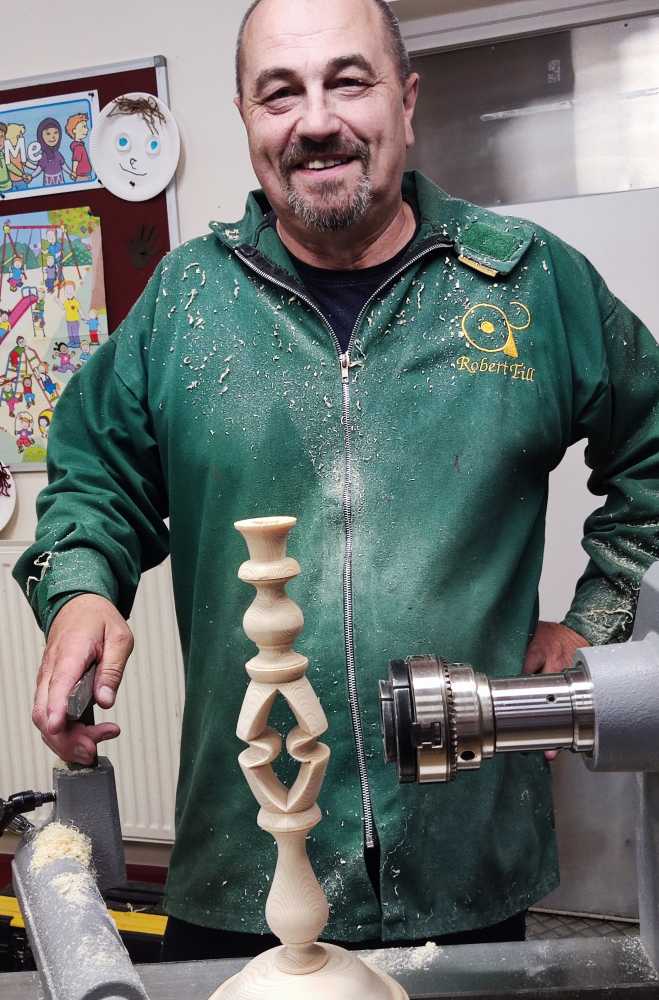
Robert Till was our demonstrator this evening (https://www.roberttillwoodturner.com/), making one of his signature candlesticks using involuted turning.
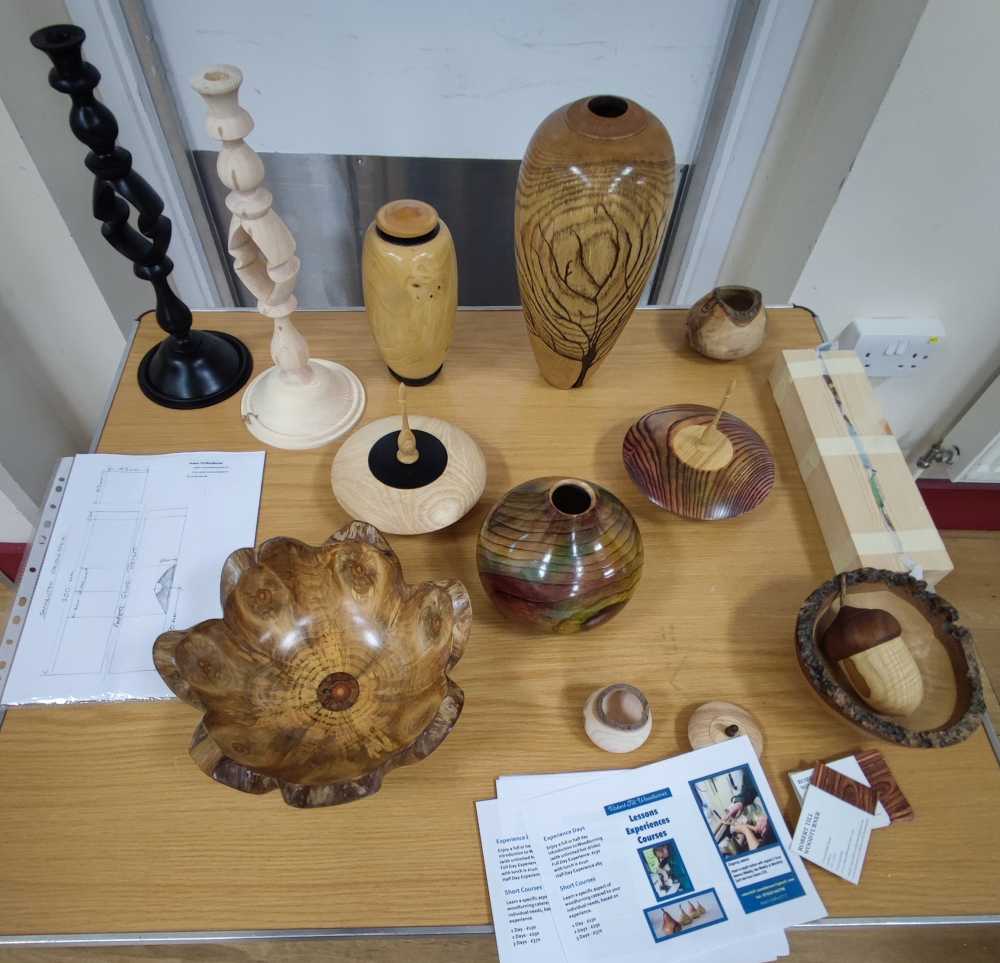
Robert brought a number of items along to display his work, including a couple of samples of the candlesticks.
To start, two 300mm lengths of 43mm square pinewood (from Wickes) were glued together with a paper joint to make an oblong turning blank – PVA glue, a layer of newspaper on each piece. They can be clamped together or just held with tightly with masking tape until the joint has reached full strength. As this takes one or two days, Robert brought along a previously prepared blank.
He took care to mark the centres accurately as any errors will be very apparent in the finished article, and mounted it in the lathe with a revolving steb centre in the tailstock to avoid splitting the paper joint.
When marking out the blank, he filled in material to be removed with a marker pen as pencil marks will not be visible once it’s spinning.
To achieve a good finish he turned up the speed as high as possible so that his spindle gouge was not bouncing in and out due to the alternating air/wood as the blank rotated. Once the shape was developed, he sanded carefully, with the lathe spinning or stationary as appropriate (lots of air!).
This was the inside of the candlestick now completed so he removed it from the lathe and split it along the glue joint with a chisel.
The blank sections were then rotated 180 degrees and glued together, this time just with PVA; no paper joint. Robert advised not to overglue as the cleanup can be fiddle in the inside areas. Once again, he used masking tape to clamp them together as this is less prone to slide the two halves out of alignment. They can then be further secured with clamps until fully dried.
Before turning the new blank, Robert mounted a forstner bit in the headstuck chuck and drilled one end for a candle cup before forming a tenon on the other end to suit the base.
Robert then mounted the blank between centres and started shaping the middle section, again at a high speed (2500 rpm) and with regular stops to check progress and ensure that the inner and outer shapes mirrored each other exactly. Any centreing errors from the early stages will show up here!
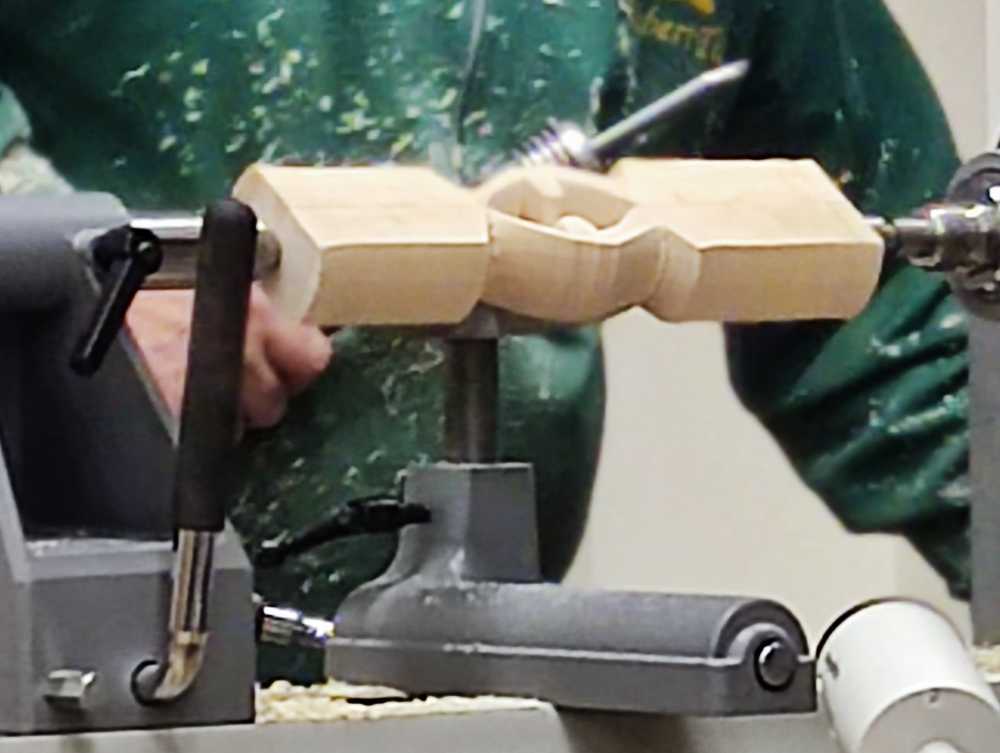
Once satisfied, he shaped the rest of the candlesticks, forming a number of fillets, beads and coves.
After a few final checks and sanding, he removed the candlestick from the lathe and mounted a blank on a screwchuck for the base.
First of all, he trued up the edge and face with a bowl gouge and then formed an internal tenon with a shaped centre which will be included in the finished foot.
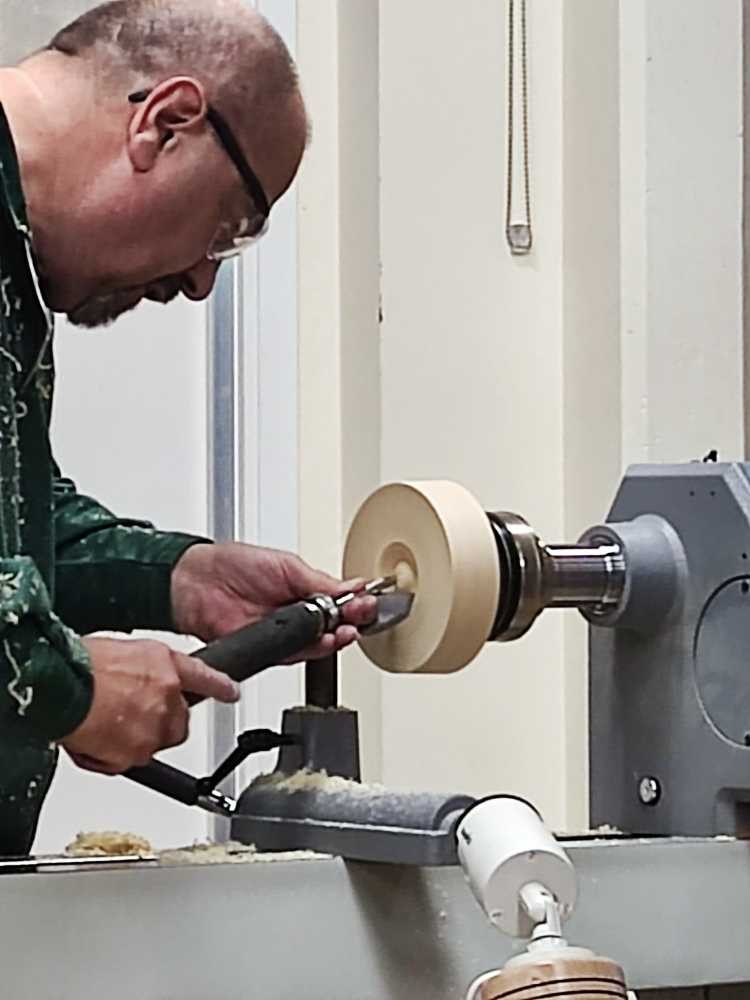
After reverse mounting the base, he drilled it to suit the tenon on the candlestick and then proceeded to shape the base and apply some details. The base and candlestick were then pressed together, mounted between centres and the assembly shape refined where necessary.
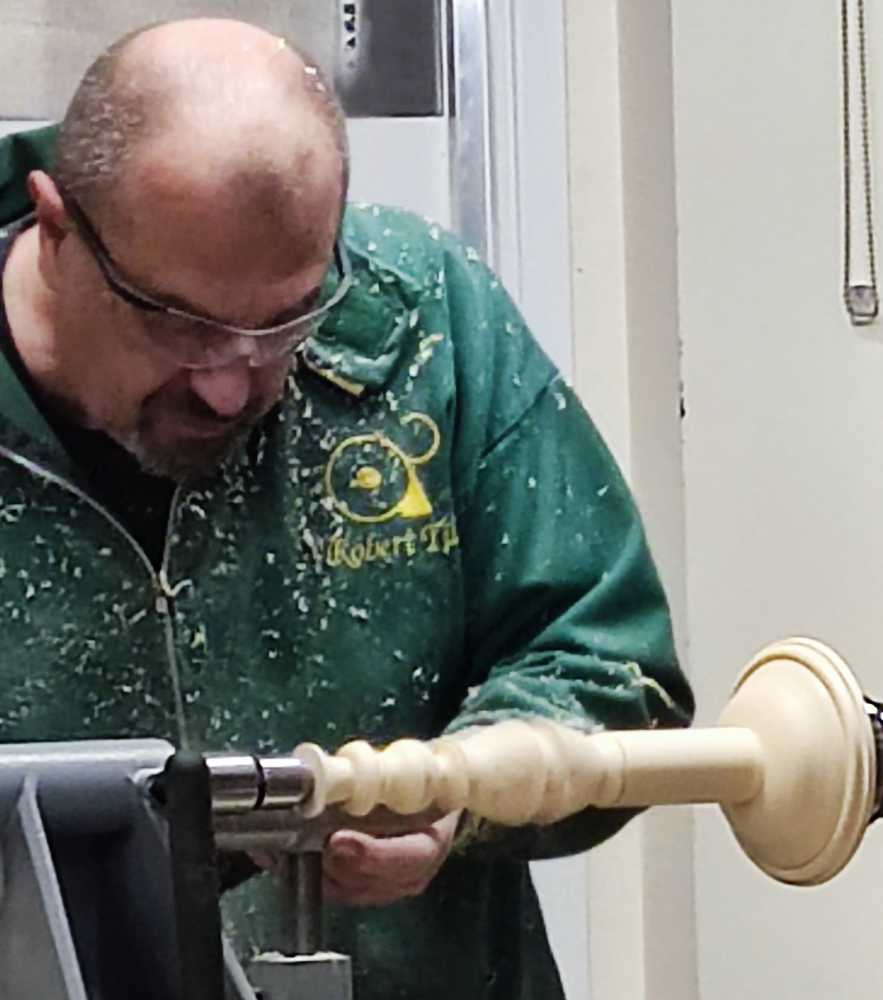
After a quick sand and a final check on diameters, the demo was complete, although Robert will apply a finish in due course.
Throughout the demo, Robert explained clearly what he was doing, and why, along with plenty of useful tips and a drawing of suggested dimensions for the central portion. Finally, he presented the club with a finished candlestick (the black one above) for the club raffle.
All of this made for an excellent and much appreciated demo – thank you Robert!
The competiton table had a good collection of items this month.
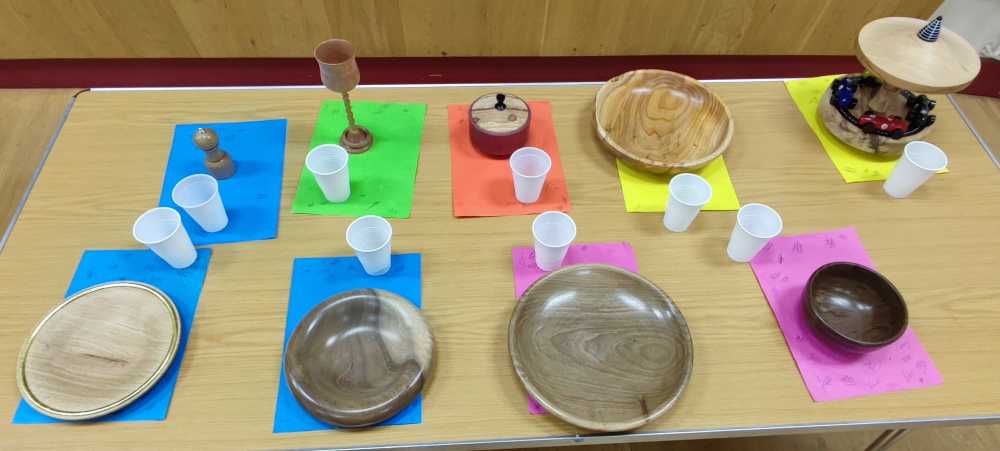
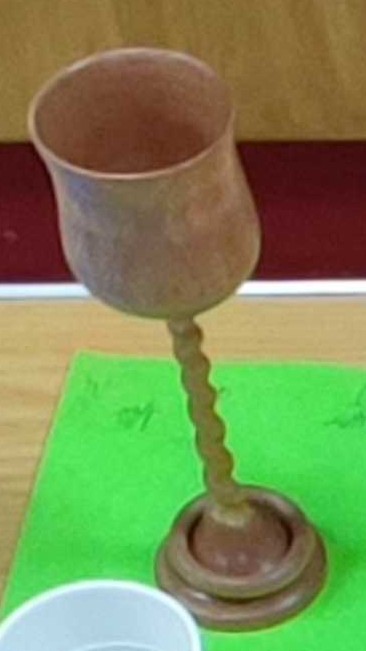
1st place was a goblet with a long barley twist stem and captive ring by Andy Blackwell.
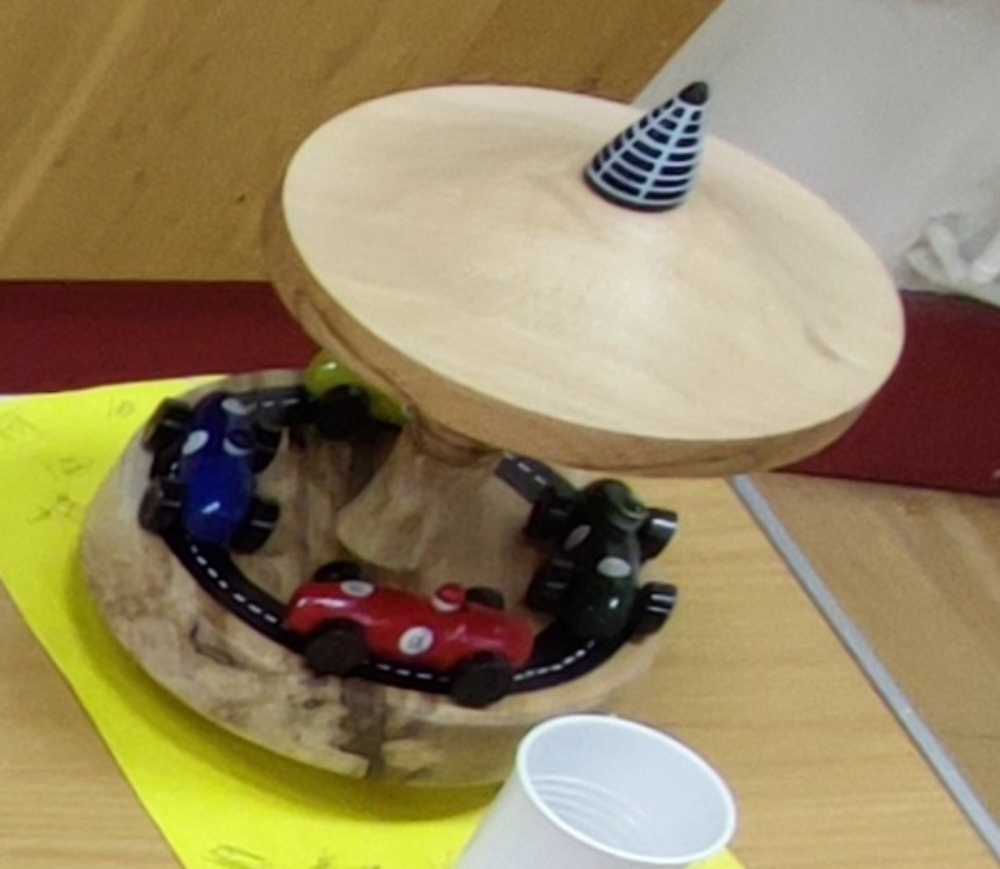
2nd place was a novel carousel by Dave Simms.
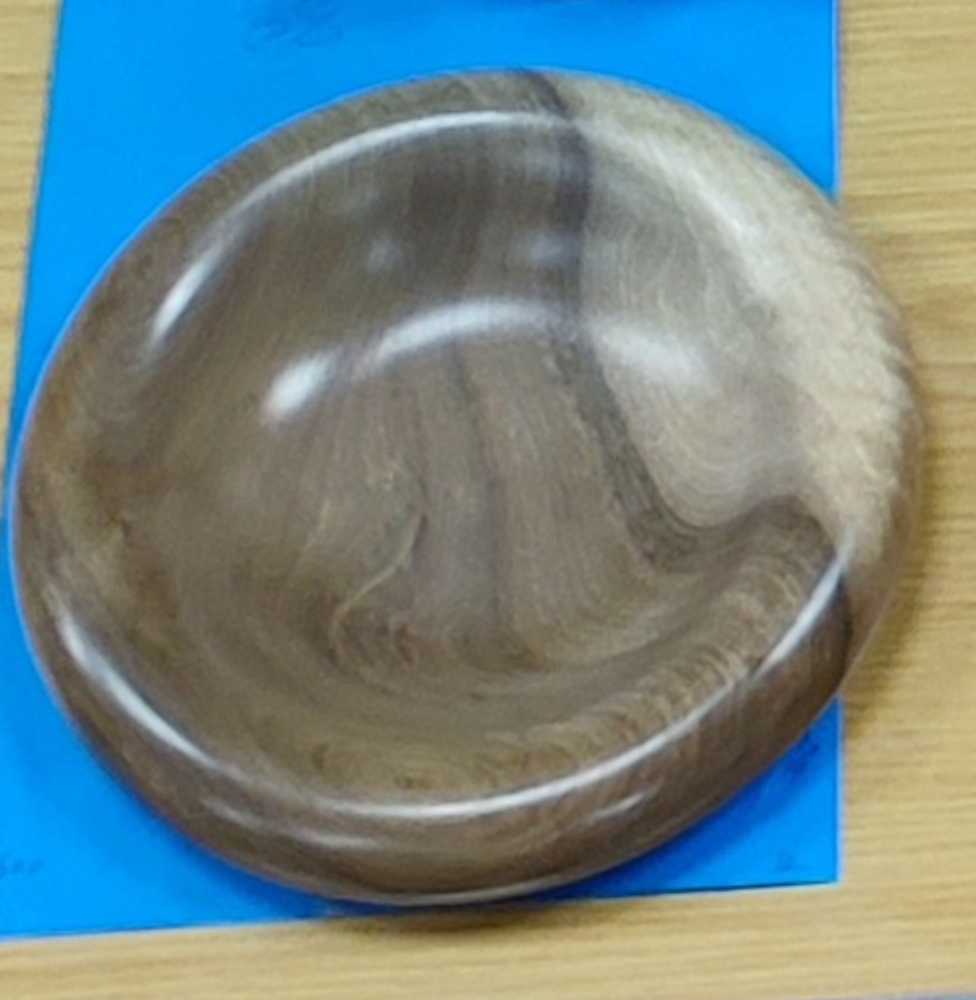
3rd place went to Viv Harvey with a curvacious walnut bowl.
