Club Night – 16th August 2023

The meeting opened with a welcome from Roger Gilbert, the Chairman, and a few words to let everyone know that MariVe would be co-ordinating the group effort to make a carousel for the 2024 Daventry Woodworks competition. There’s plenty of time yet but we all know how time flies!

There was also a reminder that membership annual subscriptions would be due from next meeting, 6th September.

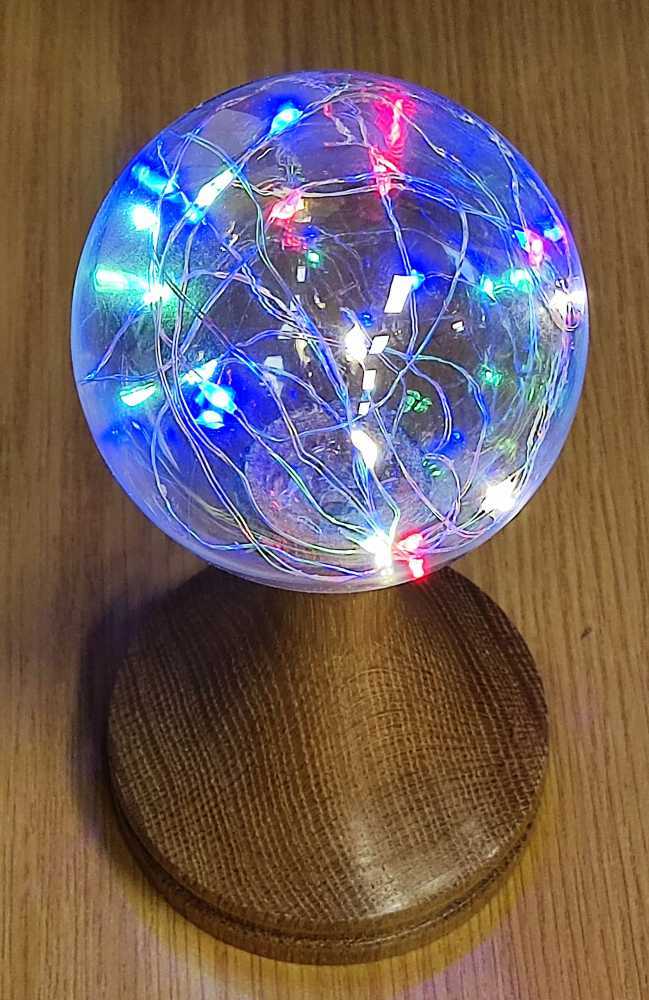
This evening, Bryan Brumfield demonstrated making a decorative lamp using a DIY Bauble Kit from Emma Cook, the Tiny Turner. These kits are sold by Emma in a number of configurations and may be used to make e.g. Christmas snowmen or simply an attractive light, as in this demo. The kit used here was similar to this one:

https://www.thetinyturner.co.uk/product-page/copy-of-diy-bauble-kit-for-woodturners-copper-wire-multicoloured-leds

To start, a dry old oak blank about 120mm dia x 65mm long for making the stand was mounted in the chuck and a base recess hollowed out. The blank was then drilled for the LED cable – or at least as far as the drill would reach. A through hole is needed so it will be completed from the other end.
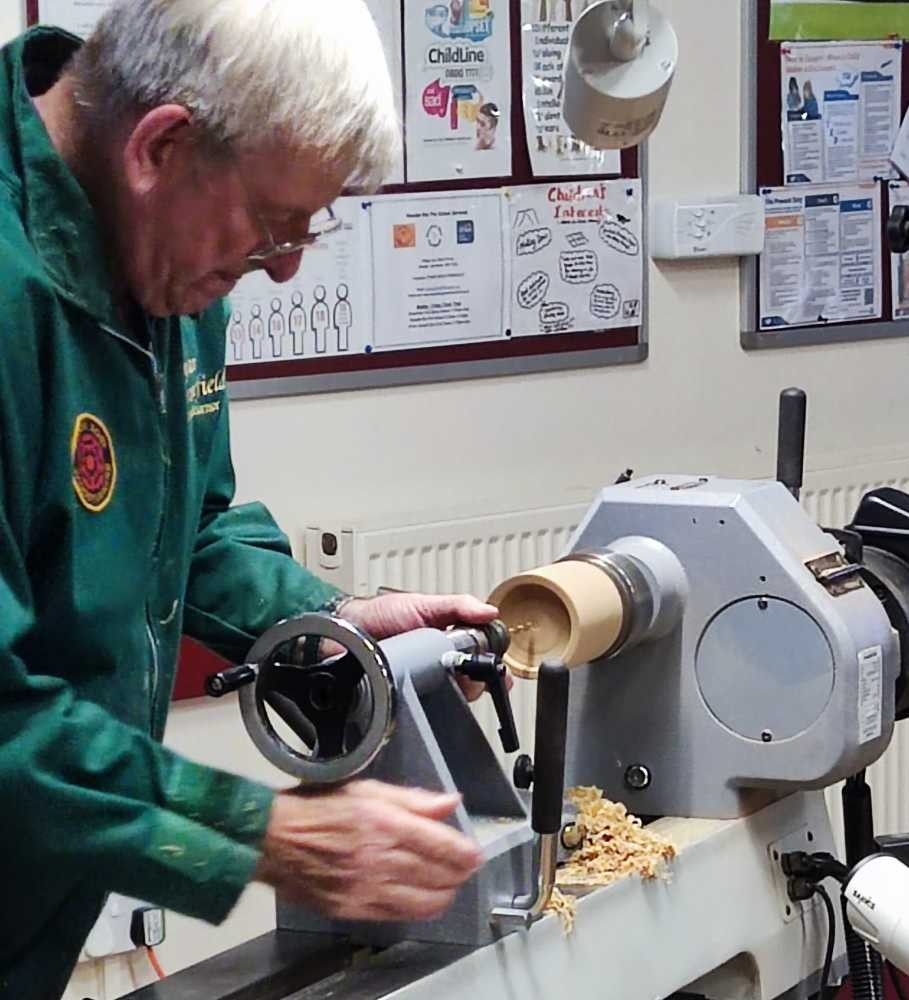
The blank was then reversed onto the expanding chuck jaws, before Bryan removed the tenon and shaped it with gouges.

He then drilled through to meet the hole drilled earlier and thus complete the hole through which the LED cable will pass. Next, he created a recess in the top of the stand in which to sit the bauble.
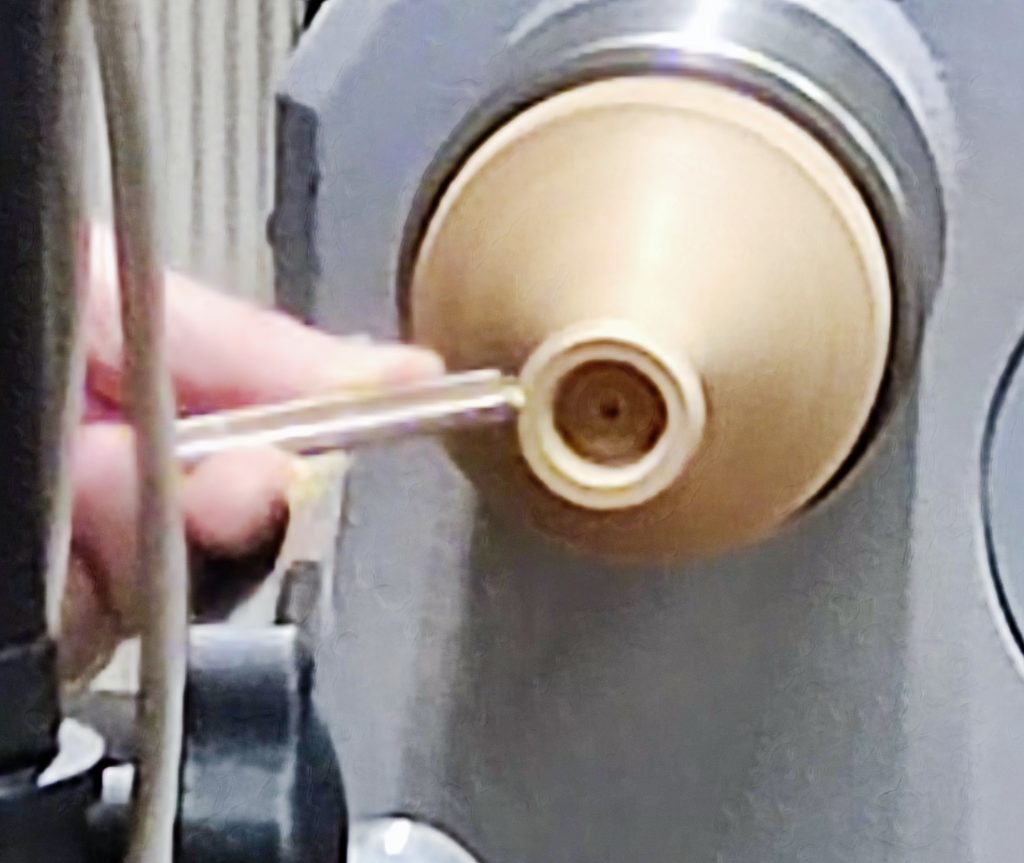
A refining of the shape was followed by sanding and finishing with acrylic sanding sealer and acrylic lacquer before a final polish with a cloth and stick wax.

The stand was now complete so Bryan removed it from the lathe and set about assembling the bauble kit onto the stand.

He fed the LED cable through the centre of the stand and taped the switch/battery assembly into position in the base recess.

Soudal Fix ALL Crystal Clear adhesivewas applied to the recess in the top and he started lowering the bauble towards the recess, all the while feeding the LED lighting cable into the bauble.

This particular type of adhesive is recommended by Emma Cook due to its decent open time and good grab to all types of surface. It can be purchased from Emma’s online shop: https://www.thetinyturner.co.uk/product-page/soudal-fix-all-crystal-adhesive-125ml.
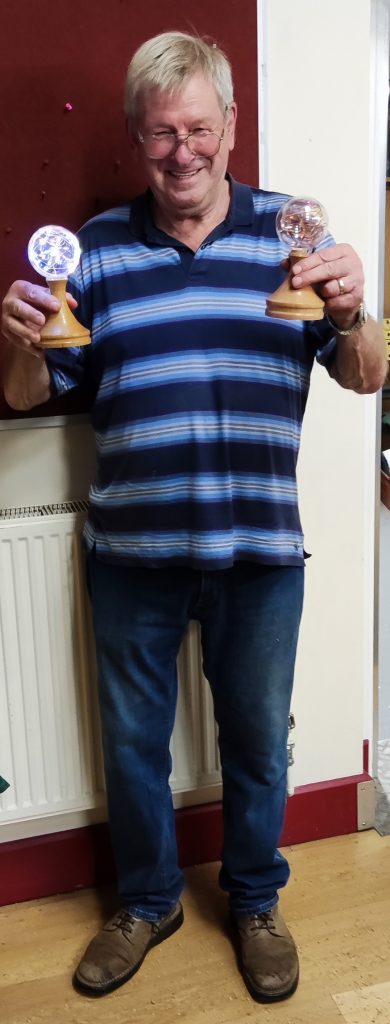
Once the cable was all in place, the bauble was pressed down firmly onto the adhesive. Finally, he turned it on!
Club Night – 2nd August 2023

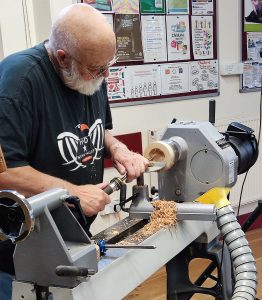
The evening was a demonstration by Mick Denton who made a lidded box in the form of an apple. We were told that it would be made of marblewood but the initial stages would be demonstrated using olive ash since the box was made from two pieces of wood which need to be glued together. This approach facilitates the hollowing.

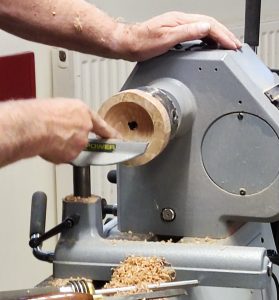
He started off making the bottom half, initially mounting the blank on a screw chuck and then reversing it onto a tenon to carry out the hollowing. It is best to use a fine grained wood to disguise the join between the sections, or to disguise the join with a feature such as a bead. Mick took care to note the internal rim finished diameter with calipers which he locked to prevent a change in the measurement.

Next was the top half but, before doing anything, he was careful to make sure he had it the right way round so that the grain orientation would match the bottom half. Once again, it was mounted on a screw chuck and, this time, an internal tenon was put on the other end. It was then reversed and hollowed out with care to get the rim diameter matching the bottom half so that there would be no step inside the completed box. Mick then quite deliberately (really!) went through the bottom (i.e. the top of the box) to make a small opening for the top of the box– this was the reason for using an internal tenon.

At this point the two hollowed sections would all be glued together but, for the demo, Mick took his previously assembled marblewood piece and mounted it in the chuck. It looked suspiciously like sapele but Mick assured us that it was indeed marblewood – “trust me” he said!

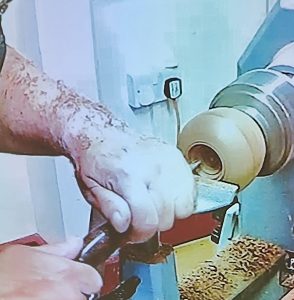
The assembly was shaped and reversed as necessary, and the sections blended together before shaping a recess in the top.

Pulling a tissue from the opening, he then revealed that the interior was packed with marbles – hence marblewood! A good joke which certainly most of us hadn’t seen coming!

The opening was refined to a slight taper and then another piece of wood mounted and turned to form a lid that fitted nicely in the opening and was blended into the body of the box.

Finally Mick made a stalk out of a piece of African Blackwood to complete a very interesting demo. He will glue the stalk in and finish off at home.

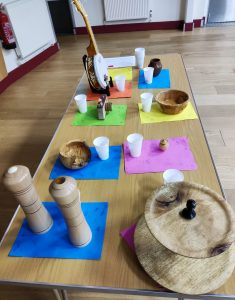
The competiton table had a good collection of disparate items this month.

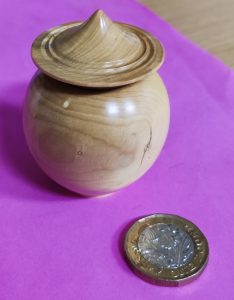
1st place was a lovely little boxwood box with a threaded lid bu Gerald Hubbard.

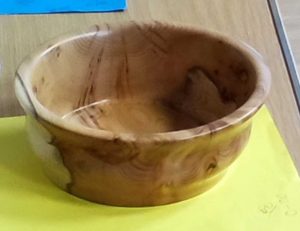
2nd place was Chris Harkin’s yew bowl.

3rd place went to Geoff Warr and his banjolele with a segmented body.