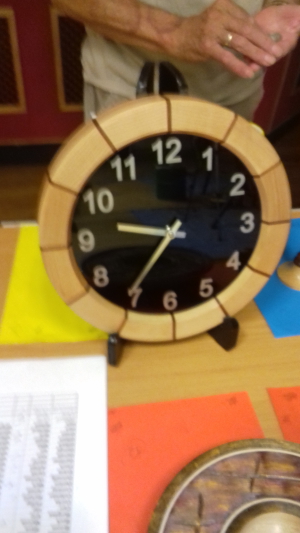
The evening’s demonstration was given by one of our members, Geoff Warr, who introduced the topic of his projects as the use of paper joints in turned work.
Paper joints are used where you want to join flat stock which after turning can be easily split along the joint line to produce 2 or more flat based objects and is often used for inside out turnings.
The first part of the demonstration showed how 2 blocks of wood were glued together with a piece of paper in between the 2 flat surfaces. This was clamped up to allow it to dry fully. More blocks can be glued together depending on what you want to achieve.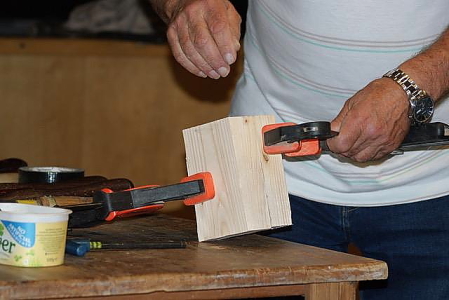
Geoff then took a previously glued blank and mounted this on the lathe with the glue joint dead on centre line.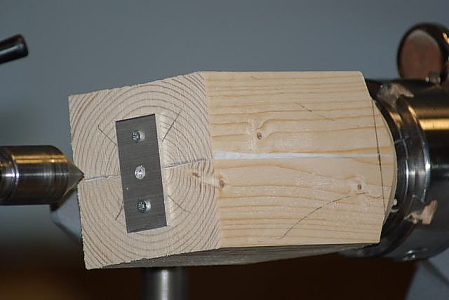 A ring centre is usually used because a pointed centre could break the glue joint before you complete the turning, however, Geoff added a simple bracket to counter this. The shape of the project was then turned out and then sanded and finished as required.
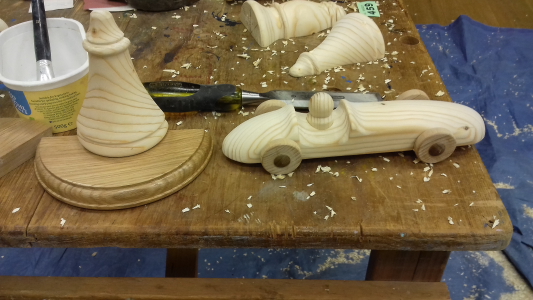
 In this instance the turned item created was support for a small shelf / plinth. The glue joint was separated using a sharp wood chisel and a hammer. The joint face can be sanded to remove the glue and paper residue and finished as required. The shelf top would be turned as a face plate project putting on whatever decoration etc you wish. This can then be cut in half so effectively you get a pair of shelves from the one set of turnings.
The next project showed once again the versatility of the glue joint by creating 2 bodies for a toy racing car. The principles were exactly the same just the turning design needed to be finalised.
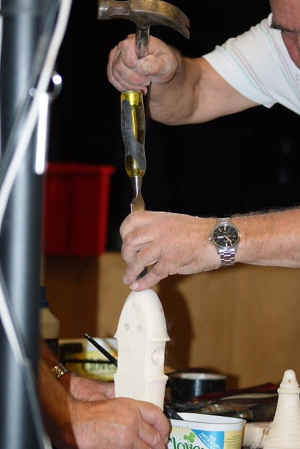 This particular blank proved difficult to split but apparently that is a problem that can frequently occur.
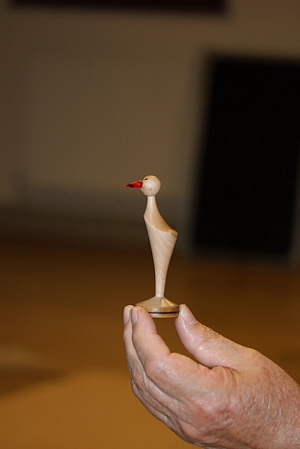
To fill in the last bit of time Geoff created an off centre turned stylistic bird. A blank was mounted in the chuck and then the free end offset by about 3mm.

This was turned to a neck and head of the bird and then sanded and finished. The chuck was released and the offset reversed by 180 degrees to give a 3mm offset the opposite way. The body and legs and plinth were then turned sanded and finished and parted off. A hole was drilled for the beak and a previously turned cone was glued into place to produce the finished item.
All in all this was a very entertaining demonstration and has given us all an insight into techniques that some of us have not yet used. Maybe we will consider similar work which will be seen on future competition tables.

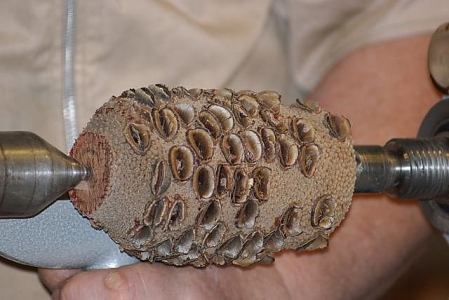
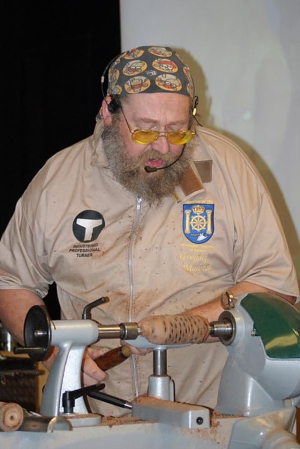 One thing to bear in mind is that with Bansia Nuts the “grain” does not run as a normal log it is across the nut. Effectively it is faceplate orientation and should be turned and processed as you would a bowl blank. The next task was to drill through the centre of the nut using an auger.
  Tip here was not to drill more than one inch at a time and withdraw the bit to clear the swarf. Only drill half way through then reverse and repeat for the other end. A 1 inch hole can then be counter bored at one end to accept a mating tenon. The nut can then be remounted between centres using the hole and the outside trued up. The base can then be shaped to what you want with the top edge shaped so that the joint with the next nut can be disguised.
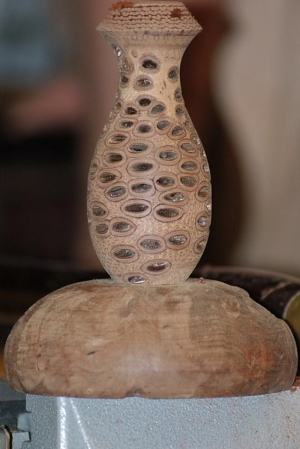 One thing you will need to do before finishing is to remove debris, seeds and sometimes critters from the holes. The little critter should be killed by the sterilising of the nut but if you get them from a non reputable source they could still be alive. As these nuts come from Australia they could be nasty. However, the risks are low. The fibres in the nut mean that sanding should be done first in forward motion and then in reverse to give the best finish.
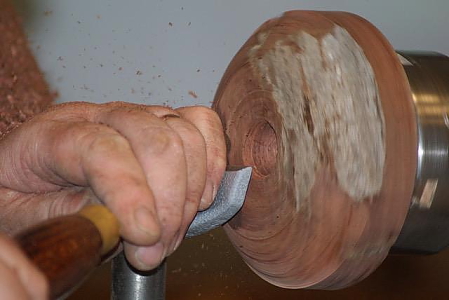 A hole is drilled through the side of the base into the centre hole so that a flex can be inserted. All of the parts should be finished. The whole thing can then be glued and assembled. Gregory showed us a table lamp that he had completed previously.
 It really did look interesting and different from the usual wooden lamps.
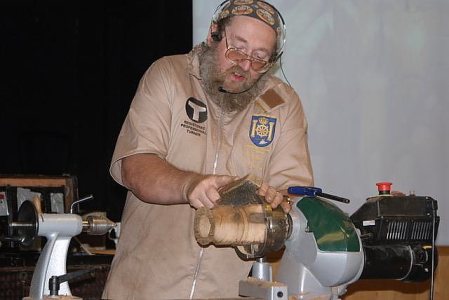
 The chucking marks are cut off as a slice on the band saw. The piece was waxed but the textured areas were brushed using a polishing brush in the Jacob’s chuck.
