Tonight we welcomed Mick Hanbury to the club and after a brief introduction Mick commenced to demonstrate the making of a textured and coloured bowl. A sycamore bowl blank was mounted on a screw chuck and faces and edges trued up. The back face is trued to give a reference to determine the finished depth of the blank. A centre point is also established.
There were to be a number of tips given during the demonstration and the first was to always start with sharp tools and keep them sharp. The outside of the bowl was shaped and accent lines and foot were established.  The outside was then power sanded but to keep dust to a minimum Mick used a homemade sanding paste made comprising an oil/beeswax at 80/20 mix with a little lavender oil to make it smell nice. When the sanding is finished you can clean of the residue with a clean paper towel and it does not affect the finish that you want to apply. The abrasive does clog up but a quick brush with a stiffish brush soon clears it.
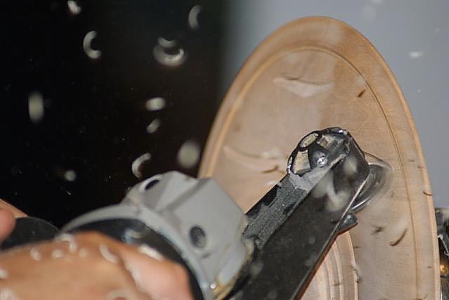
To texture the face of the bowl Mick used an Arbotech chainsaw toothed angle grinder (a vicious looking beast) to carve lines. He then used a wire brush on a drill to texture the surface further working in line with the grain.
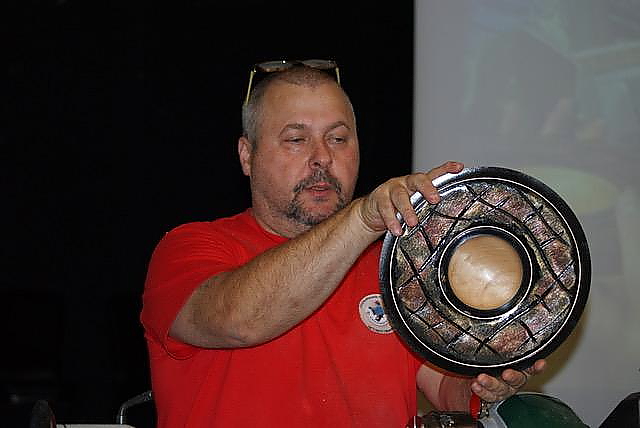
  Usually the face would then be scorched to remove fibres but in this instance it was brushed with a stiff brush then the face was spray painted with matt black acrylic lacquer. Make sure that all coats are fully dry before applying the next. Mick used a hair dryer mounted from the tool post to speed drying. A clear gloss lacquer was applied after each coat. This means that if the next coat is not what you want you can wipe it off without messing up the previous coat. An application of iridescent paint was lightly made with a sponge brush to the textured area to give a strong base.
  The next coat should not be an iridescent as it does not combine with the first coat, the next coat was a metallic red-gold applied with the same sponge brush very lightly and not covering the whole area. The last layer was a silver metallic again applied very lightly.
Once the painting is complete accent lines were cut near the edge and near the central bowl. The bowl was then cut and finished again using the sanding paste on a power sander. If you are left with a dimple or a pimple in the bottom of your bowls a tip was to not push your tool through the last bit just let it cut at its own pace.
The bowl was then reverse chucked onto a sponge covered face plate using the centre mark created earlier to centralise the bowl. The chucking spigot was then removed, the pip carved off and the base power sanded with the sanding paste. The finished article was a very nice looking bowl which was remarkable considering that it was made in only a 2 hour demonstration.
Mick very generously donated the bowl to the club, a gesture which was warmly appreciated.
Overall this was a very inspiring, entertaining and interesting demonstration.
