What a busy meeting this was! We opened up the hall an hour earlier than usual so that Roger (rwblisselectrical@outlook.com) could get set up in the corner and crack on with PAT testing our electrical equipment, lathes, grinder, A/V gear etc. He was able to complete it all without missing too much of Mick’s demonstration and I’m very pleased to say that we are now now fully up to date.
While Roger did his bit, a few of us set up the tables and chairs, the lathe for Mick’s demo, and the cameras and screen, so that all was pretty well ready to go by the time everyone else turned up at 7 o’clock. This just left the tea urn to be switched on (crucial to a club evening), and the competition pieces laid out for judging before Mick started his demo.
At the end of the evening, so much gear had been taken out of the store for testing that it was a bigger job than usual to sweep up and put everything away, but it was all completed and the hall vacated in the allotted time to finish off a very productive meeting.
Competition
The pictures below show some of this meeting’s entries and also the proud makers. Well done gents!
|
|
|
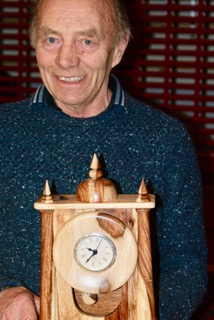
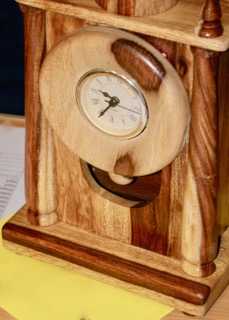
| 1st This clock by Bob had loads of small details and plenty of interest in the woods used. | |
|
|
|
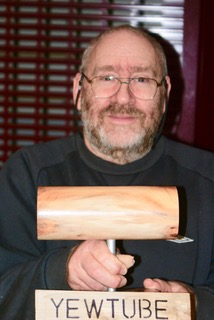
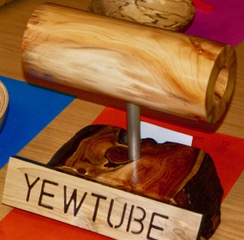
| 2nd A slightly tongue-in-cheek version of Gregory Moreton’s Yew Tube by Adrian | |
|
|
|
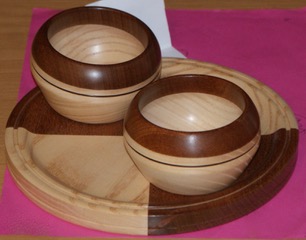
| 3rd A very nice set by Clive, with good choice of woods and no gaps between the segments. | |
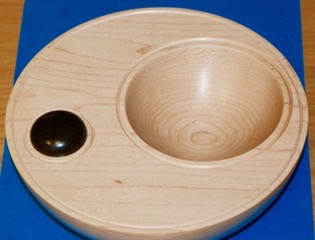

Here I’ve added pictures of three very different bowls from the competition.
The reason?
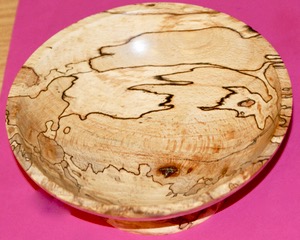
Because I like them all!
Demonstration by Mick Denton, club Chairman
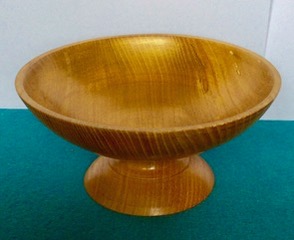
Mick demonstrated the making of a tazza, a wide, shallow dish on a stem. This was the first time our new Coronet Herald lathe had been used in anger so the demo was of particular interest on this occasion.
For the tazza he used a well seasoned piece of elm – with a rather alarming crack in the circumference. The end with the crack was chosen to be the base in the hope that it would be removed as the diameter was reduced, which fortunately did turn out to be the case.
The blank was initially mounted on a small screw chuck and the lathe run at slow speed while the face was trued up and an internal tenon formed. It was then reversed onto the chuck and an internal tenon formed on the other side.
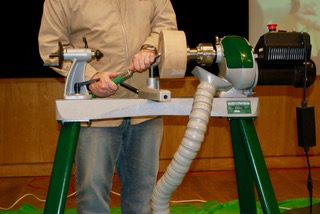
With the workholding now sorted out, Mick trued up the circumference and started shaping the underside using a bowl gouge. He increased the revs gradually as the blank came into balance and as the cracked portion was reduced in size and eventually picked off; final speed was about 1300 rpm, used for most operations after this point, including sanding.
He completed the shaping, recessed the base and added detailing with a tri-point tool.
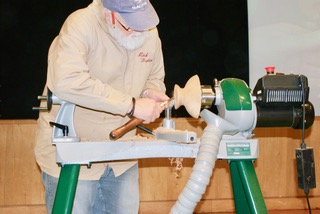
The underside was finished off with sanding with 240 and 500 grit abrasives, then coated with a 50/50 mix of cellulose sanding sealer and thinners before wiping it all down with a paper towel.
The tazza was now reverse chucked ready for hollowing out the bowl.
Hollowing was started using a bowl gouge working from the rim towards the centre, but a substantial piece of wood was left in the centre at this stage to aid stability whilst turning the edges of the bowl.
Once the edges were down to the final thickness of about 5mm Mick used the bowl gouge to remove the centre portion, working from the centre outwards.
To finish off and refine the shape, he used scrapers very carefully in view of the bowl sides flexing and vibrating.
Finally, the inside of the bowl was sanded as for the outside, 50/50 sanding sealer applied with a brush and wiped with a paper towel before being allowed to dry. With the lathe stopped it was then rubbed down with 800 grit abrasive.
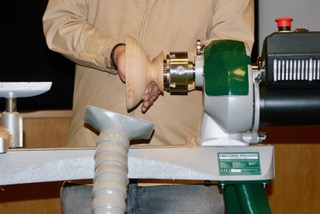
To get a nice, light bowl of even wall thickness, the outside was given a light cut with a 3/8” bowl gouge before being once again sanded.
Mick shaped the stem for a pleasing transition between base and bowl, and gave it some detail with a modified bedan tool before sanding it down and applying 50/50 sanding sealer.
To decorate the tazza Mick next rubbed gilt cream onto the inside of the bowl. Only a little gilt cream was used, rubbed in thoroughly with a paper towel. To remove the surplus it was buffed with a paper towel at 140 rpm, then buffed at 500 rpm, and finally at 750 rpm to give it a shine.
With the inside complete, Mick gave the outside a rubdown with 800 grit abrasive (lathe stationary) before applying sanding sealer, rubbing it down and then applying Wood Wax22.
A final polish with a paper towel and the tazza was complete.
|
|
|
Mick often uses Black Bison wax on elm as it works particularly really well with the wood colour and grain. He also said that he usually puts a clear spray lacquer over the gilt cream, £4.99 from an automotive shop.
…and he was very happy with the new lathe – smooth, quiet and did everything asked of it.

