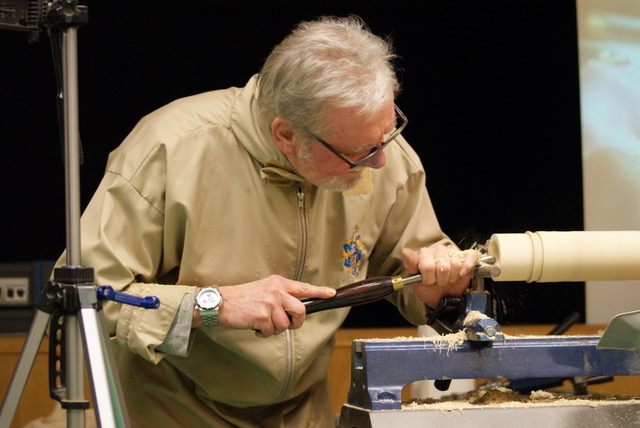
The meeting today was almost entirely given over to the demonstration by Paul Jones. The equipment and chairs were set up, an introduction made by Mick, and Paul launched into his demo. There was a quick break for tea and then Paul resumed the demo, continuing until it was time to clear everything away.
Demo by Paul Jones (www.pauljoneswoodturning.co.uk/)
Paul planned to show us how to make a hollow form on a very long and slender stem.
The hollow form consists of a “trumpet” and a “bowl” turned separately from tulipwood and then glued together.
The stem and the base are also separate parts but unfortunately there was no time to make them – the picture shows one that Paul had previously made. In this instance the stem was to be made from sapele.
It was an enjoyable demo and Paul made it look easy, well within the capabilities of ordinary turners, although the long and thin stem is rather daunting and it would have been nice to see the techniques employed. He explained clearly what he was doing at all times and passed on a few comments regarding his preferences for doing things in a particular way, some of which I have included below
Preparation
He said that he likes to run the lathe no faster than necessary, to be gentler on the wood.
Started with a square blank of tulipwood between centres.
Rounded with a roughing gouge, leaving a bit of square on the edge to aid location in chuck jaws.
Put a 40mm long straight sided tenon on one end with a beading/parting tool, to suit the O’Donnell jaws, which hold the long unsupported length of wood very securely.
Mounted the wood in the jaws and brought the tailstock up for initial support.
Trumpet
The first difficulty showed up immediately when Paul tried to mount a 10mm dia drill in the tailstock – the small Vicmarc lathe is too short to accommodate the length of the wood plus drill and chuck. No problem, he hollowed out the trumpet for a short distance with a spindle gouge, until there was room to insert the drill bit and then to drill to about 70mm, defining the depth of the trumpet.
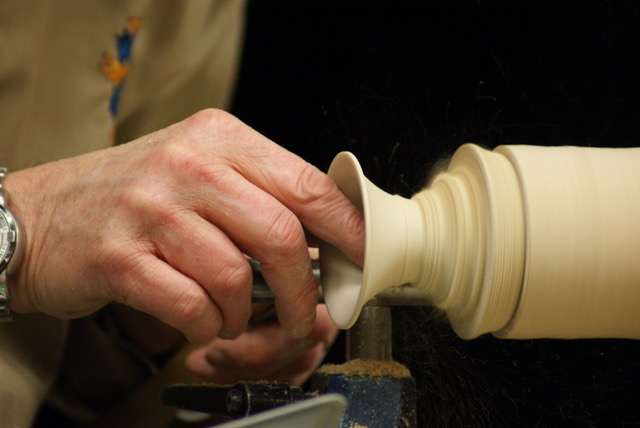
Reduced the outside to approx the final diameter and marked the base of the trumpet. (Skew and spindle gouge).
Used a spindle gouge and Simon Hope 10mm hollowing tool to hollow out the inside.

Paul prefers to define the shape by cutting on the bevel from outside to inside as he finds this gives him better control of the shape and finish, although it is slower than cutting on the edge from inside to outside.
Tucking the tool handle under the arm and moving the body gives better control than purely hand/arm control when using the long Hope tool.
Sanded the inside.
Spindle gouges used to shape the outside of the trumpet.

He used fine cuts and sharp tools as it got thinner, steadying it with his fingers. Paul uses calipers to gauge the even thickness of the wall thickness as he finds fingers can deceive. Final wall thickness was around 1.5mm, and 1.5/2.0mm at the joint to the bowl.
Reduced to around 16mm diameter at the base, blended into the curve and sanded.
The slightly tapered joining tenon of around 38mm dia was formed and then parted off from the blank.
Bowl
Marked out a 38mm dia circle on the end of the blank and drilled with a 35mm dia Forstner bit to about 35mm depth.
Hollowed out the inside with the Hope hollowing tool. The bowl is not functional so doesn’t strictly need to be hollowed, but it is done to reduce weight on the thin stem and improve the balance of the completed object. There’s no need to go too thin and it is advantageous to leave a fairly heavy rim, to accept the tapered joining tenon.
Marked the intended bottom of the bowl on the outside and shaped the outside of the bowl.

Refined the inside of the bowl to match the external profile.
Ensured there was an accurate centring mark in the bottom of the bowl and drilled a 7mm hole through the bottom – this will accept the tenon on the top of the stem.
Assemble Trumpet & Bowl
Refined the 35mm bowl rim to suit the trumpet tapered joining tenon. Paul likes to use a round skew for this as it avoids fouling the rim and makes it easier to creep up on the correct size and taper.
When it appeared correct, he tested it by using a padded cup centre in the tailstock to push the trumpet in – not too hard! Once the tenon was a nice fit, and slightly proud of the bowl rim, he removed the trumpet.

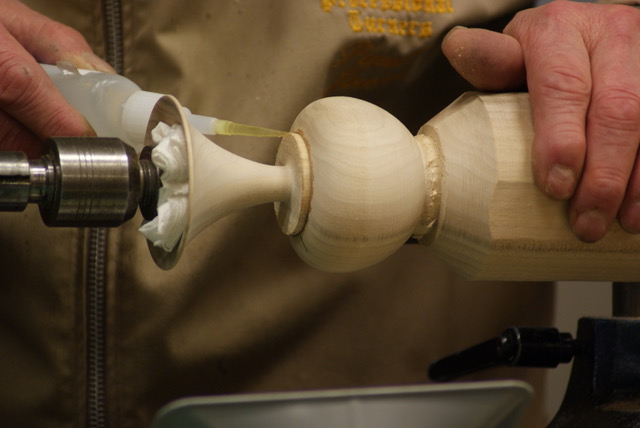
He then applied CA glue and pushed the trumpet tenon back in, taking care to align the grain of bowl and trumpet. More glue was then run around the join; capillary action will take it right into the joint.
Cleaned up the tenon and bowl with a shear scraping spindle gouge until the surfaces flowed in a smooth curve, the join visible only due to the line of CA glue.
He hid the glue line by scoring it with a tri-point tool, and scored two further lines inside the glue line.
Blacked the lines with a piece of Formica pressed into the grooves, then skimmed very lightly over the surface with a spindle gouge to remove any overburn.
Formed a shouldered spigot about 16mm diameter at the bottom of the bowl – this had the previously drilled 7mm hole through it, ready to receive the stem.
Finally, he sanded all over, and parted off the assembly.

Stem & Base
At this point, time ran out and Paul was unable to make either the stem or the base, but the picture shows a completed item.
