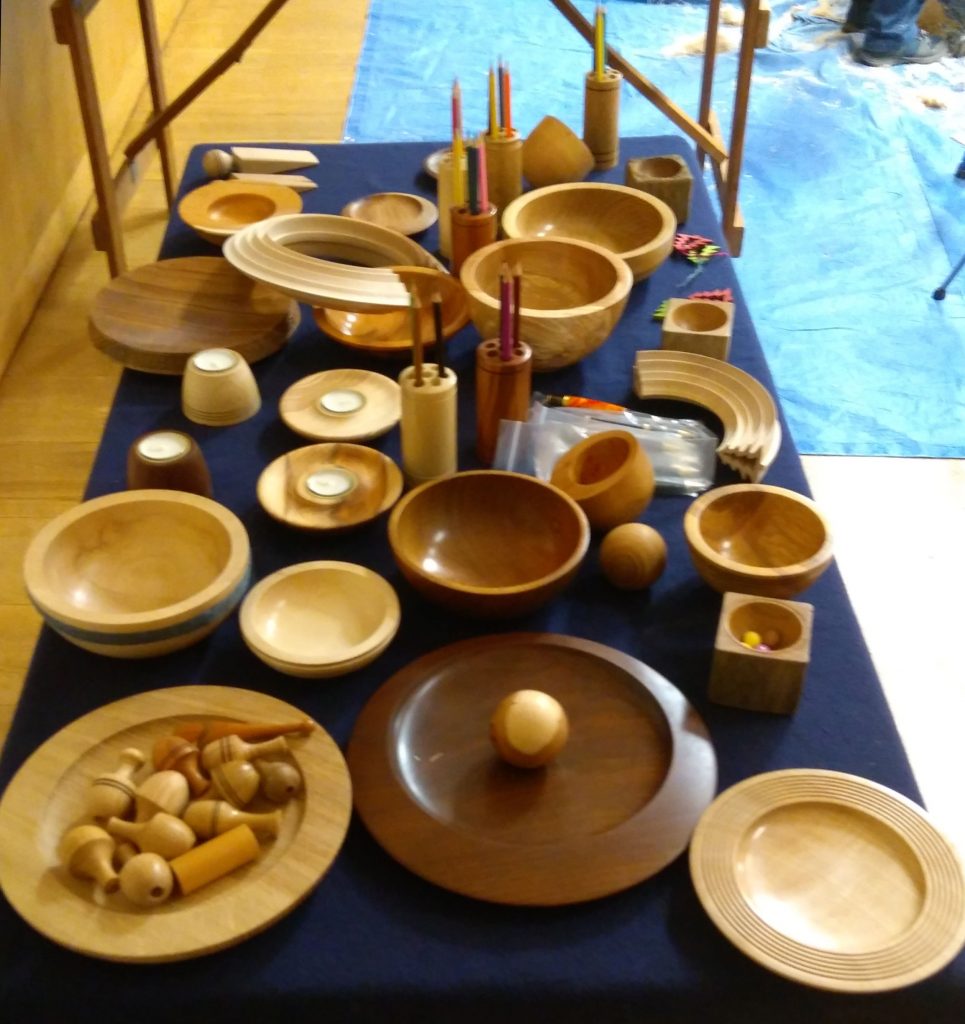
Although there was no competition at this, the second meeting of the month, there was a table full of goodies turned by Richard Wright, our demonstrator today. He made these for a charity sale and I’ve added a picture below because there was a good variety of items, always helpful when looking for ideas or inspiration. There are more pictures of these in the 2017 Gallery.

Demonstration by Richard Wright, club member
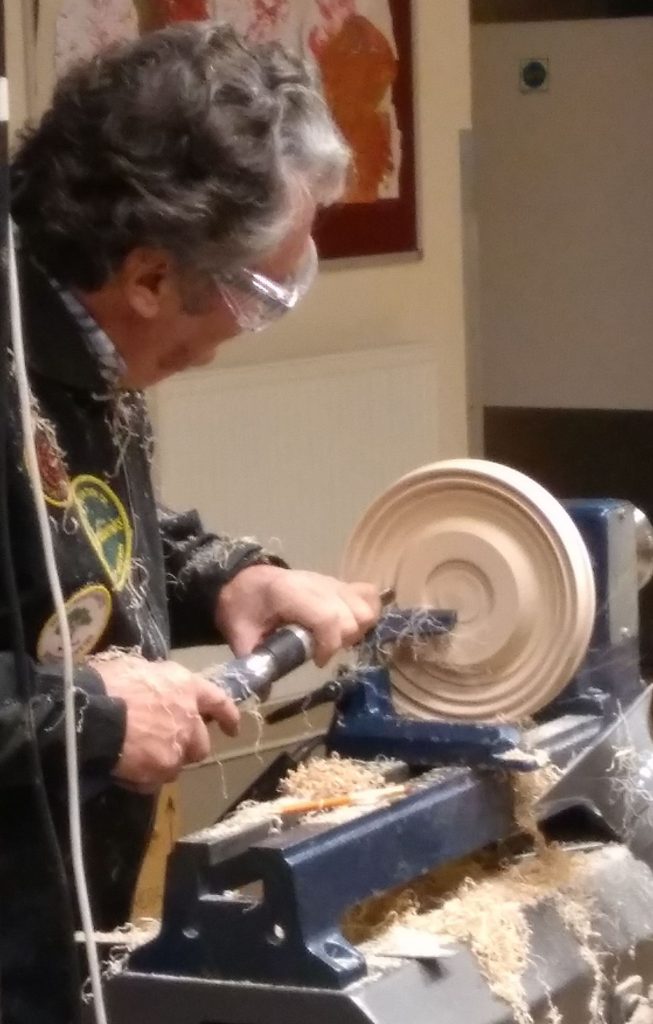
Richard demonstrated how to make ring turned Christmas trees. Ring turning involves profiling a disc of wood to form a ring with the shape of the desired item, commonly animals or trees. Once completed, the ring is sliced radially to produce multiple copies of the shape. Keeping the slices thin minimises the wedge shape that would otherwise be formed if taking large slices. Ring turned items are usually solid but Richard’s trees are hollow, being made up of two sections glued together.
Ring turned Christmas trees. There was some discussion over the merits of turning the ring with the top of the tree on the inside of the ring or on the outside. Richard’s view is that the former is better as the tree naturally tapers towards the top when it is cut from the ring after turning is completed – as would be expected with a real Christmas tree.
The first step was to make a thin template out of thin ply for use in getting both the inner and outer ring profiles correct. The template was stained black to aid visual comparison in use.
The blank was mounted on the chuck and the face trued to make a disc. Richard used a steel rule to test it for flatness and said that, if struggling to get it flat, it can be sanded flat using abrasive wrapped around a piece of flat wood.
He cut a radial slot in the disc in order to allow insertion of the template later on so that it can be offered up against the developing ring profile.
Before commencing shaping of the disc, he placed the template in the slot and marked the external branches on the disc, then lightly scored the disc circumferentially in way of the marks with a parting tool.
With these preparations complete, he started by shaping the outside of the tree on the rim of the disc – the bottom of the tree – and then continued shaping using a variety of tools including a custom ground scraper.

For the tool collectors among you, Robert Sorby have a few tools for ornamental work which were originally designed for making Christmas decorations. Good stocking fillers perhaps?
After a light sanding the disc was reverse chucked and dished on the other side in readiness for making the inside of the hollow tree form.
With the aid of the template as before, Richard marked out the inside branches and shaped them, taking care not to go through with regular checks against the template.
Once complete the ring was given a very quick and light sanding and parted off.
At this point the demo was considered complete as the next stage would be to cut the ring diametrically in half and then to glue the halves together.

Once the glue is set, it can be cut into the Christmas tree sections and decorated as required.
Tea light holder. After the ring was completed, there was still a little time left so Richard made a tea light holder of which, unfortunately I don’t have any pictures.
It was a very simple affair made out of an old square tableleg, rounded off on the top and bored out to accept a tealight holder (it is unsafe to put tealights directly onto wood). Despite being simple and quick, it was visually very effective, with bags of character due to the distressed nature of the wood.
That was it for the evening, Richard was thanked for his very interesting demonstration, and everything was cleared away until the next time.
